How to Install Fonts in Windows 10
In this article, we will see how to install a new font in Windows 10. If you have a *.TTF or *.OTF font file, here is what you need to do to make it available in your installed apps.
Advertisеment
Windows 10 comes with TrueType fonts and OpenType fonts installed out-of-the-box. They either have TTF or OTF file extensions. They support scaling and look sharp on modern displays. OpenType is the more modern format, which can support any writing script, has advanced typographic "layout" features which prescribe positioning and replacement of rendered glyphs.
You need to download the font first that you need to install. After that, follow the instructions below.
To install fonts in Windows 10, do the following.
- Open the classic Control Panel app.
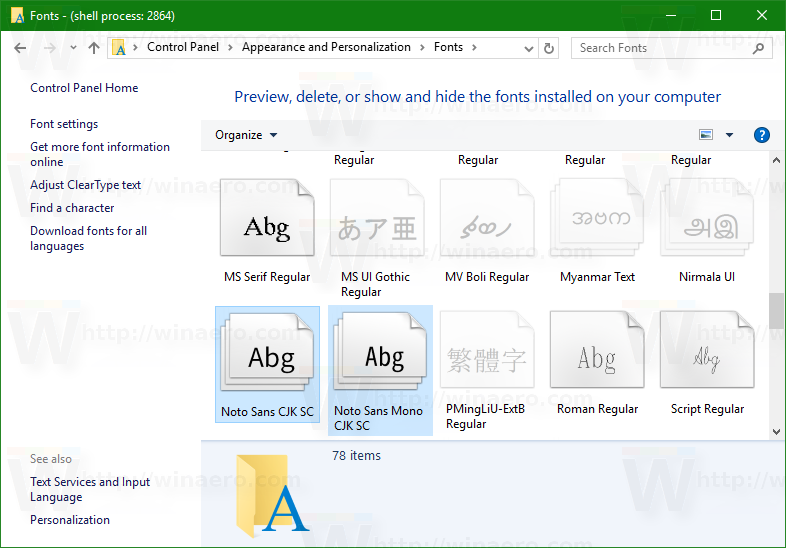
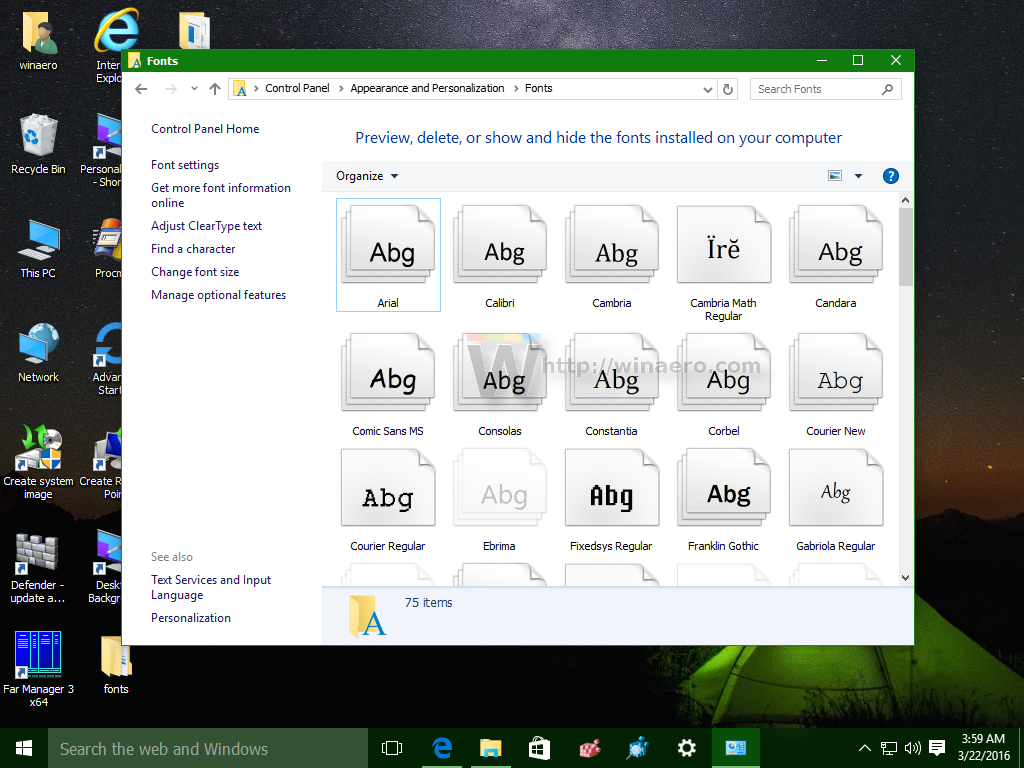
- Go to Control Panel\Appearance and Personalization\Fonts. The following folder will appear:

- Open File Explorer.
- Go to the folder where you store your font files.
- Drag the fonts you have from their location and drop them into the Fonts folder:
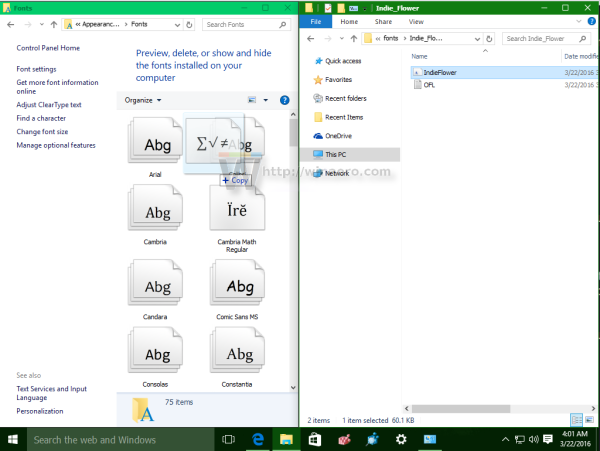
- Alternatively, you can copy the fonts from your source folder in Explorer and paste them inside the Fonts folder. You are done. The fonts will be installed by Windows and registered for use. They will become available for all apps.
 Now you can use them in any app like Word or Notepad.
Tip: See the article How to install and use Google fonts in Windows 10.
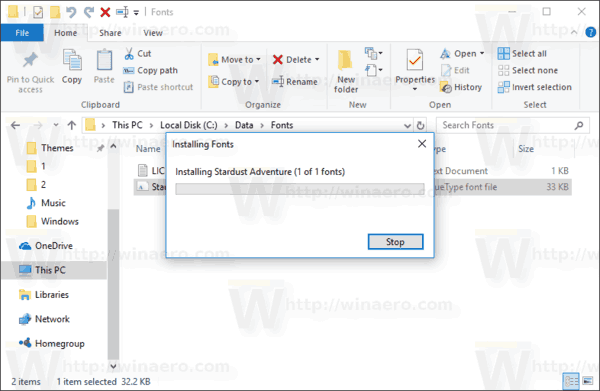
There is an alternative method to install your fonts. If you have just one font file, you can right-click on it in File Explorer and select Install from the context menu. See the following screenshot:
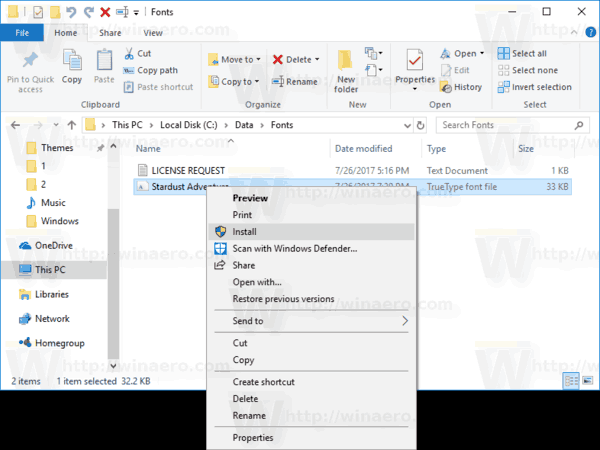
The font will be installed directly:
If you double-click the font file in File Explorer, a preview window will be opened. There, you can see how the font looks.

The preview dialog shows the font type, its version and a number of samples with different font sizes.
You can print the preview to see how the font looks on paper. There is also an "Install" button which will allow you to install the font right from its preview window.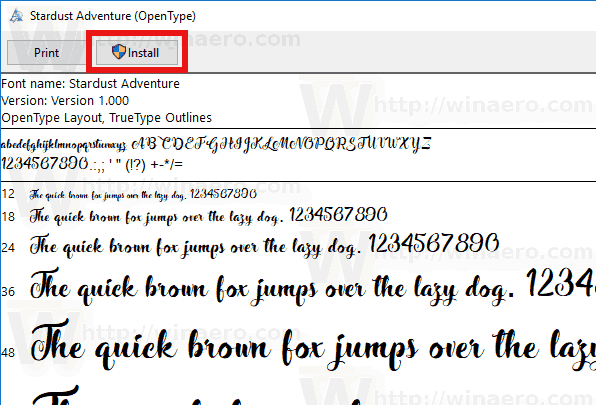
That's it.
Support us
Winaero greatly relies on your support. You can help the site keep bringing you interesting and useful content and software by using these options:

How to change system font?
See the article How to change system font in Windows 10
Before wiin 10, 1909, my fonts would go to the windows\fonts when I pasted them there, but now, they go to the users folder, burried in appdata\microsoft\fonts.
Context menu, install or install all users, stills goes into the Appdata location, and drag to windows\fonts, or from the font veiwer using install, all go to the appdata location.
Is there a setting that changes the direction where it goes?
Does it make a difference if segoebold and segoeblack are two different versions or not?