Windows 10 comes with the ability to index your files so the Start Menu, File Explorer, and Cortana can search them faster. Indexing runs in the background without trying to affect your PC's performance. Today, we will see how enable or disable indexing for encrypted files on your computer.
Advertisеment
As you may already know, search results in Windows are instant because they are powered by the Windows Search indexer. It is not new to Windows 10, but Windows 10 uses the same indexer-powered search like its predecessors although it uses a different algorithm and a different database. It runs as a service that indexes file names, contents and properties of file system items and stores them in a special database. There is a designated list of indexed locations in Windows, plus Libraries which are always indexed. So, instead of performing a real-time search through files on the file system, the search performs a query to the internal database, which allows showing results immediately.
For many versions, Windows has included an advanced security feature called Encrypting File System (EFS). It allows the user to store files and folders encrypted, so they will be protected from unwanted access. Windows 10 fully supports indexing encrypted files on local file systems by EFS. Tip: See How to add encrypt and decrypt commands in Windows 10 right click menu.
By default, Windows 10 doesn't include encrypted files in the search index. It is not a good idea to enable this feature when the search index location is on unencrypted drive. However, if your drives are protected with BitLocker or 3rd party solution, then go ahead.
To Index Encrypted Files in Windows 10,
- Open the classic Control Panel app.
- Type "Indexing" in the search box at the top right corner.
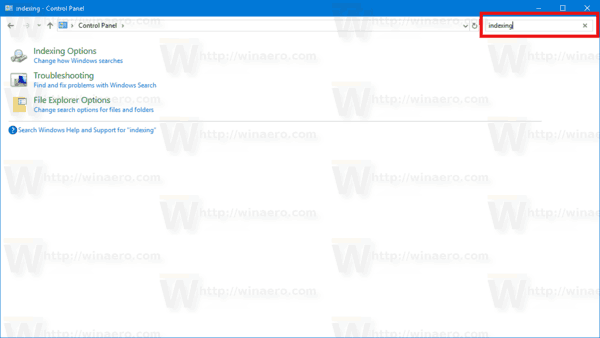
- Click on "Indexing Options" in the list.
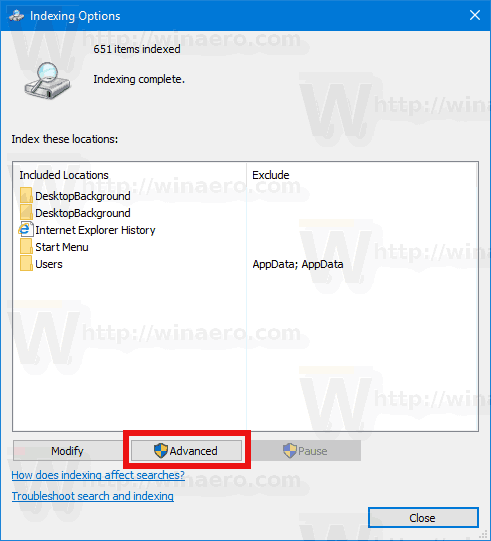
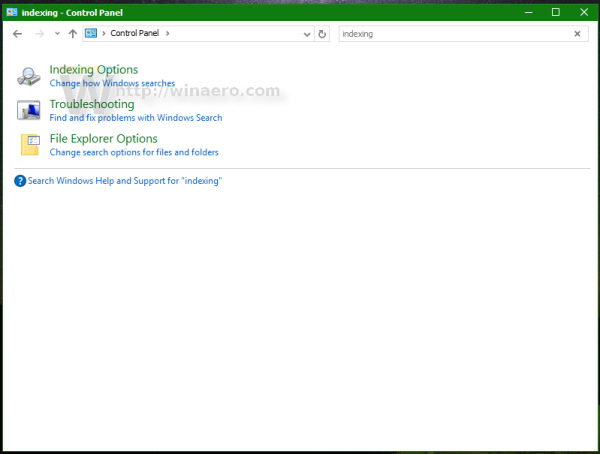 The following window will open:
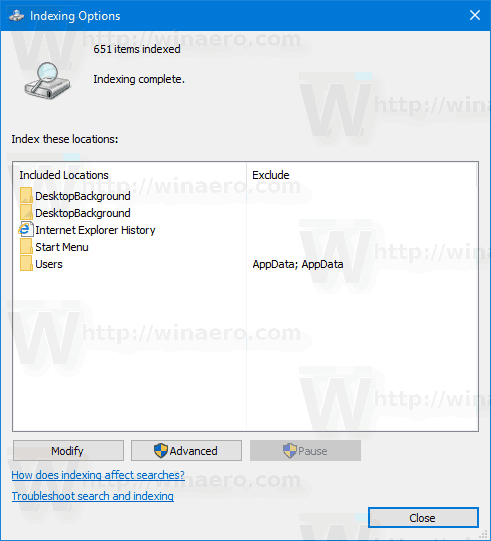
- Click on the Advanced button.
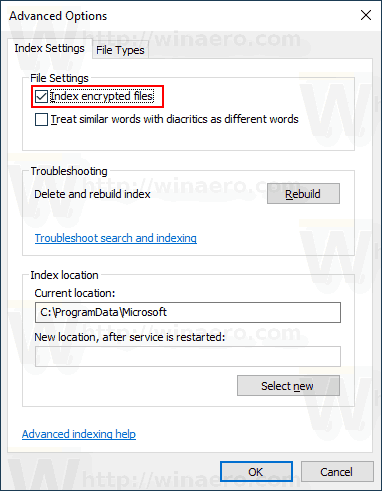
- On the Index Settings tab, enable the option Index encrypted files.
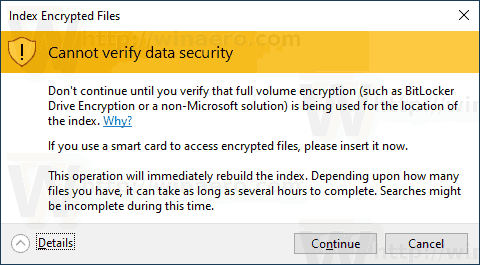
- If the index location is not encrypted, then click on the Continue button to proceed if you are sure.
You are done.
You can undo the change at any moment. Just open the Indexing options once again, and uncheck the option Index encrypted files. Windows 10 will automatically rebuild the search index to exclude your encrypted files. It will display a warning message.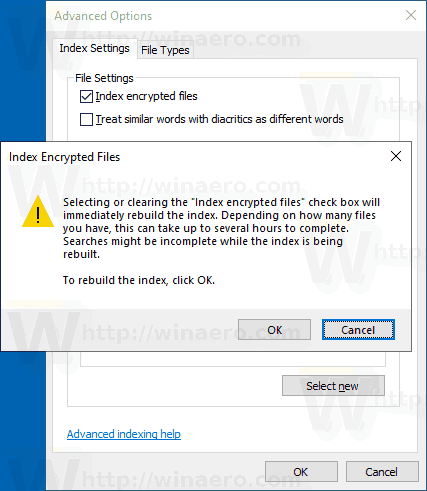
That's it.
Related articles:
Support us
Winaero greatly relies on your support. You can help the site keep bringing you interesting and useful content and software by using these options:
