This article will show you how to set a data limit for Wi-Fi and Ethernet in Windows 11 without downloading third-party apps. If you have to deal with data caps and limited Internet, Microsoft provides you a convenient tool to ensure you do not run out of data.
Advertisеment
So, Windows 11 has a built-in data limiter for all types of Internet connections and data usage tracker. However, remember that your ISP might count traffic slightly differently than Windows 11 does. Also, Windows 11 does not disable the connection once you hit the limit. Instead, it will send you notifications with warnings that you are about to exceed your data limit.
To begin, you need to connect to the network for which you want to set a limit. Although Windows 11 has a link to set network limits for specific networks, for some reason, it does not work and redirects users to settings for the current Wi-Fi network. Maybe it is just a bug that Microsoft will soon resolve.
Set Data Limit for Wi-Fi in Windows 11
- Open Windows Settings by pressing the Win + I keys. You can also right-click the Start menu button and select Settings.
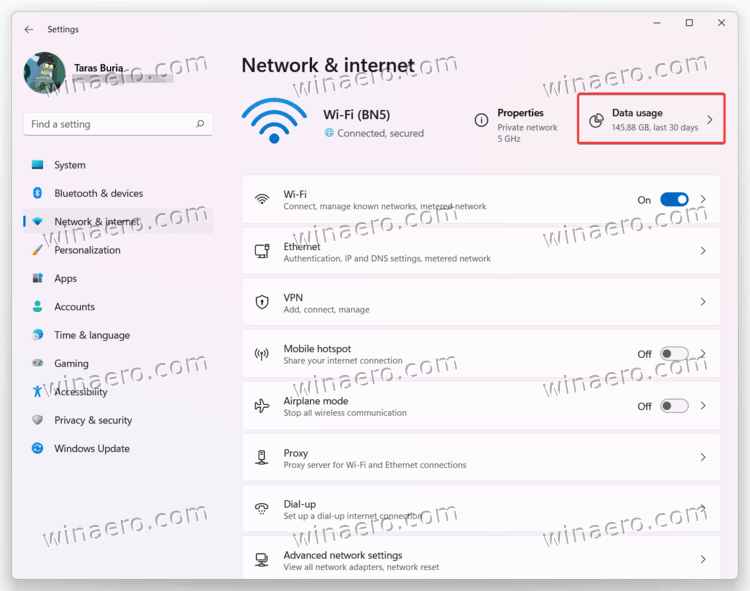
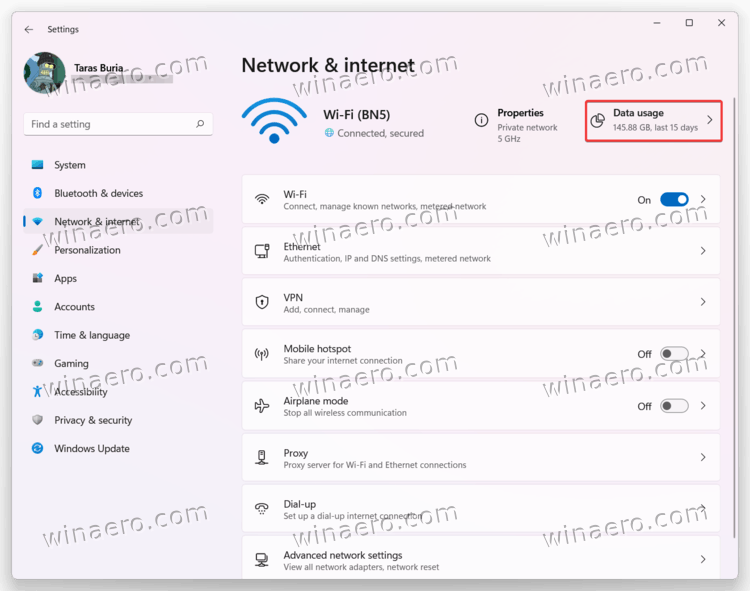
- Go to the Network & internet section.
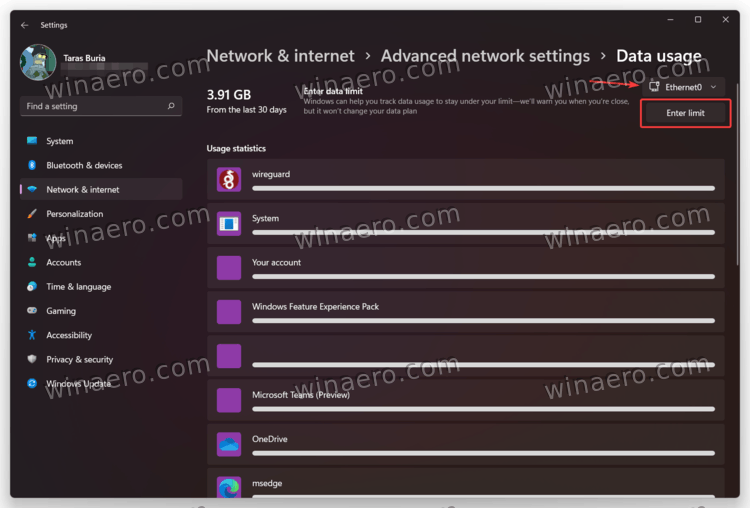
- Click the Data Usage button in the upper-right corner of the screen.
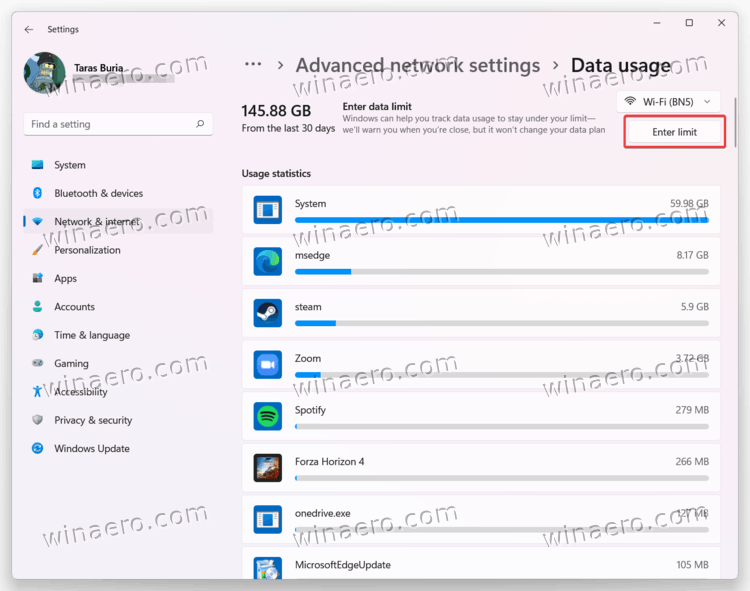
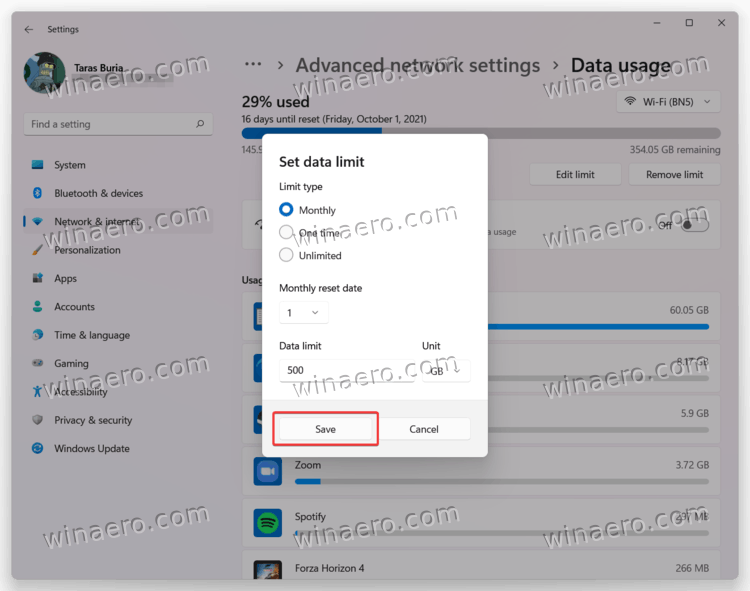
- Click on Enter data limit.
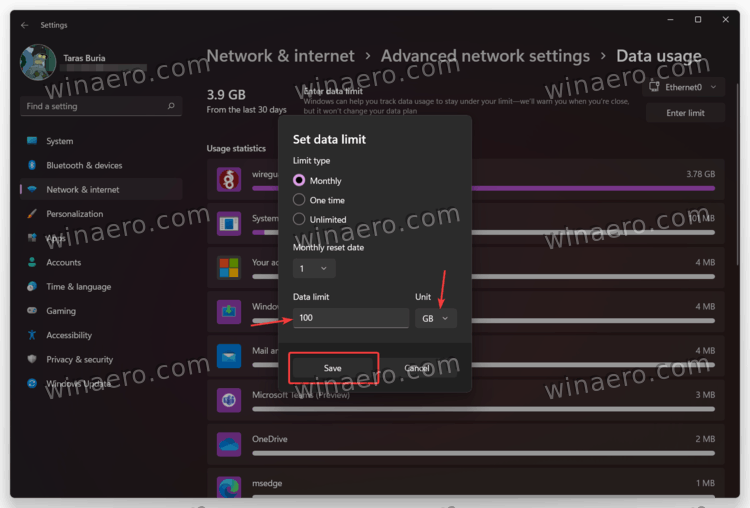
- Enter the data limit you want to set for a Wi-Fi network. You can specify one-time or monthly limits in megabytes or gigabytes.
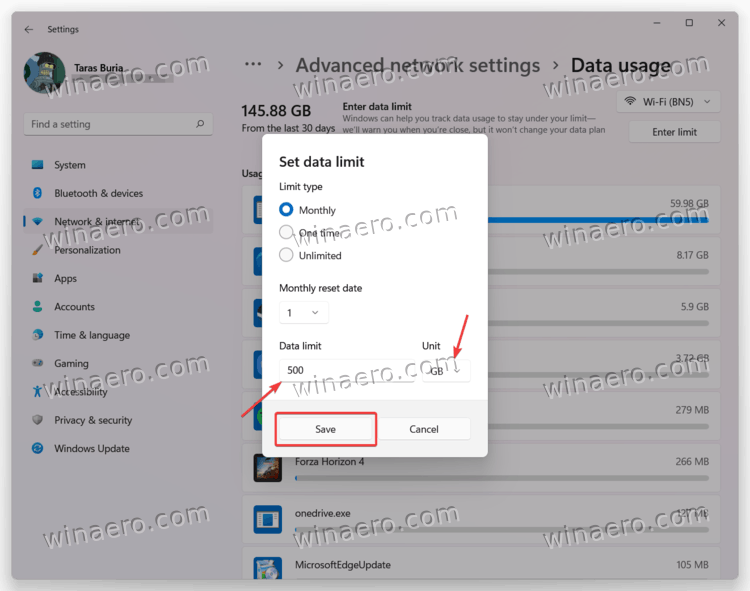
- Click Save to apply changes.
You are done!
Note that by default, Windows 11 uses megabytes, so do not forget to switch to gigabytes in the Unit field.
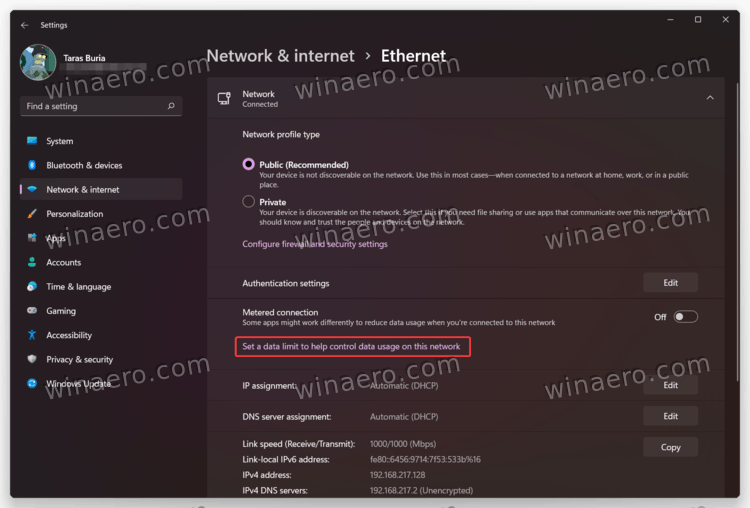
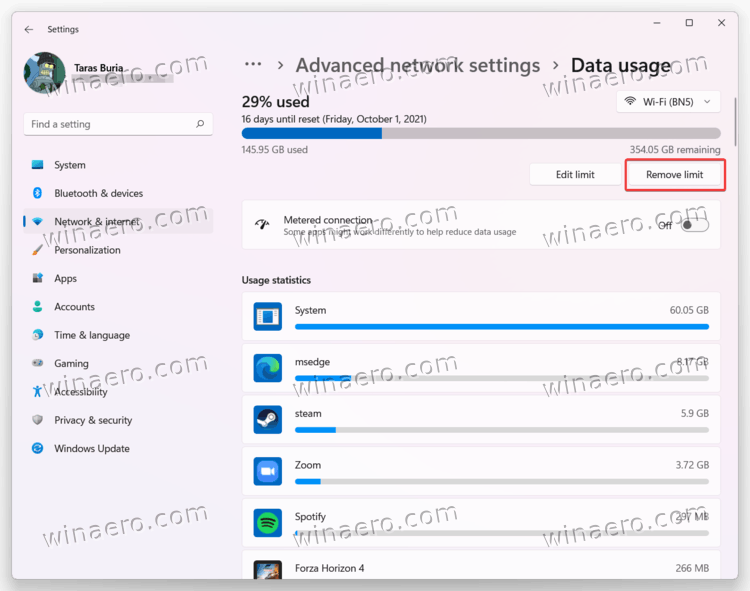
After setting a limit for Wi-Fi in Windows 11, you can also mark the network as metered. That option limits background activities for some apps, prevent automatic Windows updates and applies other restriction to restrain network traffic and save precious megabytes. To do so, enable the Metered connection option.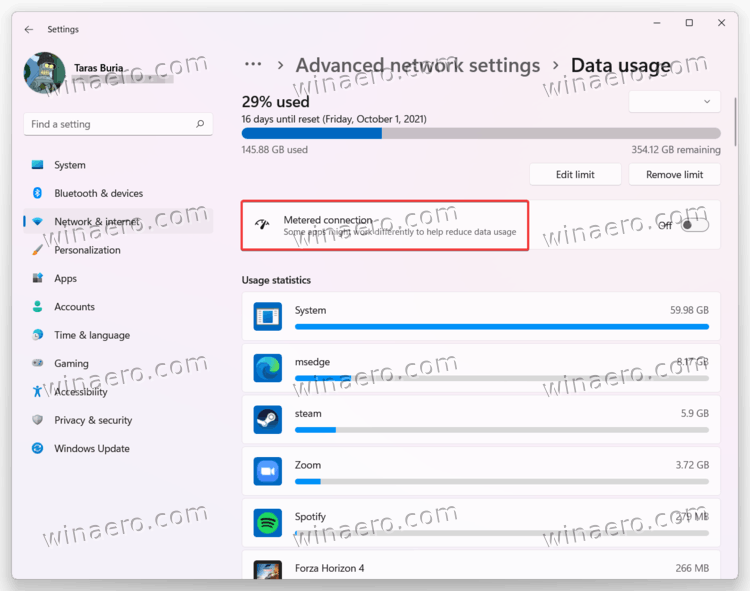
If you use a wired Internet connection, limiting data for Ethernet in Windows 11 is almost identical to how you do that with a Wi-Fi connection. Do the following.
How to Set Data Limit for Ethernet
- Open Windows Settings by pressing Win + I or another preferred method.
- Go to the Network & internet section.
- Select Ethernet.
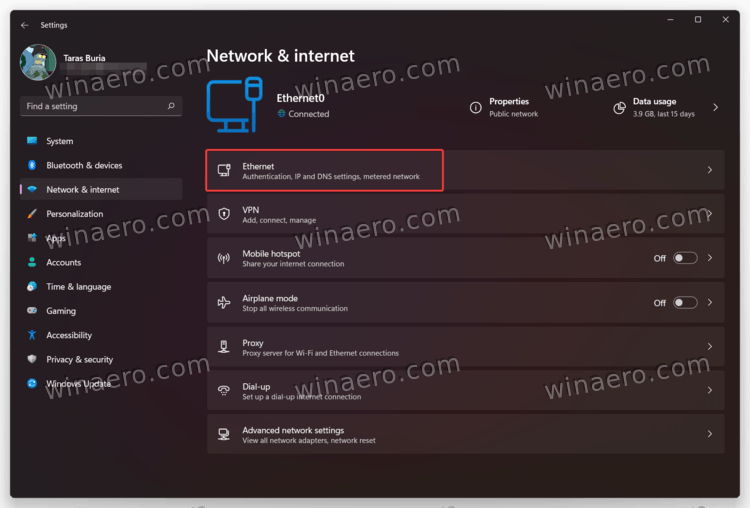
- Click the Set a data limit to help control data usage on this network link.
- On the next screen, make sure you have selected Ethernet from the drop-down list above the Enter limit button.
- Enter your one-time or monthly limit. Remember to pick the correct units (MB or GB).
- Click Save to apply changes. If necessary, mark the network as metered.
You are done!
Change or Remove Network Data Limit in Windows 11
- Go to the Windows Settings app and open the Network & internet section.
- Click the Data Usage button in the upper-right corner of the screen.
- Next, click the Edit limit button to change the data limit in Windows 11.

- Enter a new limit, then click on Save.
- To remove the data limit in Windows 11, click the Remove limit button.
- Confirm the action by pressing the Remove button.

That is how you set a data limit in Windows 11 without third-party apps.
Support us
Winaero greatly relies on your support. You can help the site keep bringing you interesting and useful content and software by using these options:
