Earlier in Windows 8, the File Explorer app used to show Libraries above "This PC" (Computer) in the left pane. In Windows 10, Libraries are shown below This PC. If you use Libraries frequently, you might be interested in moving them above This PC for faster access. Let's see how to re-arrange items and place Libraries above This PC in Windows 10.
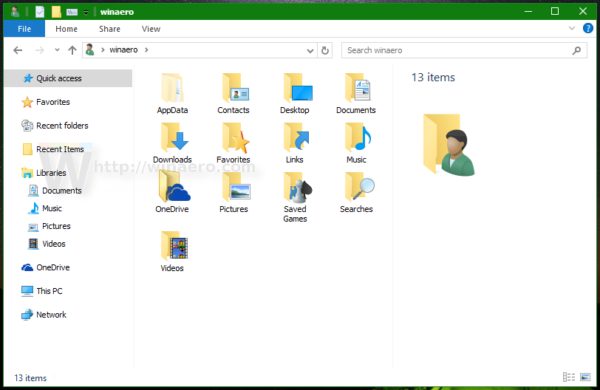
If you enable Libraries in File Explorer, you will see that the Libraries item shows below This PC:
To move Libraries above This PC in Windows 10, you need to apply a simple Registry tweak.
- Open Registry Editor (see how).
- Go to the following Registry key:
HKEY_CLASSES_ROOT\CLSID\{031E4825-7B94-4dc3-B131-E946B44C8DD5}Tip: You can access the desired Registry key with one click.
- On the right side, you will see the SortOrderIndex value which is set to 84 (in decimals). Change it to 56, again in decimals.

- In Windows 10 x64 you have to apply the same changes to the following key:
HKEY_CLASSES_ROOT\Wow6432Node\CLSID\{031E4825-7B94-4dc3-B131-E946B44C8DD5} - Sign out from Windows 10.
- Sign in back and and open a new Explorer window. The result will be as follows:


You can download ready-to-use Registry tweaks below:
That's it.
Support us
Winaero greatly relies on your support. You can help the site keep bringing you interesting and useful content and software by using these options:

In Windows 10 x64 you have to apply the same changes to the following key:
HKEY_CLASSES_ROOT\Wow6432Node\CLSID\{031E4825-7B94-4dc3-B131-E946B44C8DD5}
Thanks, updated.
When I attempted step 4, I received the message “Cannot edit sortorderindex: error writing the value’s new contents”.
@Joyce Faler You have to edit the permissions and make yourself the new owner instead of trustedinstaller.
No you don’t. I just did this on my computer and ran into the same issue. I just rebooted my computer and it worked without modifying the second one.
You actually don’t have to go through all the trouble of signing out of Windows 10 and signing back in. You can just open up Task Manager, right-click on Windows Explorer, and choose “Restart” to make the change take effect immediately.
Thanks. This would be a nice addition to Winaero Tweaker.