This article will show you how to install optional features in Windows 11. Modern Windows versions are a modular software, with some of the components available on demand. The user can add or remove some of the apps and features depending on his tasks and preferences.
Advertisеment
Windows 11 is a complex operating system with thousands of various features. Many Windows components work in specific scenarios, which means not every user needs them. To make Windows installation flexible, Microsoft ships various components and features not installed out of the box. The user can install them on demand.
Install Optional Features in Windows 11
If the user needs some of those components, Windows 11 allows installing them using several methods. You can use the Settings app, the classic Windows Features applet, DISM, and PowerShell to install optional features. Now we will review each of the methods in detail.
Install optional components in Windows 11 using Settings
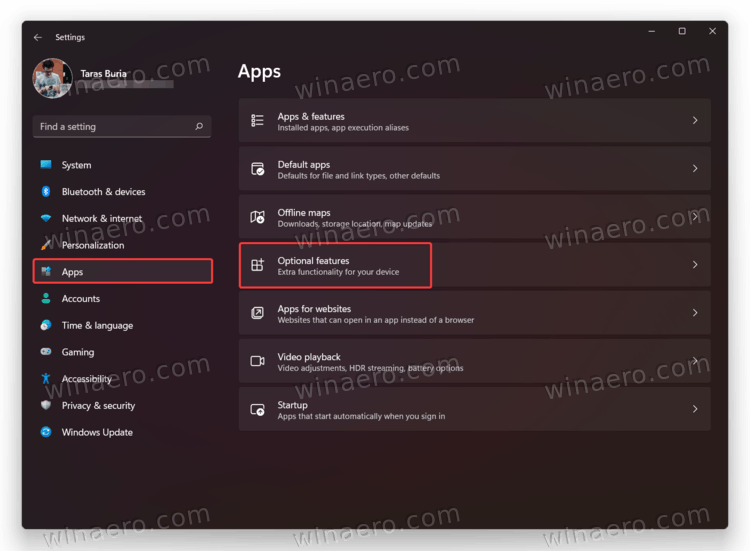
- Press Win + I to open Windows Settings.
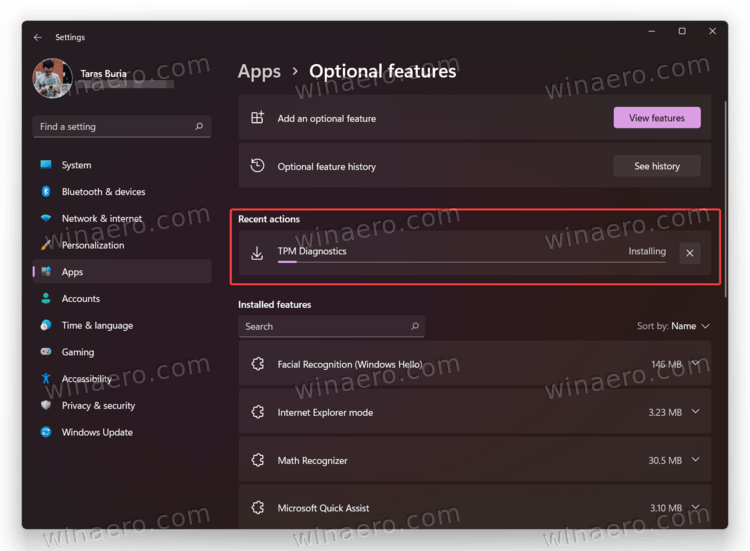
- Go to Apps > Optional Features.
- On the right, click the View Features button. After that, Windows will open a new window with a list of all optional components available to install.
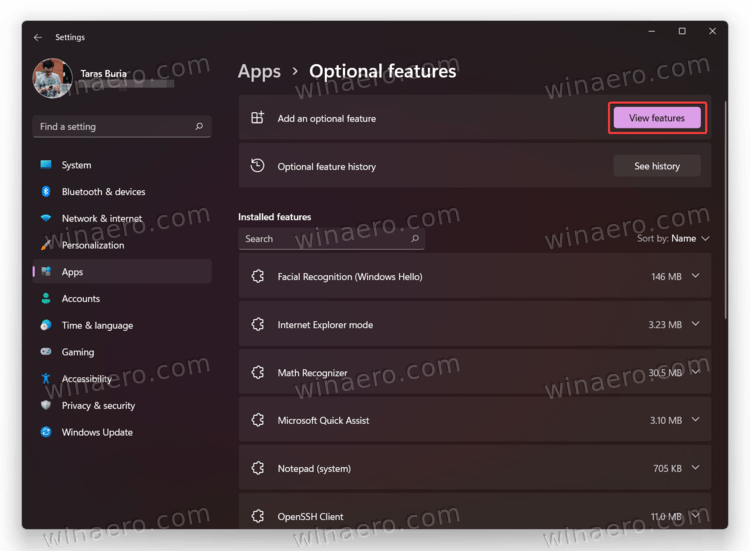
- In the list of optional features, find the one you need. Also, you can use the search box to locate it.
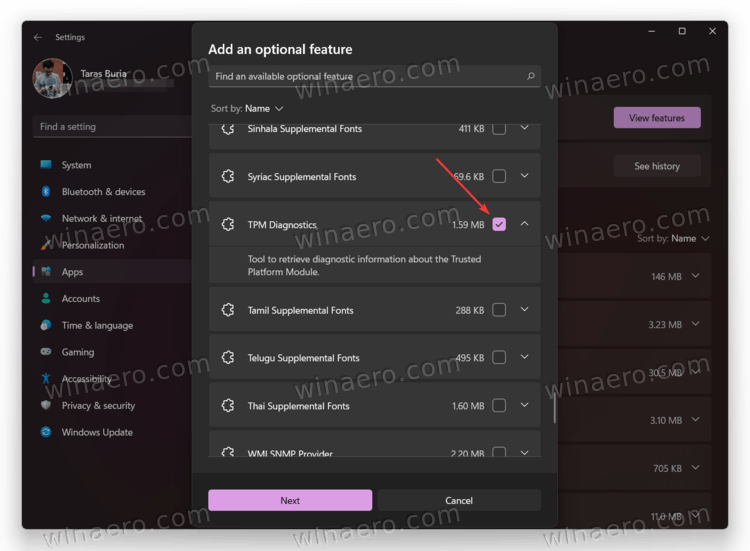
- Place a check mark next to the feature you want to install. Clicking the arrow-down button reveals a description to provide you with more information about a particular component.
- If needed, check a few more features to install them all together. Click Next.
- Finally, click the Install button to initiate the installation process.
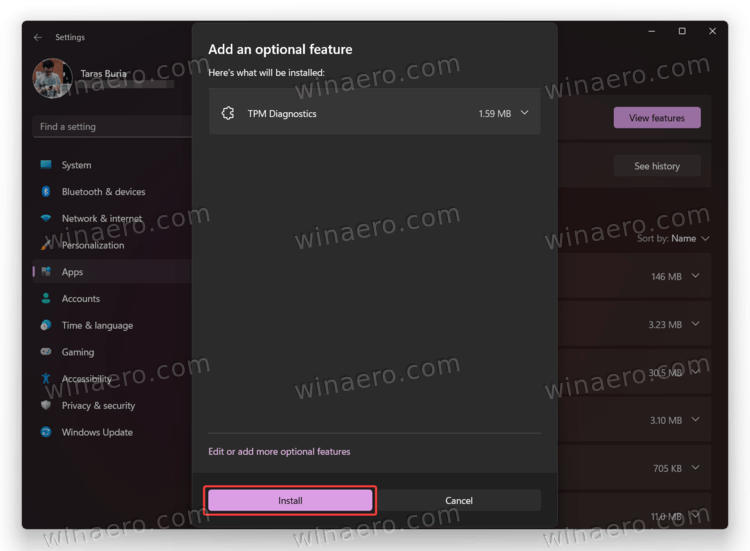
- Wait for Windows 11 to install selected components.
You are done.
As with many Windows settings, some optional components in Windows 11 are only available in the legacy Control Panel interface. For example, you cannot enable Hyper-V on Windows 11 Professional from the Windows Settings app. You need to open the "Windows Features" dialog box and select one of the available components.
Using the classic Windows Features dialog
- Press Win + R and enter the
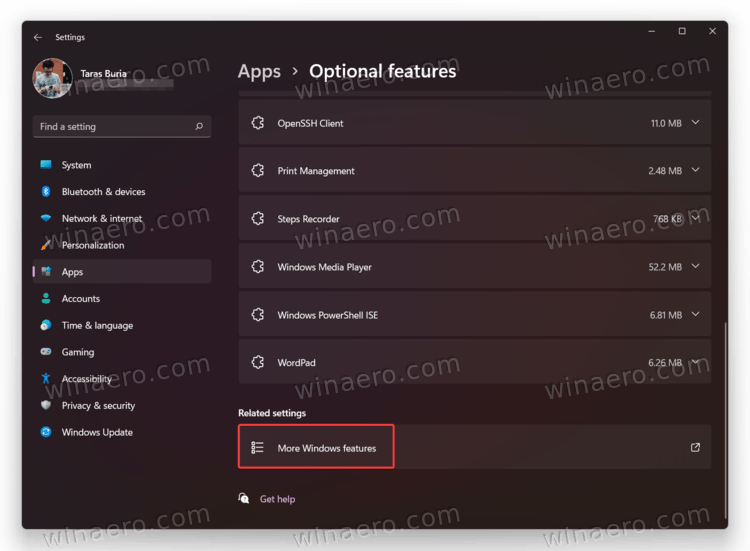
optionalfeaturescommand into the Run dialog. - Alternatively, open the Settings app, then go to Apps > Optional Features > More Windows Features.
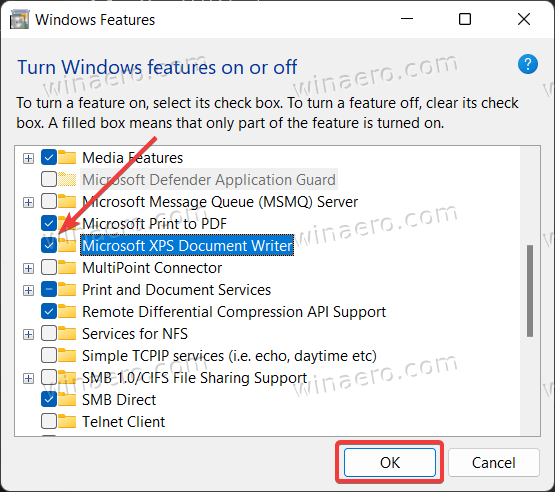
- Place a check mark next to the feature you need, then click the OK button to apply changes.
- Wait for Windows 11 to locate the necessary files and install them.
Note that some features require a system restart to begin working.
You can also install optional features in Windows 11 using Command Prompt, PowerShell, running them directly or from Windows Terminal.
Install optional features using DISM
- Right-click the Start button and select Windows Terminal (Admin). Alternatively, you can open Command Prompt or PowerShell with elevated privileges.
- Enter
dism /Online /Get-Capabilitiesand press Enter. That will list all available optional features in Windows 11.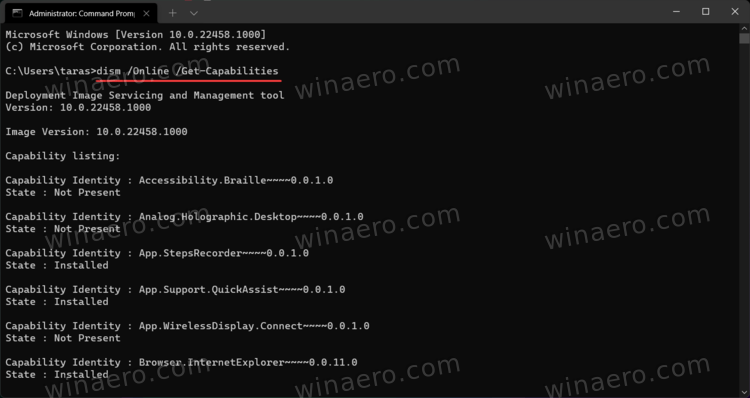
- Locate the component you need and copy its name or Capability Identity. For example,
StepsRecorder~~~~0.0.1.0. - Next, enter the following command:
dism /Online /Add-Capability /CapabilityName:NAME. SubstituteNAMEwith the capability identity from the previous step.
- Press Enter to execute the command.
You are done.
It is also possible to install optional features in Windows 11 using PowerShell. The idea is the same, but commands are slightly different.
Install optional components with PowerShell
- Open elevated PowerShell (Windows Terminal will also do the job).
- To get the list of optional features in Windows 11 in PowerShell, enter the following command:
Get-WindowsOptionalFeature -Online.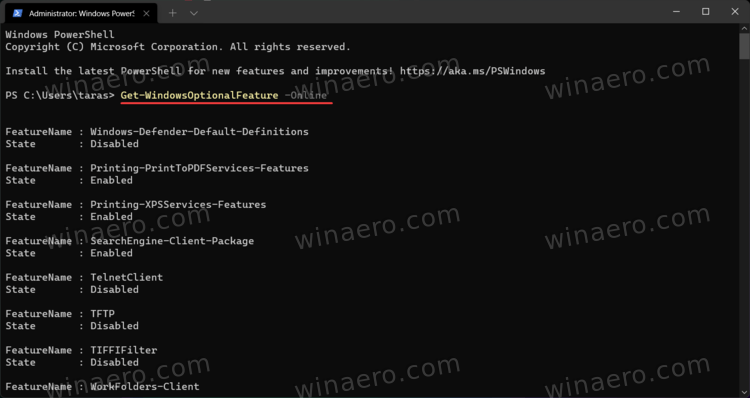
- Copy the name of the feature you need.
- Next, enter this command:
Enable-WindowsOptionalFeature –FeatureName "NAME" -All -Online. ReplaceNAMEwith the name from the previous step, for example,Enable-WindowsOptionalFeature –FeatureName "Microsoft-Hyper-V" -All -Online.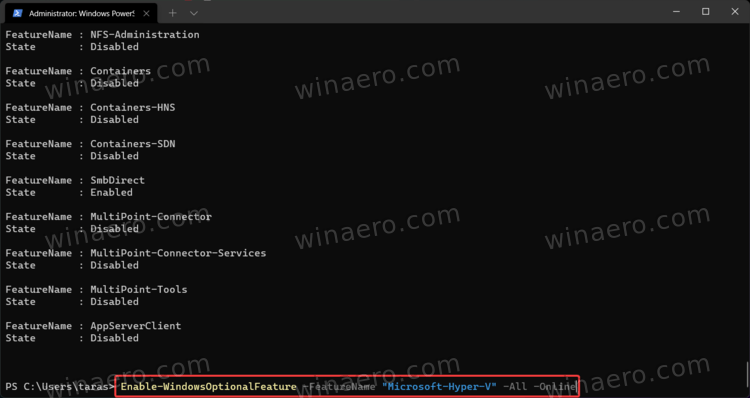
- Press Enter to complete the process.
Uninstall optional features in Windows 11
If you no longer need an optional feature in Windows 11, you can uninstall it to free some space on the system drive. The procedure is similar to how you install additional components in Windows 11 using the Settings app.
Uninstall an optional feature from Settings
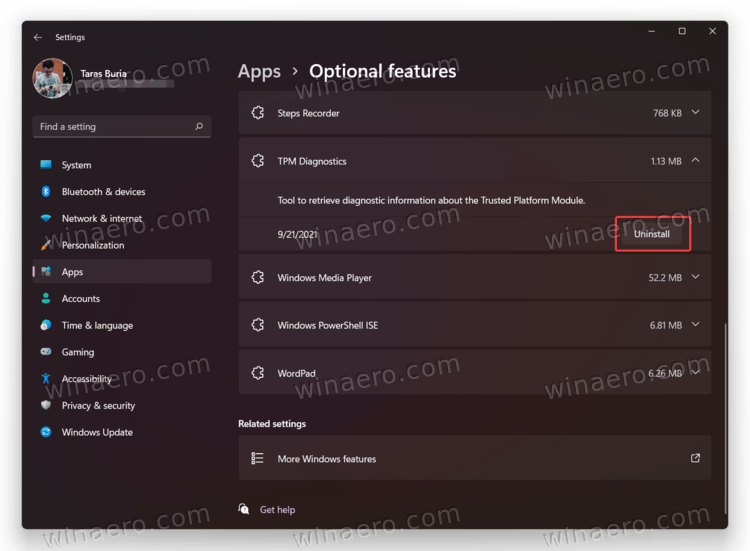
- Press Win + I to open Windows Settings, then go to the Apps section.
- Click Optional Features.
- In the Installed features list, find the one you no longer need and click it.
- Click the Uninstall button. Note that Windows 11 does not ask for a confirmation before removing optional components.
- Wait for the system to complete the removal process. You can follow it in the Recent activity section above the Installed features list.
 Done!
Done!
Uninstalling optional features from the classic Control Panel in Windows 11 is identical to how you install them. The only exception is that you need to uncheck the necessary components to remove them.
Uninstall using the Windows Features applet
- Press Win + R to open the Run dialog, and enter the
optionalfeaturescommand. - As an option, go to Windows Settings > Apps > Optional Features > More Windows Features.
- Find the component you want to remove in Windows 11 and uncheck it.
- Click the OK button.
Uninstall with DISM or PowerShell
To uninstall an optional feature using the command prompt and dism, use the following command: dism /Online /Remove-Capability /CapabilityName:NAME. Replace NAME with a proper capability identity.
As for PowerShell, here is the command you need to use to remove optional components from Windows 11: Disable-WindowsOptionalFeature –FeatureName "NAME" -Online. Again, replace NAME with the appropriate feature name.
That is how you install and uninstall optional components in Windows 11.
Support us
Winaero greatly relies on your support. You can help the site keep bringing you interesting and useful content and software by using these options:
