This post will show you how to hide Office.com files from Quick Access in File Explorer. By default in Windows 10 and Windows 11, File Explorer opens to the Quick Access section. There you can see all the recent files and user folders on your computer. The Quick Access section also includes cloud files the user has opened or created in Office Online (Office.com).
Advertisеment
Turns out, Microsoft has quietly added a new group policy that allows IT Admins and regular users to remove Office.com files from the Quick Access section in File Explorer.
Here is how Microsoft describes the new rule:
Disabling files from Office.com will stop File Explorer displaying recent cloud file data in the Quick Access view. When this feature is disabled Explorer will no longer make web requests to retrieve recent cloud file data.
Here is how to turn off files from Office.com in the Quick Access section in File Explorer.
Hide Office.com Online Files from Quick Access in File Explorer
- Press Win + R or right-click the Start button and select Run.

- Type
regeditin the Run window, then press Enter to launch Registry Editor.
- Go to
HKEY_LOCAL_MACHINE\SOFTWARE\Policies\Microsoft\Windows\Explorer. If the Explorer folder is missing, right-click the Windows folder, select New > Key, and rename the new key to Explorer.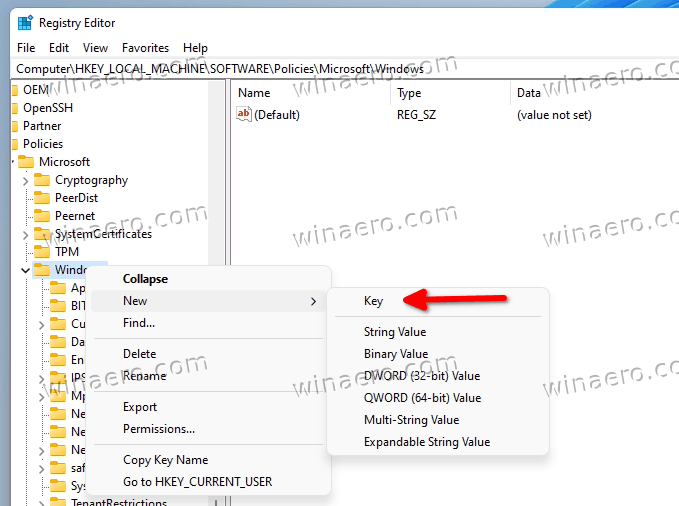
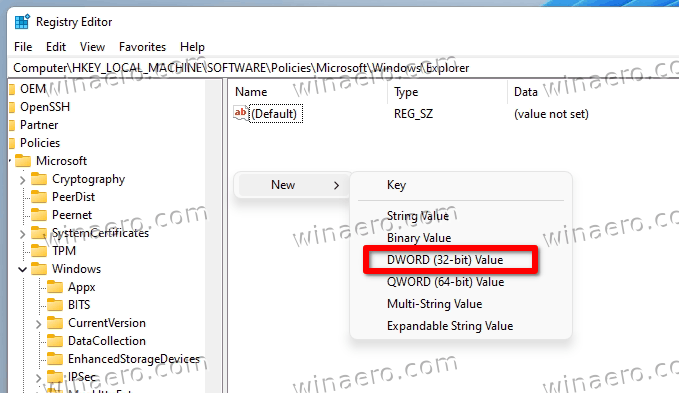
- On the right side of the window, right-click anywhere and select New > 32-bit DWORD Value.
- Rename the new value to DisableGraphRecentItems.
- Open the new value and change its value data from 0 to 1.
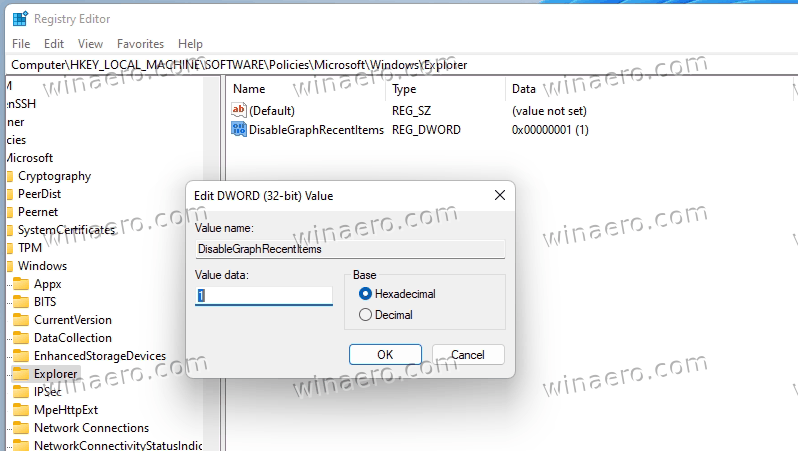
- Restart your computer to apply the changes.
Done!
After that, Windows 11 will hide all the recent files you have created in Office Online. Besides, those files will not appear in the Recommended section on the Start menu.
Ready-to-use Registry files
Not everyone is comfortable navigating Windows registry, so here are ready-to-use files. You can use them to enable or disable Office.com files in Quick Access with a single click.
- Download the ZIP archive with REG files using this link.
- Extract the files wherever it is convenient.
- Open the
Remove Office.com files from Quick Access in Windows 11.regfile and confirm changes. - Restart your computer.
- To restore default settings, open the
Restore Office.com files in Quick Access in Windows 11.regfile and restart the computer.
Alternatively, you can go with a Local Group Policy Editor. However, keep in mind that the Local Group Policy Editor application is not available on the Windows 11 Home SKU, which means users need to edit Windows Registry to apply the restriction.
Disable Online Files from Office.com in Quick Access with Group Policy
- Press Win + R and enter the
gpedit.msccommand.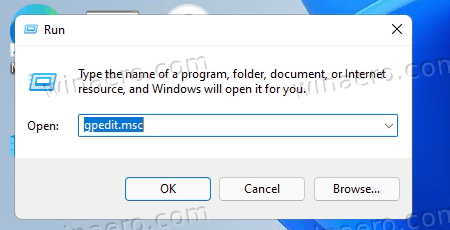
- Navigate to Computer Configuration > Administrative Templates > Windows Components > File Explorer.
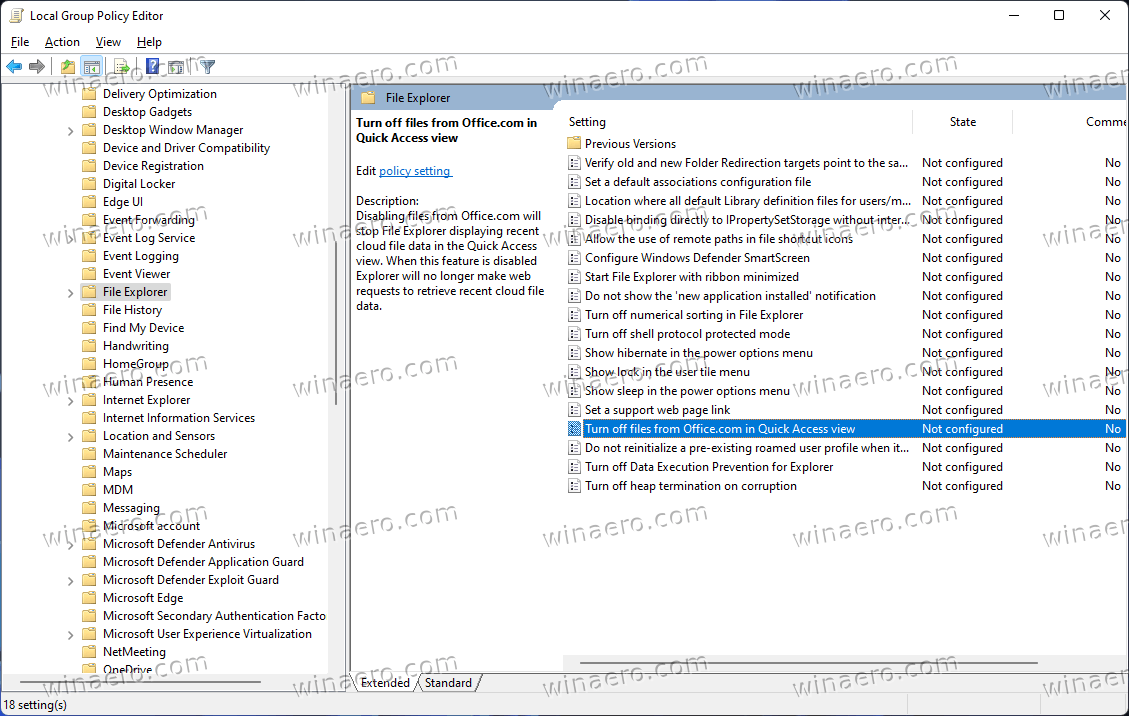
- On the right side of the window, double-click the Turn off files from Office.com in Quick Access view rule.
- Set the rule to Enabled.
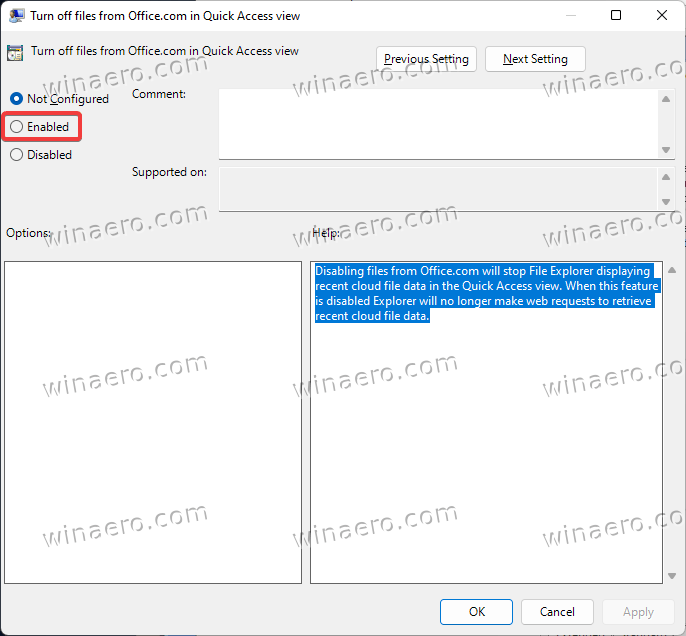
- Click OK to save the changes.
You are done. You can easily undo the change at any moment of time by setting the reviewed Group Policy rule to Not configured. You may need to restart Windows 11 to make it reload your files stored on Office.com.
That’s it.
Support us
Winaero greatly relies on your support. You can help the site keep bringing you interesting and useful content and software by using these options:
