Here are the ways to enable Voice Access in Windows 11. Voice Access is a new feature that allows the user to manage his computer with voice commands. It extends the speech recognition platform with new capabilities.
Advertisеment
Microsoft introduced the Voice Access feature in build 22518. Being part of Accessibility tools, it allows you performing a wide range of tasks. For example, you can use it for opening and switching between apps, browsing the web, and reading and authoring mail. It can also emulate keyboard and mouse input via voice commands.
Another good thing is that it can work offline, without an Internet connection. Voice Access does on-device speech recognition to recognize speech, and does that accurately. It is implemented via the executable file C:\Windows\System32\VoiceAccess.exe.
The voice recognition feature includes an interactive guide that will give you idea how you can use it. After finishing the guide, try to pronounce what can I say? That will give you the idea of what commands it supports. You will find the full list of voice commands here.
If you want to give Voice Access a try, you need to enable it.
Enable Voice Access in Windows 11
To enable Voice Access in Windows 11, do the following.
- Press Win + I to open the Settings app (or use any other method).
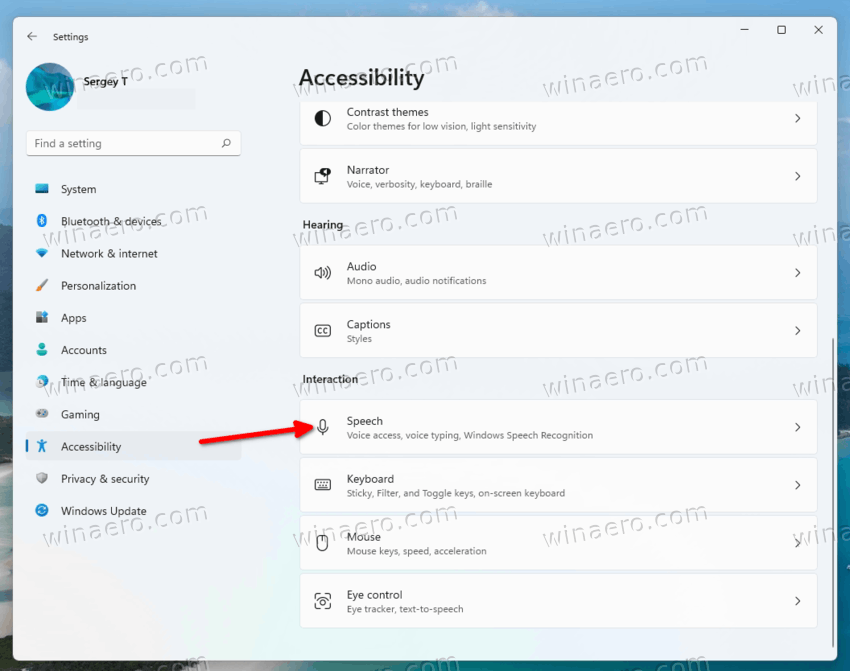
- Click on Accessibility in the left pane, and then select Speech on the right.
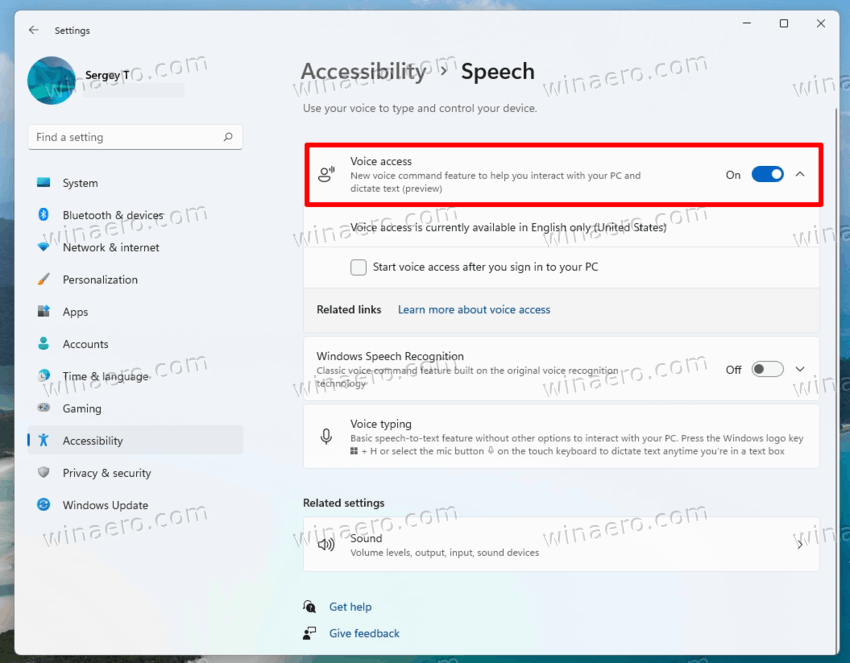
- On the next page, turn on the Voice access option.
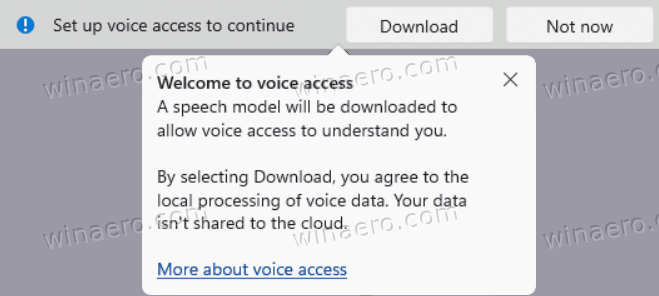
- If you do this for the first time, click the Download button to get and install a speech model for the offline speech recognition.
- If you have multiple microphones connected, pick one that you will use for Voice access.
You are done. The Voice Access feature is now enabled.
You can turn it off at any moment later. Just disable the mentioned toggle option in Settings > Accessibility > Speech.
It is worth mentioning that you can also turn off Voice Access from its toolbar that appears at the top of the screen.
How to disable Voice Access using the Voice Access toolbar
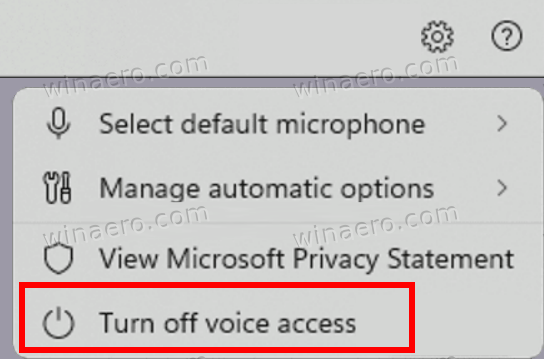
- Click the gear icon on the Voice Access toolbar at the top of the screen.
- Select Turn off voice access from the menu.
Done!
Besides disabling the speech recognition engine, you will find a number of other useful options in the menu mentioned above. For example, you select your default microphone, manage automatic options, and view the privacy statement, all with just one click.
Voice Access Keyboard Shortcuts
Besides managing Voice Access in Settings and using the toolbar, you can use a couple of keyboard shortcuts.
Alt + Shift + C - allow voice access to listen to your commands
Alt + Shift + B - prevent voice access from listening to you
Finally, you can make voice access auto start the next time you sign-in to your PC. The appropriate option is available in Settings, but you can also use a Registry tweak to enable or disable this feature.
Auto start Voice Access with Windows 11
To auto-start voice access with Windows 11, do the following.
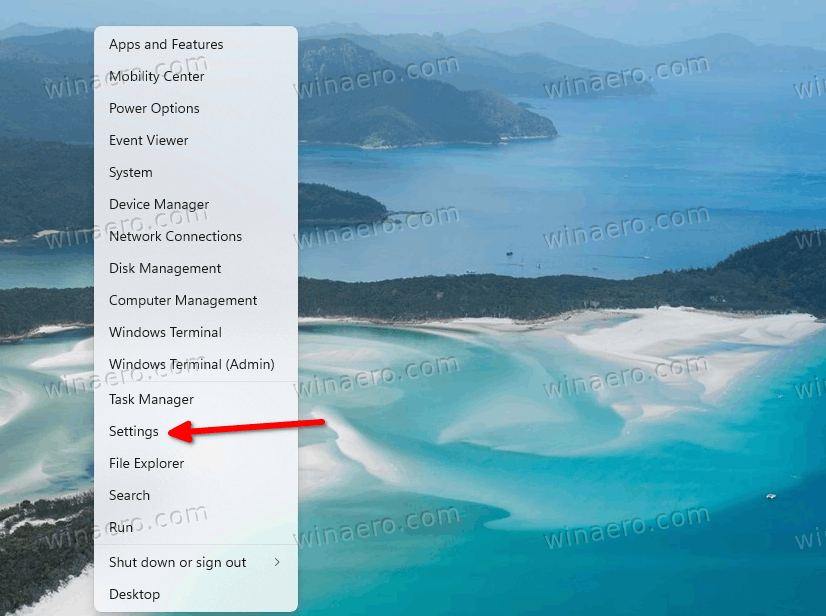
- Right-click the Start button and select Settings from the menu.
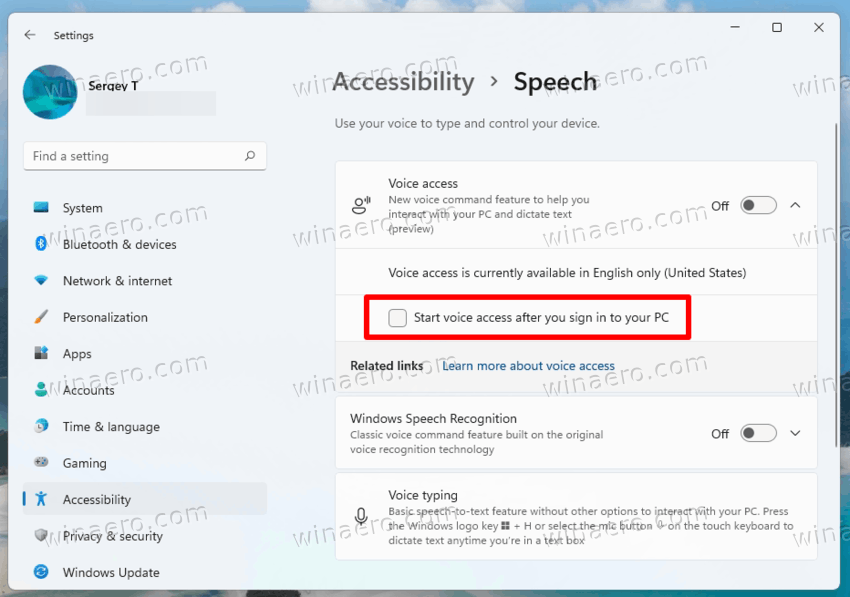
- Navigate to Accessibility > Speech.
- Under Voice access, enable the Start voice access after you sign in to your PC option.
- You can now close the Settings app.
Done! Voice access will now immediately start once you sign-in to your user account. You can uncheck the "Start voice access after you sign in to your PC" box at any moment later to stop Voice access from starting with Windows 11.
Alternatively, you can enable or disable Voice access auto-start in the Registry.
Enable or disable Voice access auto-start with a Registry tweak
- Press Win + R and type
regeditinto the Run box to open the Registry editor. - Navigate to the following key
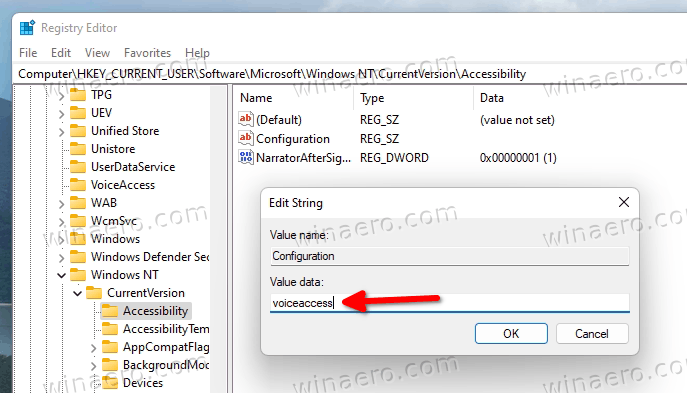
HKEY_CURRENT_USER\Software\Microsoft\Windows NT\CurrentVersion\Accessibility. You can copy and paste this path to the regedit's address bar. - To the right of the Accessibility key, create a new string (REG_SZ) value named Configuration.
- Set its value data to voiceaccess to enable Voice access auto-start in Windows 11.
- To disable the automatic startup of Voice access, remove the Configuration value or set to an empty value.
You are done.
To save your time, you can use the following REG files.
Ready-to-use REG files
Download this ZIP archive with two *.REG files, and extract them to any folder of your choice. Use them as follows.
- Open the
Enable voice access auto start.regfile to make it start with Windows 11. - Double-click the
Disable voice access auto start.regfile to stop it from loading with your OS.
That's it.
Support us
Winaero greatly relies on your support. You can help the site keep bringing you interesting and useful content and software by using these options:
