You can enable checkboxes for files and folders in File Explorer in Windows 11 for a more convenient item selection on computers with touchscreens or devices with a regular mouse or trackpad. The procedure is similar to how you turn on checkboxes in File Explorer in Windows 10, with several differences in the UI.
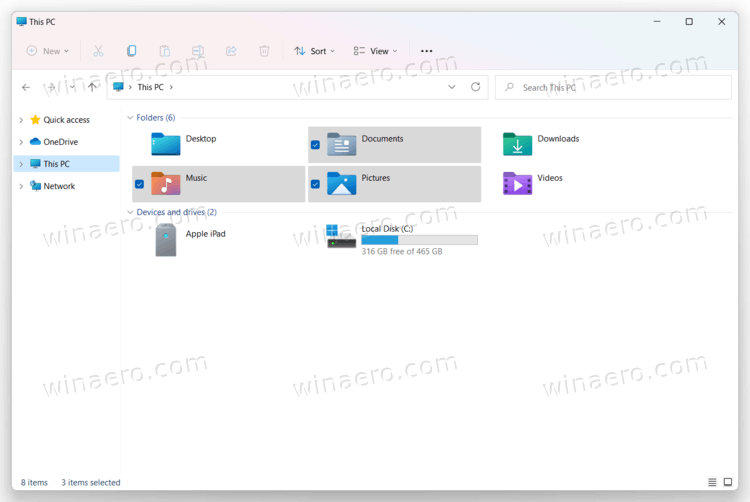
Checkboxes appear once you hover the cursor over an item in File Explorer. On tablets or laptops with a touchscreen, tap the upper-right corner of a file or the area to the left to select it.
Advertisеment
Enable Checkboxes in File Explorer on Windows 11
- Open File Explorer using the Win + E shortcut or icon in the Start menu.
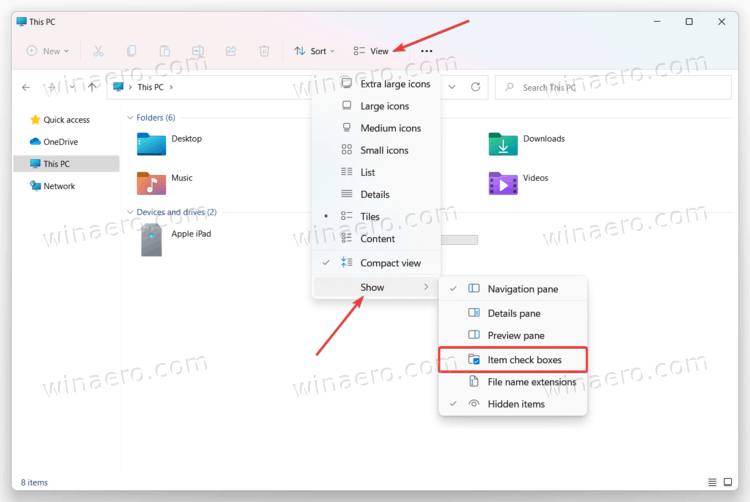
- Click the View button.
- Now, click the Show more option.
- Check the Checkboxes option.
Now you can select files and folders using checkboxes on Windows 11.
Alternatively, you can directly enable or disable File Explorer checkboxes in the Folder Options dialog.
Using Folder Options
- Open File Explorer (you can press Win + E to launch it from anywhere).
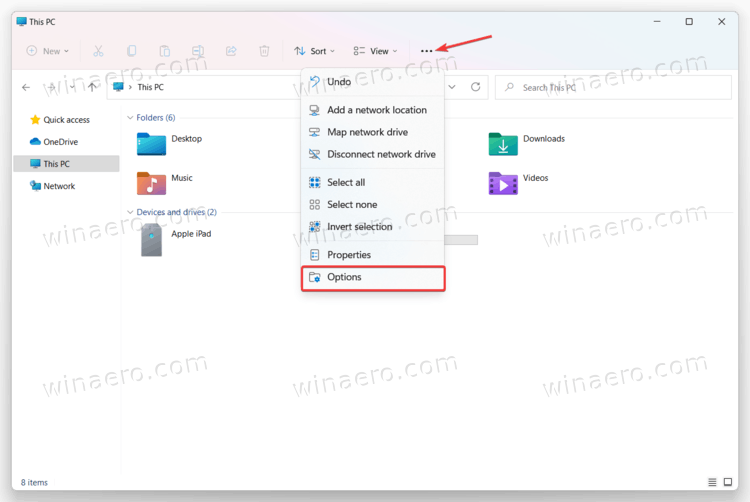
- Click the three-dots button on the toolbar. There are also other methods to open Folder Options in Windows 11.
- Select Options from the drop-down menu.
- In a new window, switch to the View tab and scroll down the list of available settings.
- Find the Use checkboxes to select items option and check it.
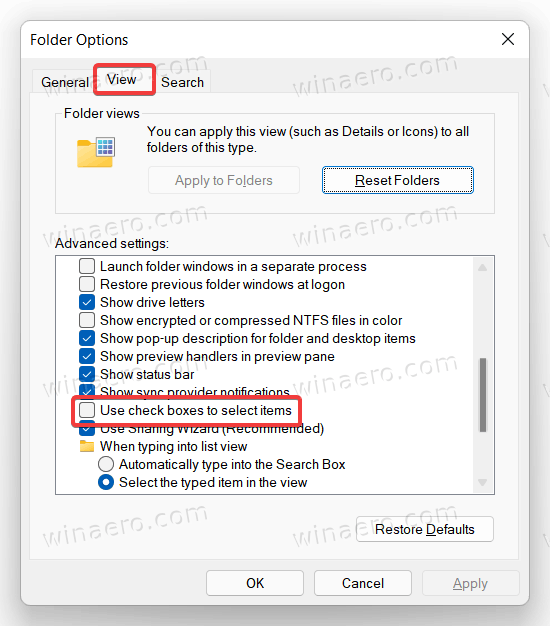
- Click OK to save changes.
Finally, there is a Registry tweak to turn on or off the checkboxes feature in Windows 11 File Explorer. Like almost every Windows setting, checkboxes have a corresponding option in the Registry. So there simple Registry tweak for that.
Enable File Explorer checkboxes in the Registry
- Press Win + R and enter the
regeditcommand. - Go to the following path:
HKEY_CURRENT_USER\Software\Microsoft\Windows\CurrentVersion\Explorer\Advanced. You can quickly open it directly. - Find the
AutoCheckSelectvalue and open it. - Modify or create a new AutoCheckSelect 32-bit DWORD value.
- Change the value data from 0 (default, checkboxes are off) to 1 to enable checkboxes.
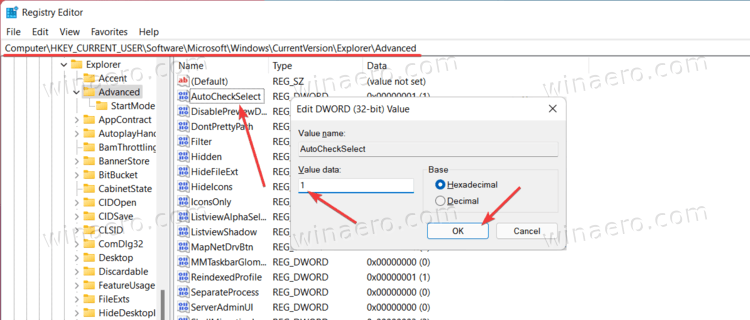
- Click OK to save the changes.
- Close File Explorer and open it again or press the F5 button to refresh the folder view.
You are done!
Ready-to-use Registry Files
You can save your time and omit the steps above with ready-to-use registry files. Download the files in a ZIP archive using the link below, then extract them to any folder.
Now, open the Enable checkboxes in File Explorer in Windows 11.reg file to enable checkboxes. Later, you can use the Disable checkboxes in File Explorer in Windows 11.reg file to disable them.
That's it.
Support us
Winaero greatly relies on your support. You can help the site keep bringing you interesting and useful content and software by using these options:
