You can change the System Product Name in Windows 11 if you are not satisfied with the default value. It can be set by the OEM or automatically by Windows after analyzing your hardware.
Advertisеment
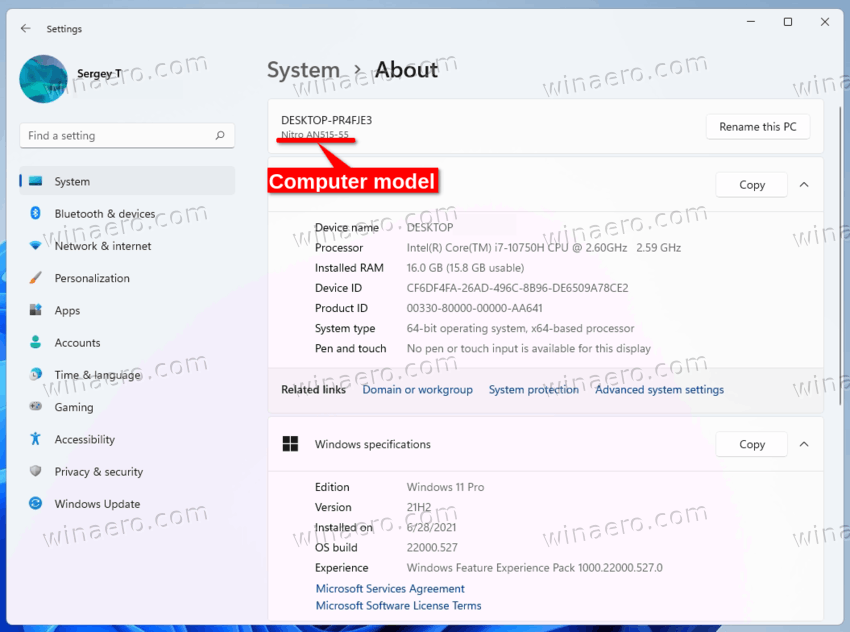
Usually, system product name is set by OEM to device's model. For example, it may say Surface Pro, Allienware, etc. Otherwise, it will be most likely set to your motherboard model. Also, Windows 11 doesn't assume that you will change it on demand. So it doesn't include tools or options designed for that purpose.
If you have a laptop, it will show there its current model.
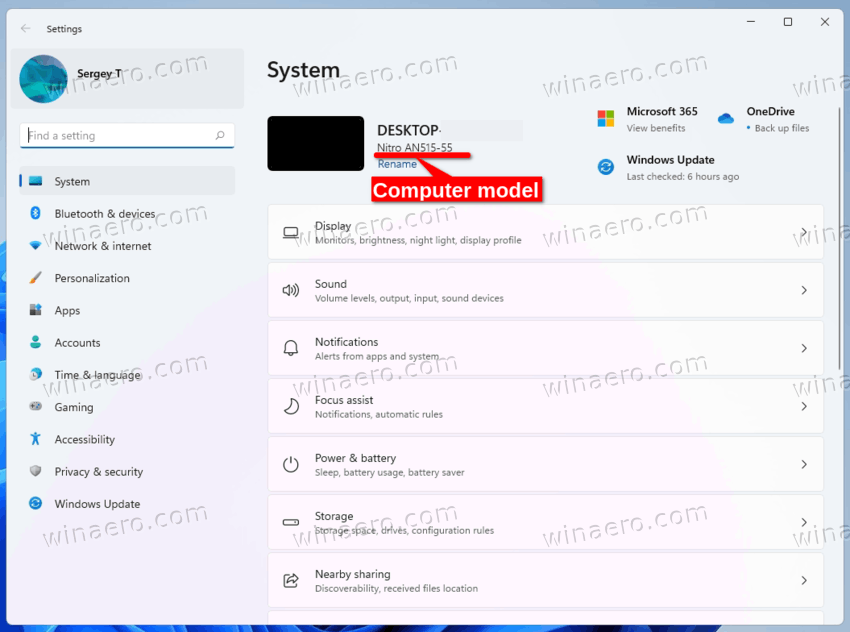
When you assembled your computer yourself and installed Windows on it, it will probably show the motherboard name. In this case you may want to set it to some meaningful or unique name.
Here's how you can change the computer model for your Windows 11 device.
Change System Product Name in Windows 11
To change the System Product Name in Windows 11, do the following.
- Press Win + R and type
regeditin the Run text box to open the Registry Editor app. - Go to the following key: HKEY_LOCAL_MACHINE\SOFTWARE\Microsoft\Windows\CurrentVersion\OEMInformation.
- If the OEMInformation subkey is missing, right-click the CurrentVersion subkey and select New > Key from the menu. Name it as OEMInformation.
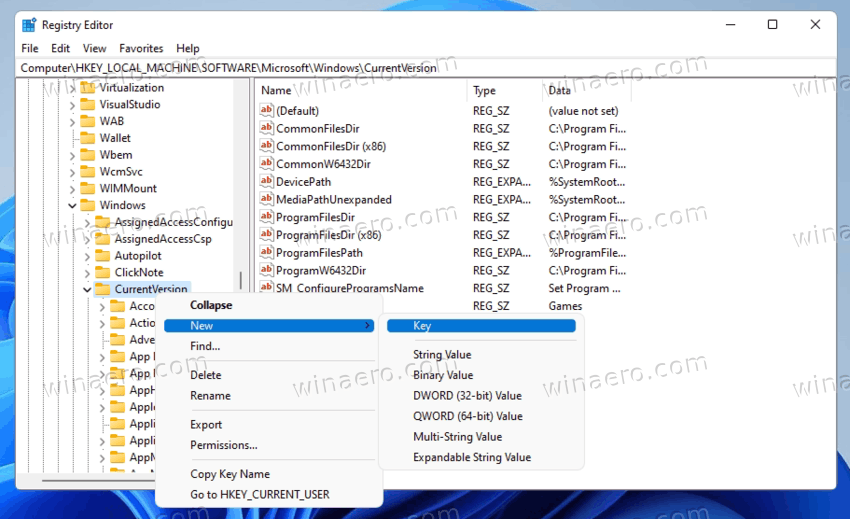
- To the right of the OEMInformation subkey, modify or create the Model string (REG_SZ) value.
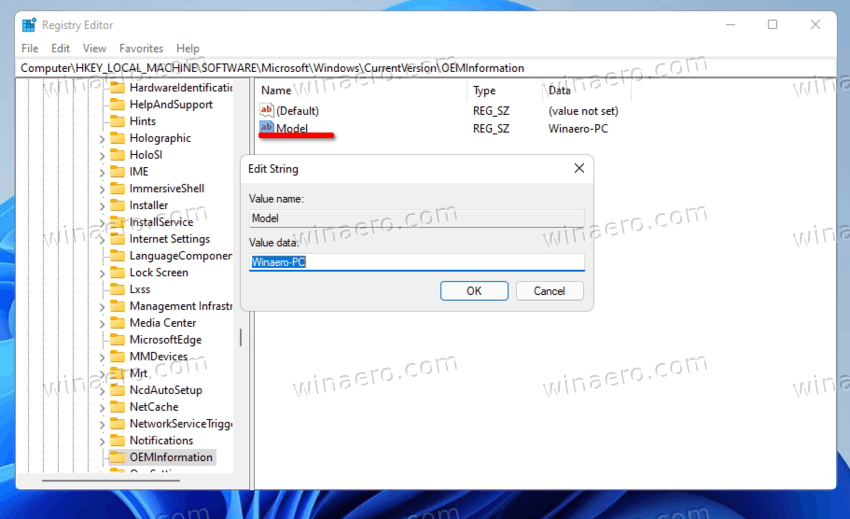
- Double-click it and type a system product name of your choice.
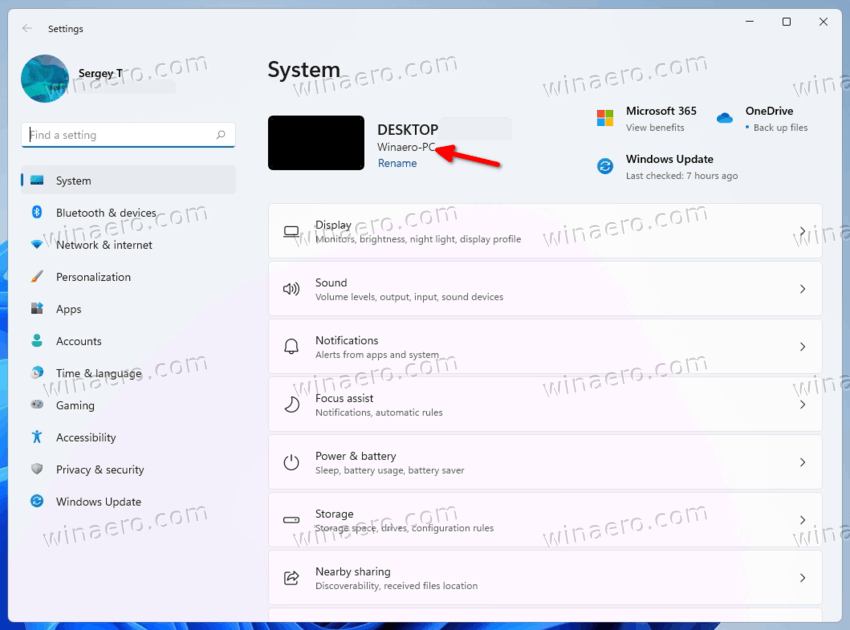
You are done. Close regedit and open the Settings app (Win + I). You should see the product name value you just specified.
The reviewed value is part of the OEM information the user can customize in the Registry. You will find more information about this topic in the following post.
Alternative methods
To save your time, you can use either Winaero Tweaker or a REG file that you can edit to suit your needs. Both options will allow you to take full control on the OEM info used in Windows, including the ability to change the system product name.
REG file
Download the following ZIP archive and extract the REG file from there to any place on your drive. The desktop folder is suitable, as it is a tiny file.
Now, open the extracted REG file in Notepad.
To change the system product name, simply modify the "Model" line and save the file.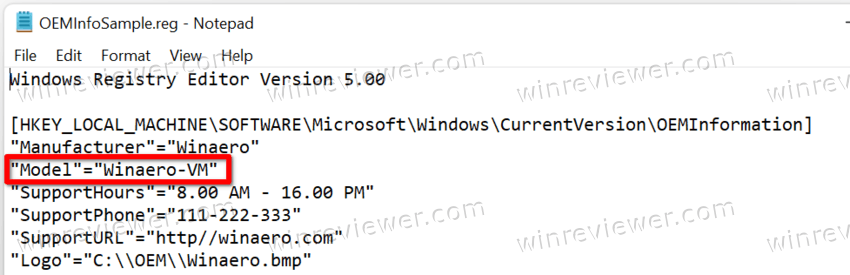
Edit or remove the values you are not going to change, and double-click the REG file to merge it into the Registry.
Winaero Tweaker
The app allows you to change the computer model in Windows. As I already mentioned above, it's part of the OEM Information tool, available at Tools\ Change OEM Info.
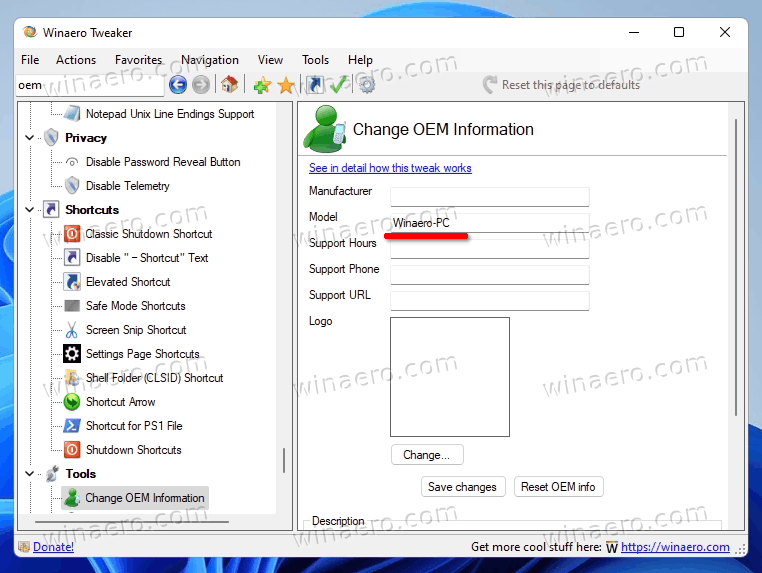
Download the app from here, install and run it.
Navigate to Tools\ Change OEM Info section
Now, set the Model text box value to a text of your choice. You may leave the rest of values unchanged.
You are done. Regardless of the method you choose, the system product name will now be set to what you need.
Support us
Winaero greatly relies on your support. You can help the site keep bringing you interesting and useful content and software by using these options:

just push the “rename PC” on the second widow show here, don’t mess up with regedit ….