Windows 11 allows you to change the cursor theme along the cursor size and color. Besides the appearance of the mouse pointer, you can also customize the look of the text indicator.
Advertisеment
Since very first versions Microsoft Windows supports customizing the look and style of the mouse pointer. Traditionally, the default theme has a discreet design. But the user can change it to anything they want. It also supports animated cursors, bringing a bit of fun to your daily tasks.
At some point of time, Microsoft allowed to add extra cursor themes with a couple of clicks. You may remember the famous animated dino pointers. These days, you can download hundreds of custom cursors from the Internet.
In Windows 11, the Settings app offers rich customizations options in addition to the simple theme selection in the classic Control Panel. With a couple of clicks, you can change the cursor size, style, and even specify a custom color for the cursor. Besides, it allows you to change the size and color of the text cursor. But if you prefer the classic Control Panel, you still can use it to quickly change the cursor theme.
Change Cursor Size and Style in Windows 11
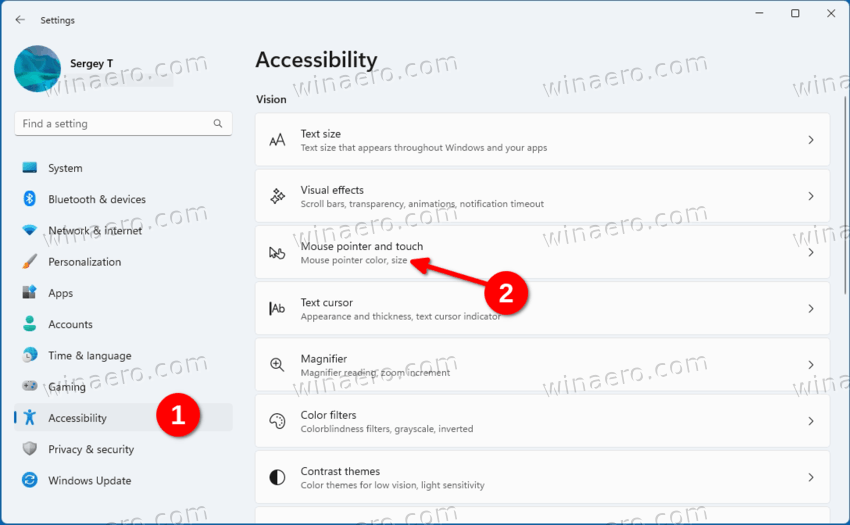
- Right-click the Start button and select Settings from the context menu.
- Select Accessibility on the left.
- In the right pane, click the Mouse pointer and touch item.
- On the next page, select White, Black, Inverted, or Custom under the Mouse pointer style section.
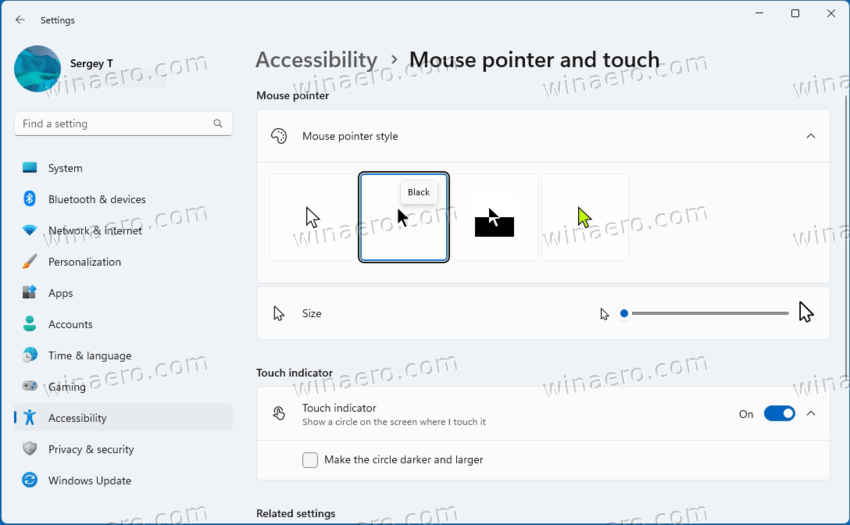
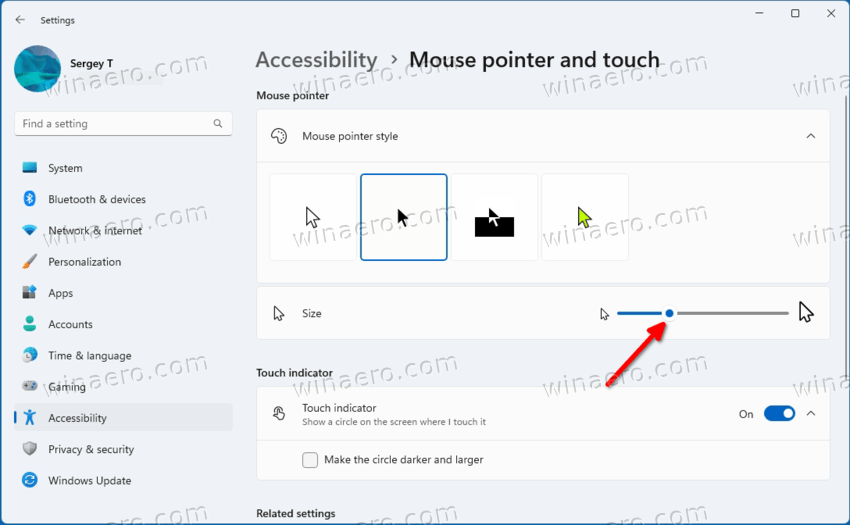
- Now, adjust the value of the Size slider. You can set it to a value from 1 to 15, where 1 is the default value.
You are done.
Setting the cursor style to "Custom" will allow you to specify a color of your choice for the pointer. Windows 11 shows a few presets, and also allows you to set any other color.
Change Cursor Color in Windows 11
- Press Win + I to open Settings.
- Click Accessibility on the left side, then click Mouse pointer and touch on the right.
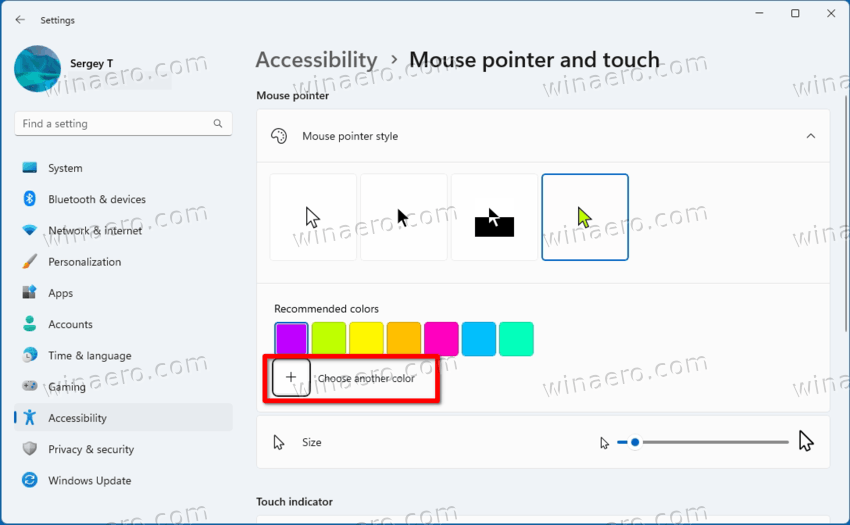
- Under Mouse pointer style, click on the Custom option.
- The page will show a new section, Recommended colors. Click on the box with a color to instantly apply to the mouse pointer.
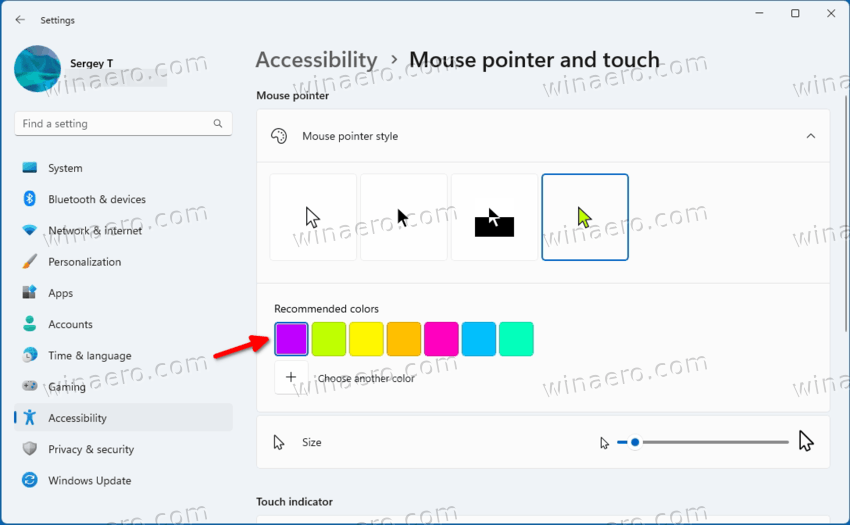
- To change the cursor color in Windows 11 to some different color, click on the Choose another color button.
- In the next dialog, use the left area to specify a base color, then change its intensity with the slider below.
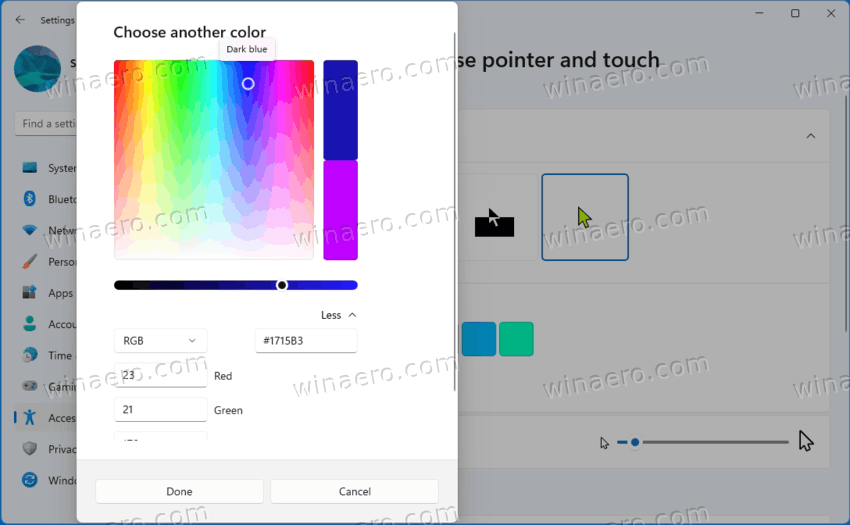
- Also, you can click on the More chevron to enter RGB or HSV values directly.
- Click Done to apply the color.
You are done. The mouse pointer will now have a custom color and size, according to your preferences.
Finally, you can change the whole cursor theme with one click in the classic Control Panel app. While the latter is well hidden in Windows 11, it still works and still contains a number of useful applets. Some of those remain exclusive to the app and don't modern counterparts in Settings.
Change the Cursor Theme in Control Panel
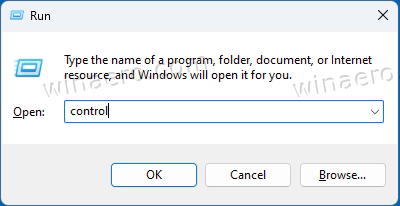
- Press Win + R and type control in the Run box to open the legacy Control Panel.
- If required, switch it to the Icons view, and find the Mouse icon.

- Go to the Pointers tab, and select the desired theme under the Scheme section.
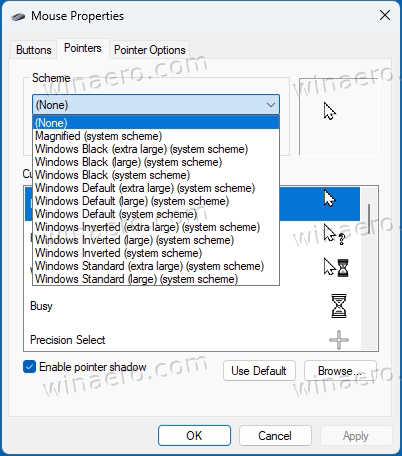
- Click on the Apply and OK buttons to instantly enable the selected cursor theme.
Done!
Registry keys
If you are curious, Windows stores the style, size and color settings for the mouse pointer under the following Registry keys:
- HKEY_CURRENT_USER\Control Panel\Cursors
- HKEY_CURRENT_USER\Software\Microsoft\Accessibility
You can export them before changing anything, and import them later to quickly restore the modified settings.
Customize Text Cursor in Windows 11
In addition to the pointer customizations reviewed above, Windows 11 allows you to customize the text cursor indicator. By default, a text cursor appears when a text area is in focus, e.g. in a Word document, in Notepad, in the Run box etc. It looks like a tiny vertical blinking line.
To make it more noticeable, Windows includes a feature called "Text Cursor Indicator". It makes the tiny text cursor colorful. You can enable or disable it, change its color and size according to your taste. Here's how it can be done.
Enable Text Cursor Indicator
- Open Windows Settings (Win + I).
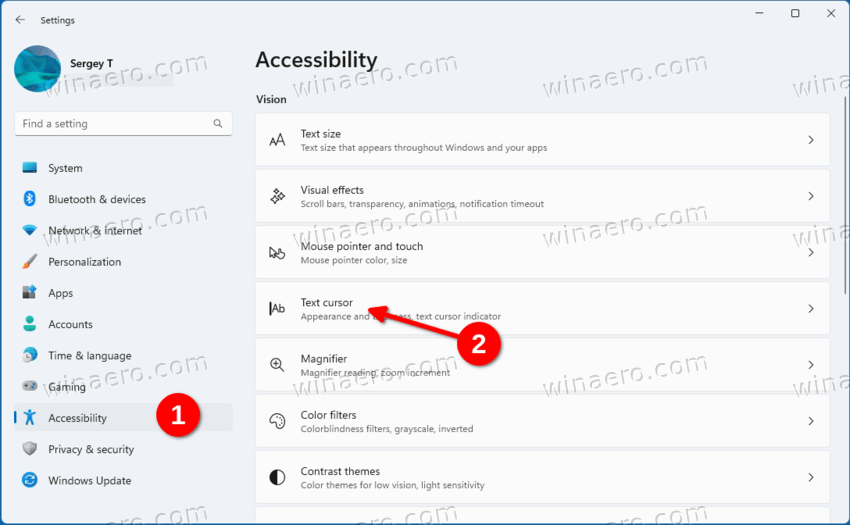
- Click on the Accessibility section on the left.
- On the right, select Text cursor.
- Turn on the Text cursor indicator option.
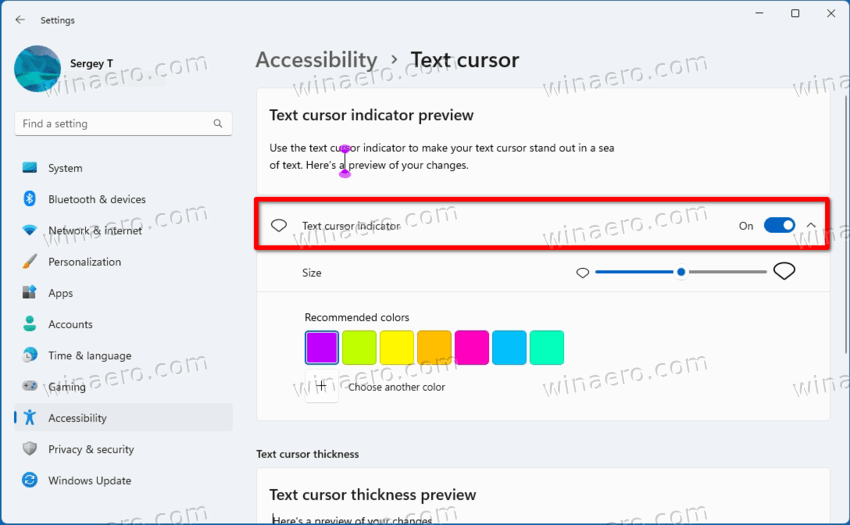
- Windows 11 will now highlight the cursor in text boxes and make it easier to spot.
Done! You can disable this Text Cursor Indicator at any moment later by disabling the Accessibility > Text cursor > Text cursor indicator option in Settings.
Alternatively, you can enable or disable it in the Registry.
The Registry method
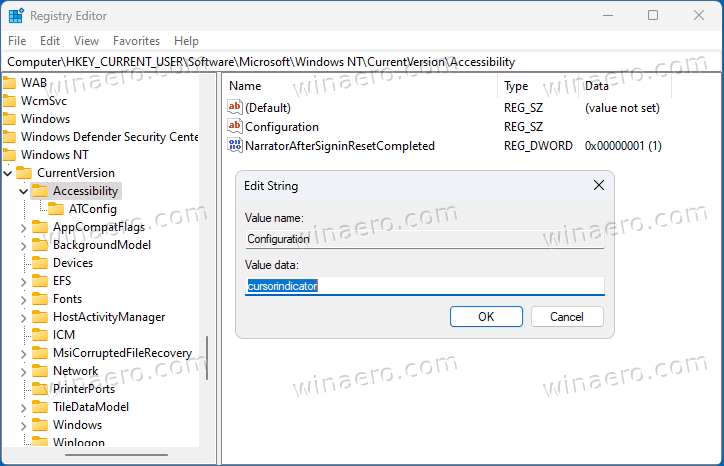
The Text cursor indicator option is stored under the following key:
HKEY_CURRENT_USER\SOFTWARE\Microsoft\Windows NT\CurrentVersion\Accessibility
Here, you need to create or modify the following string (REG_SZ) value
-
"Configuration"="cursorindicator"- enable "Text cursor indicator". -
"Configuration"=""- disable "Text cursor indicator".
Note: This is a per-user option.
To save your time, you can download the following ready-to-use REG files.
Extract them from the ZIP archive to any folder of your choice. Open the Enable_text_cursor_indicator.reg file and confirm the UAC prompt to turn it on. The other file will disable the text cursor indication.
Change the Text Cursor Indicator Size
The indicator for the text cursor can be of 5 sizes. By default, it is set to the largest one, but you can reduce it. This can be useful if you find the default indication too large.
To change the text cursor indicator size in Windows 11, do the following.
- Open the Settings app with the Win + I keyboard shortcut.
- In the left panel, click on Accessibility.
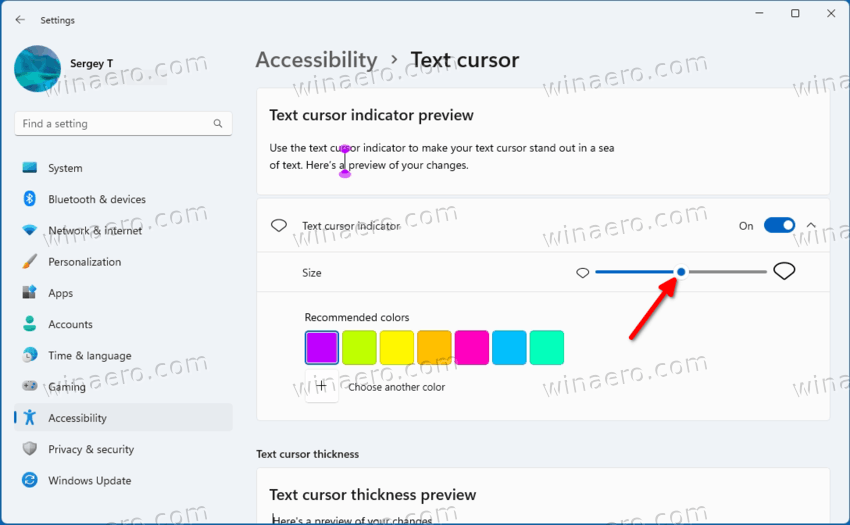
- Now, click on Text Cursor in the right pane.
- On the next page, adjust the position of the Size slider for what you want.
Done!
Also, you can change the indication size by the direct Registry modification. Let's review this method.
Using a Registry tweak
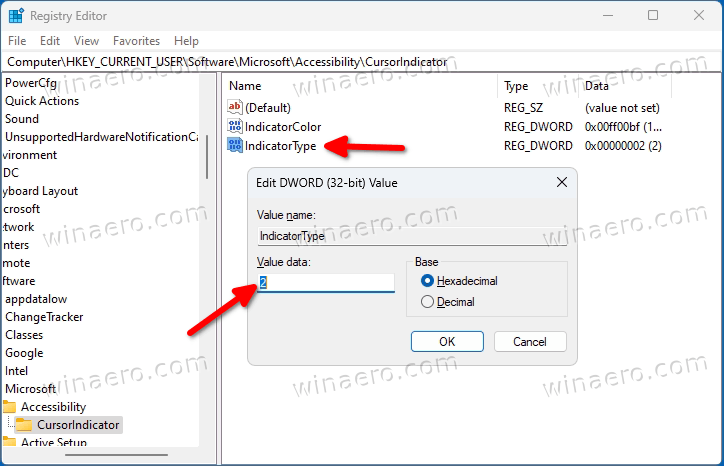
- Open the Registry editor by pressing Win + R and typing
regeditin the Run box.
- Navigate to the following key:
HKEY_CURRENT_USER\SOFTWARE\Microsoft\Accessibility\CursorIndicator. - To the right of the CursorIndicator key, modify or create a new 32-bit DWORD value named IndicatorType.
- Set its value data to a number from 1 to 5. 1 is the smallest one, 5 is the largest indicator.
You are done.
Ready-to-use REG files
You can avoid the manual Registry editing by downloading the following set of files.
Download REG files in a ZIP archive using this link.
Extract them to any folder of your choice. Now, double-click one of these REG files:
text_cursor_indicator_size_1.regtext_cursor_indicator_size_2.regtext_cursor_indicator_size_3.regtext_cursor_indicator_size_4.regtext_cursor_indicator_size_5.reg
Each of the files will change the size of the text cursor indicator to the respective value.
Finally, Windows 11 allows you to change the text cursor indicator color. Here's how.
Customize the Color for the Text Cursor Indicator
- Press Win + X on the keyboard, and select Settings from the menu.
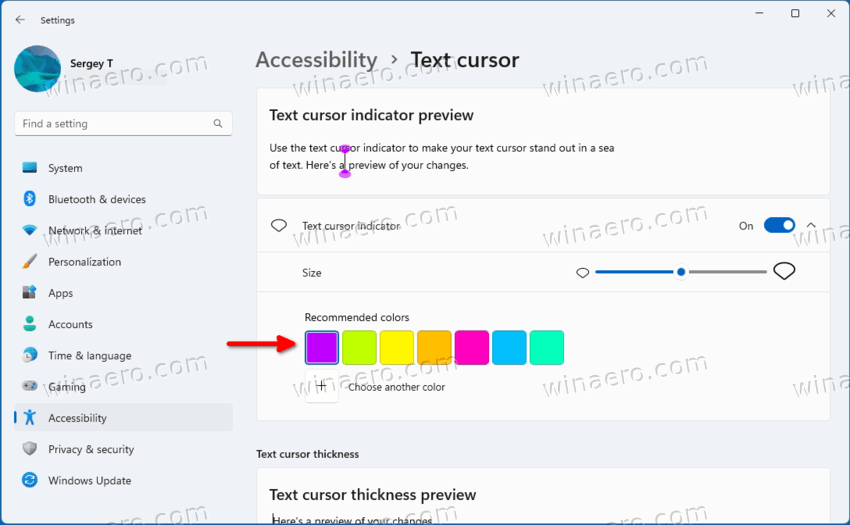
- In Settings, open the Accessibility > Text cursor page.
- Under Recommended colors, pick one of the available colors. This will instantly change the color for the Text Cursor Indicator.
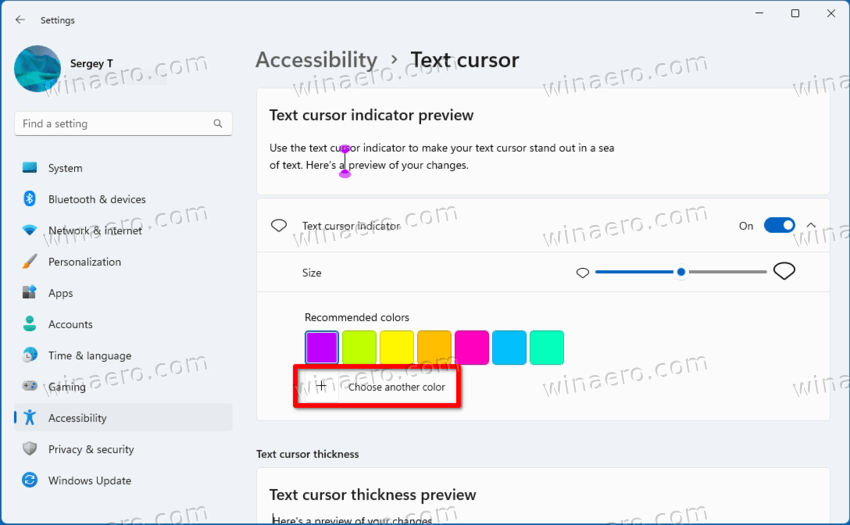
- If the color you want to set is missing, you can apply it manually. For that click Choose another color.
- On the left of the color chooser dialog, select a base color, e.g. green.
- Now, use the slider below to change the color intensity.
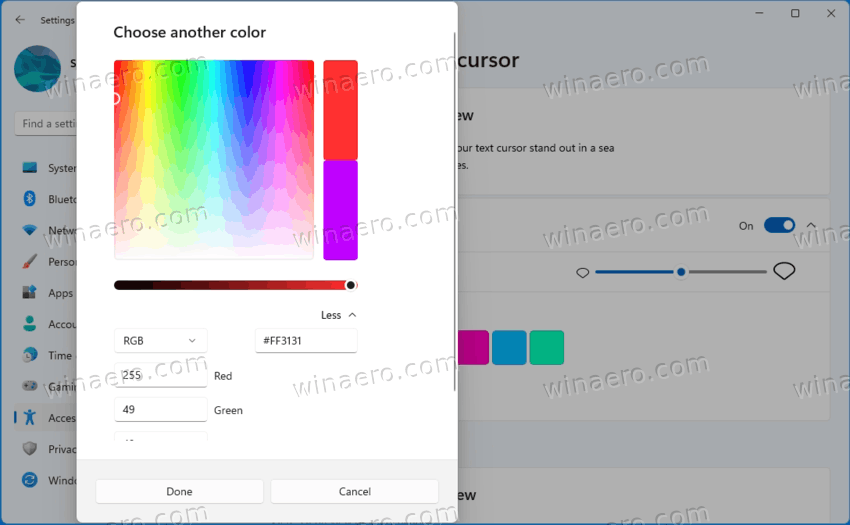
- Also, you can click the "More" option and specify a new color using RGB and HSV values.
- Click Done to apply the color of your choice.
Windows 11 will write your new color in the Registry into the IndicatorColor DWORD value under the following key path:
HKEY_CURRENT_USER\SOFTWARE\Microsoft\Accessibility\CursorIndicator
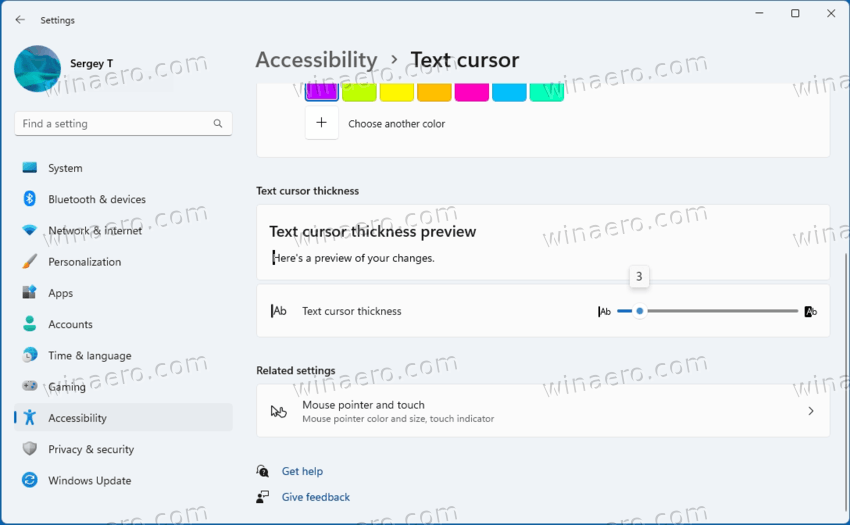
Change Text Cursor Thickness in Windows 11
Instead of (or in addition to) the Text Cursor Indicator, you may want to increase the thickness of the text cursor. This will be useful on high resolution displays or people with low vision.
There are three methods to change the text cursor thickness. You can use Settings, Control Panel, and Registry.
Change Text Cursor Thickness with Settings
- Open the Start menu and select the Settings icon.
- In Settings, open the Accessibility category.
- On the right, click the Text cursor button.
- Go down to the Text cursor thickness slider and set its value from 1 to 20.
Done. But Settings is not the only method to change the cursor thickness. You can adjust it in the classic Control Panel.
Using the classic Control Panel
- Press Win + R, type
controland hit Enter to open the Control Panel.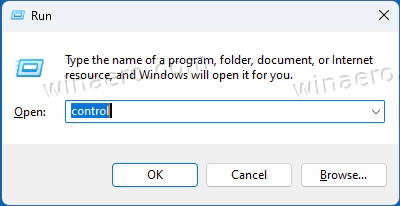
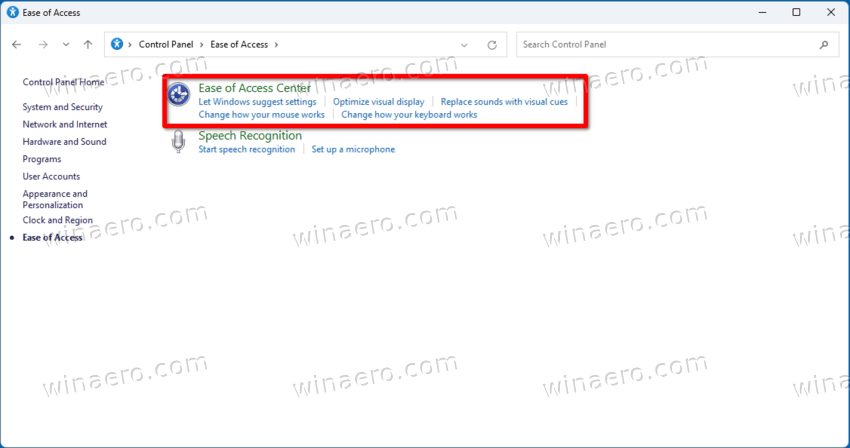
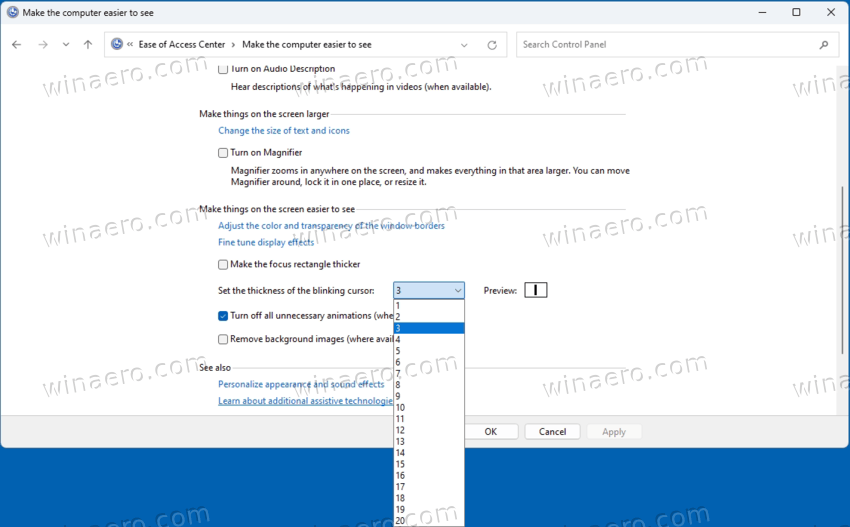
- Click the Ease of Access Center icon.
- Now, click the Make the computer easier to use link.
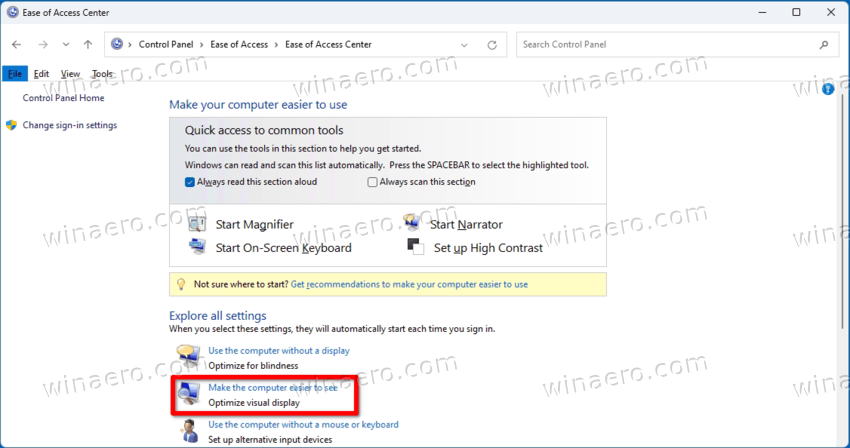
- Use the Set the thickness of the blinking cursor drop-down menu to set the thickness value you want. You can change it in a range from 1 to 20.
Finally, you can use the Registry editor to adjust the text cursor thickness. While it is not the most convenient method, it can be useful for some users. For example, you may use it to automate the setup of new user accounts. Or you can use it to quickly deploy your preferences across your devices.
Adjust the Text Cursor Thickness in the Registry
- Open the Registry editor (
regedit.exe).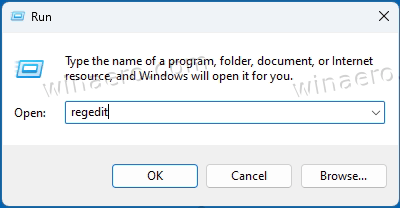
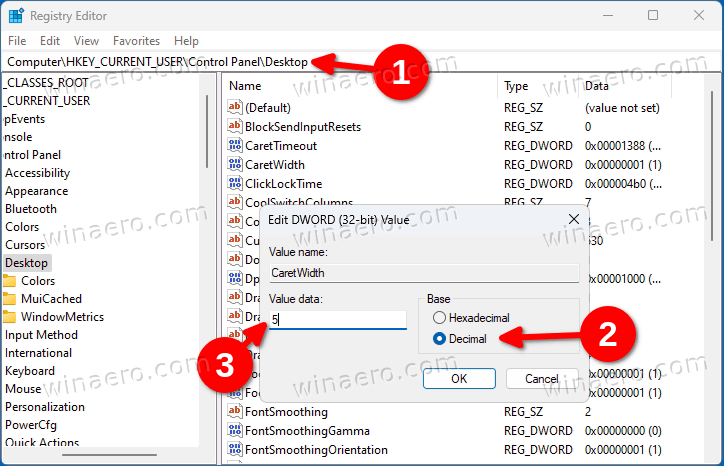
- Go go the
HKEY_CURRENT_USER\Control Panel\Desktop key. - In the right pane, double-click the 32-bit DWORD value CaretWidth.
- Select Decimal for Base, and enter a new value date in a range from 1 to 20 for the text cursor thickness. 1 pixel is the default thickness.
- Now you need to sign out from your user account, or restart Windows 11 to apply the change.
Change Text Cursor Blink Timeout
Additionally, you customize the time that the text cursor will blink before it automatically stops blinking. By default this timeout is 5 seconds. Windows 11 doesn't include any user interface for this option, as it not that important. The blink timeout is set in milliseconds.
To change the text cursor blink timeout, do the following.
- Open the Registry editor (
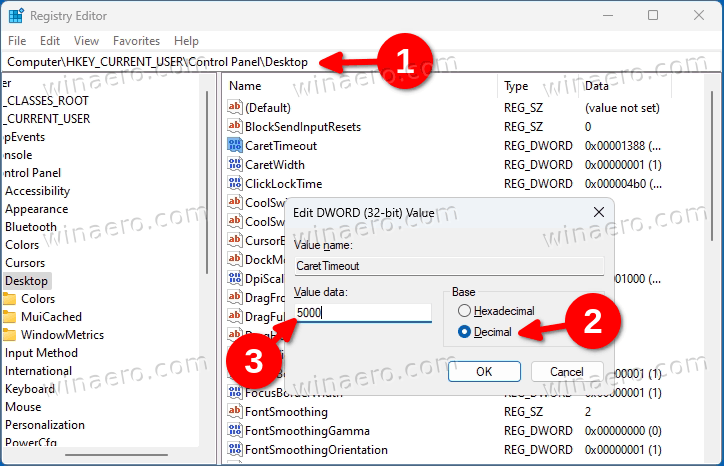
regedit.exe). - Expand the left area to the
HKEY_CURRENT_USER\Control Panel\Desktop key. - In the right pane next to the desktop key, double-click the CaretTimeout value. It is a 32-bit DWORD value that you can create yourself if it is missing.
- Finally, set Decimal under Base; and specify a new text cursor blink timeout in milliseconds.
- Sign out from your user account, or restart the operating system to apply the change.
Done! The default value is 5000 milliseconds = 5 seconds. You can set it to 10000 to make it blink for 10 seconds.
That's all about customizing the cursor appearance in Windows 11.
Support us
Winaero greatly relies on your support. You can help the site keep bringing you interesting and useful content and software by using these options:
