In the past, we mentioned that one of the pre-release builds of Windows 10 brought customization options for the Start menu. In this article, I would like to share how it can be done in Windows 10 RTM. Using this tutorial, you will be able to add or remove folders and system locations to the Start menu of Windows 10.
Microsoft provided the ability to add or remove folders and system locations to the left part of the Start menu. To customize that area, you need to do the following:
- Open the Settings app.
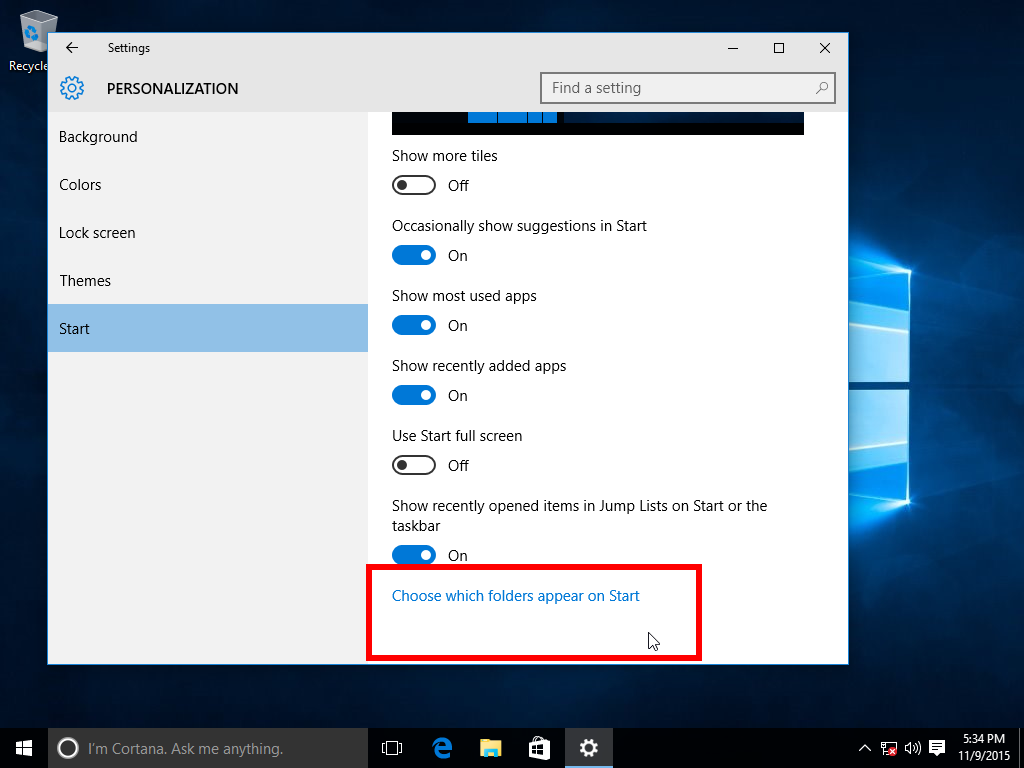
- Go to Personalization -> Start.
- Scroll the right area down till you see the link named "Choose which folders appear on Start". Click it.

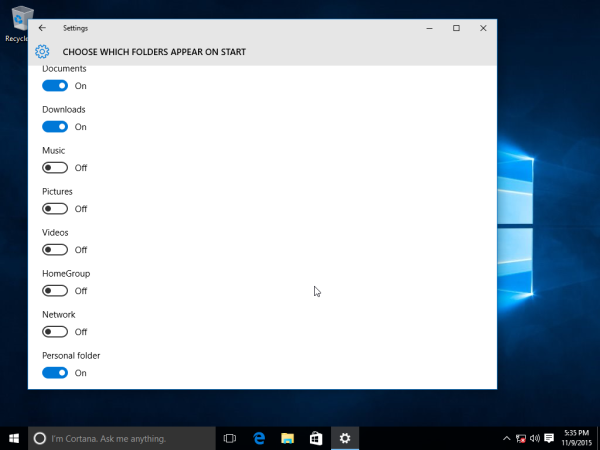
- From the list of folders, choose the desired items to see them in the Start menu on its left side. It is a good idea to add Downloads, Documents and the Personal folder to have the quick access to those locations:


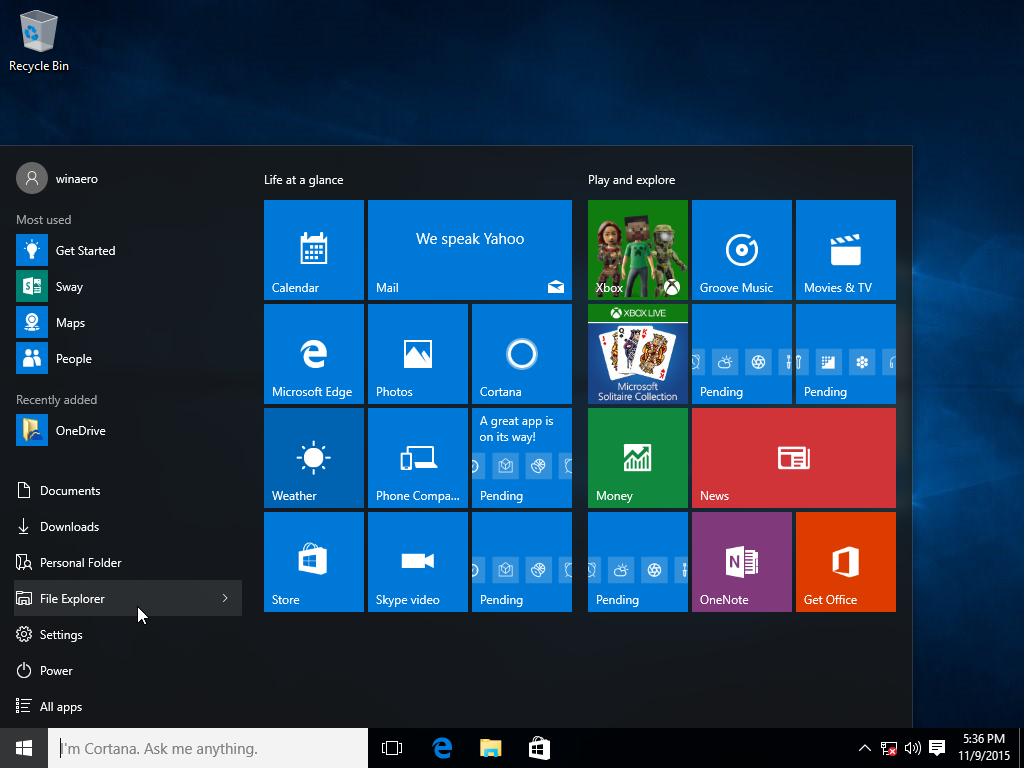
That's it. If you are not using the right side of the Start menu with tiles, you might want to resize the Windows 10 Start Menu to a single column.
Support us
Winaero greatly relies on your support. You can help the site keep bringing you interesting and useful content and software by using these options:

And how can I add my own personalized folder to this list? Do you know any registry hack or other solution?