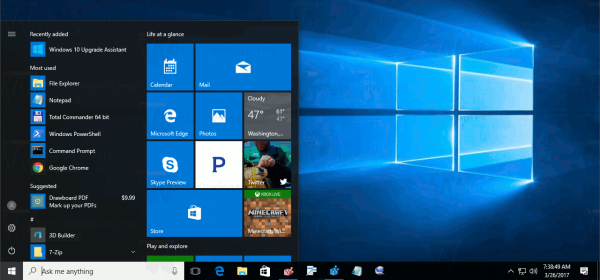
Windows 10 comes with a completely reworked Start menu, which combines Live Tiles introduced in Windows 8 with classic app shortcuts. If you are happy with the default Start menu of Windows 10 and do not use a third party Start menu replacement like Classic Shell, you might find it useful to arrange your pinned tiles into groups and name them according to your preferences.
Advertisеment
Windows 10 has Live Tile support for Universal (Store) apps installed on your PC. When you pin such an app to the Start menu, its Live Tile will show dynamic content like news, weather forecast, images and so on. For example, you can add a useful data usage Live Tile.
Windows 10 allows pinning a variety of items to the Start menu. These include
- Email accounts
- World clock
- Photos
- Any file or folder
- Apps from the Start menu
- Executable files
- Individual Settings pages and their categories
Once you pinned desired items to the Start menu, you can organize pinned tiles into groups.
To group tiles in the Start menu in Windows 10,
- Open the Start menu.
- Click and hold the left mouse button on a tile want to move.
- Drag the tile to within the same or other group.
- Drop the tile where you like to have it.
When you move a tile into or out of the group, the other tiles in that group will be automatically rearranged.
Rename groups
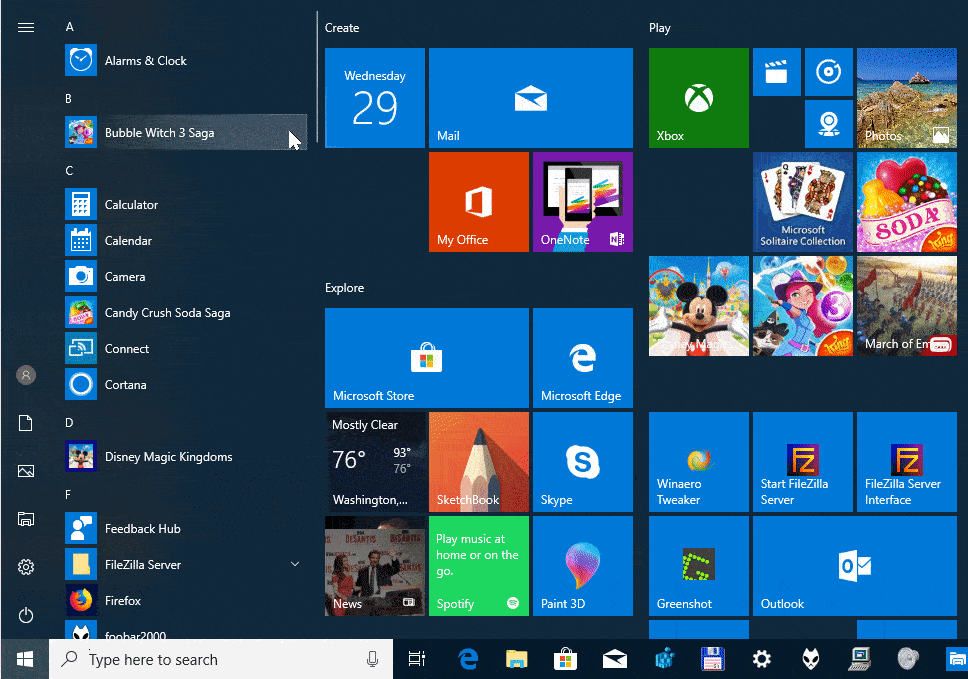
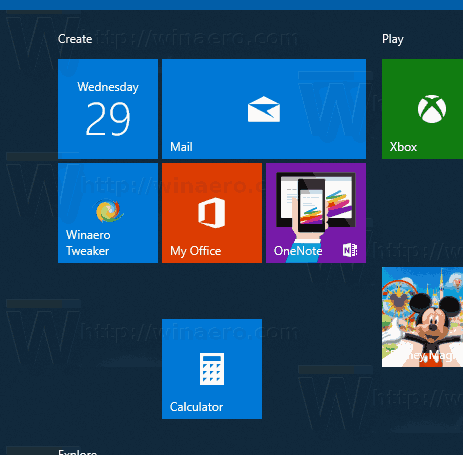
Windows 10 allows renaming tile groups in the Start menu. It comes with a number of groups that are already named, such as Play, Create, etc. The apps pinned to Start manually will be added to a new unnamed group.
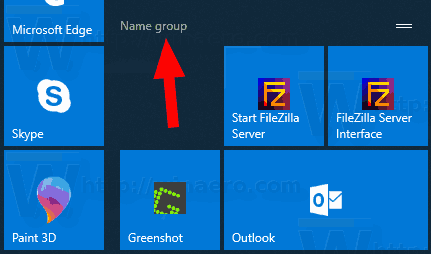
To rename a group of tiles in Windows 10, click on the group name. Its name will become editable. Change it to what to want.
For an unnamed group, hover with the mouse pointer over the place where the name of the group should be located. You will be prompted to name the group.
To remove the name of a group and make it unnamed, start renaming it and clear the name value to leave it blank. You can use the small "x" button next to the group name when in edit mode.
Move groups
- Open the Start menu.
- Hover with the mouse pointer over the group name row. You'll see two horizontal lines next to the group name.
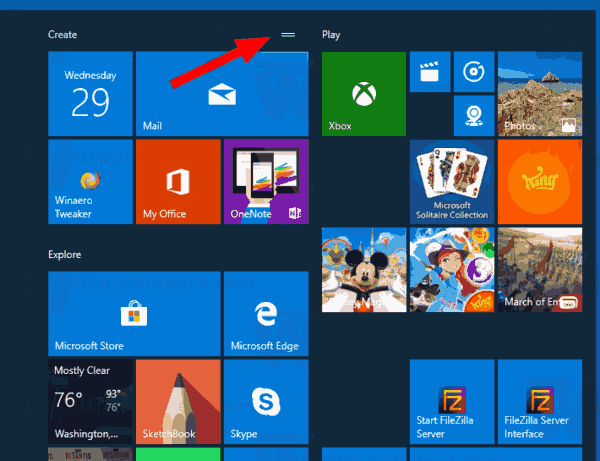
- Click'n'hold on the lines and start moving the group.
- Continue moving the group until you see a group bar placeholder at the new location where you want to place the group.
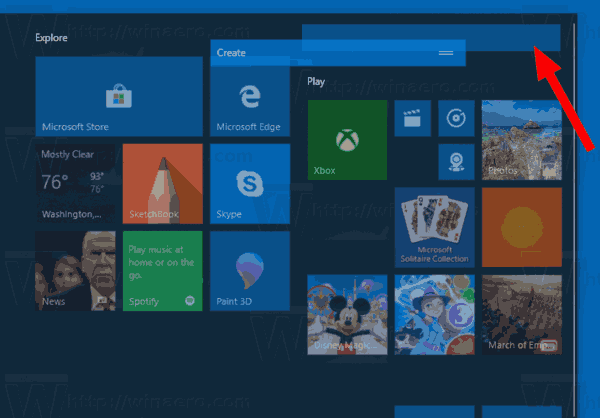
- Release the left mouse button to move the group there.
Create a new group
This is very simple. Just drag and drop any tile from the existing group to an empty space in your Start menu. A new group will be instantly created, containing the only tile you've moved.

That's it.
Articles of interest.
- Create Tile Folders in Start Menu in Windows 10
- Backup and Restore Start Menu Layout in Windows 10
- Rename Start Menu Items in All Apps in Windows 10
- How To Clear Live Tile Cache in Windows 10
- Set Default Start Menu Layout for Users in Windows 10
- Backup User Folders in Start Menu in Windows 10
- Disable Live Tiles all at once in Windows 10 Start menu
- How to clear Live Tile notifications during log on in Windows 10
- Tip: Enable more tiles in Windows 10 Start menu
Support us
Winaero greatly relies on your support. You can help the site keep bringing you interesting and useful content and software by using these options:
