Ever since the earliest builds of Windows 10, many users on the 'Fast Ring' have faced an error 0x80246017 when they try to upgrade to a newer build. For instance, the recently released build 10122 is getting stuck at 18% for many users. To fix this problem, follow the instructions below.
To fix error 0x80246017 during the upgrade and prevent Setup from rolling back to the previous build, do the following:
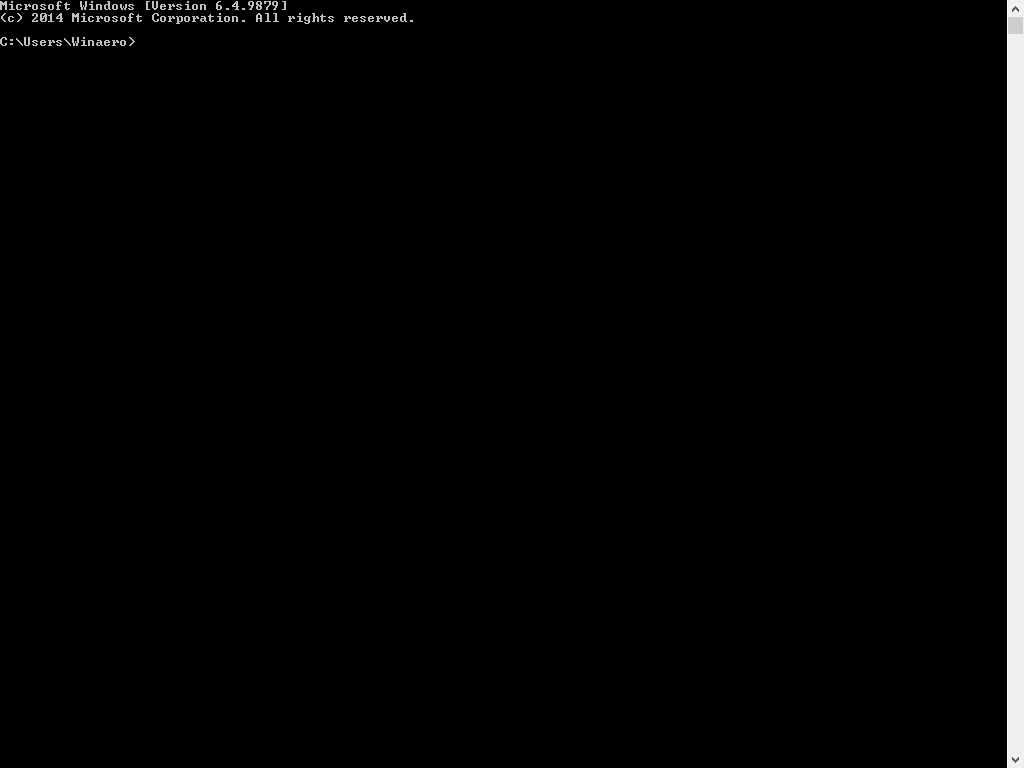
- Open an elevated command prompt.

Tip: see how to open command prompt fullscreen in Windows 10. - Type the following command:
rundll32.exe pnpclean.dll,RunDLL_PnpClean /DRIVERS /MAXCLEAN
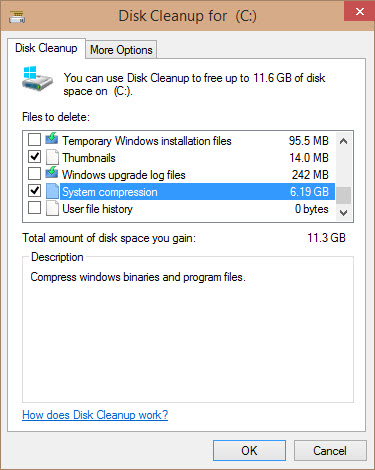
- Now, open the Disk Cleanup tool and remove temporary files and Windows.old. More details here: delete Windows.old folder in Windows 10.
Now reboot and try to upgrade your Windows 10. Let us know in the comments if this helped you or not.
Support us
Winaero greatly relies on your support. You can help the site keep bringing you interesting and useful content and software by using these options:

Thanks Sergey! Not using 10 anymore but when I was most of my errors where because of lack of space when upgrading (again mostly because of previous installations taking up huge space like mentioned above).