Windows 10, Windows 8.1 and Windows 8 come with Client Hyper-V so you can run a supported guest operating system inside a Virtual Machine. Hyper-V is Microsoft's native hypervisor for Windows. It was originally developed for Windows Server 2008 and then ported to Windows client OS. It has improved over time and is present in the latest Windows 10 release as well. Here is how to enable and use this feature.
Advertisеment
What is Hyper-V
Hyper-V is Microsoft's very own virtualization solution that allows creating virtual machines on x86-64 systems running Windows. Hyper-V was first released alongside Windows Server 2008, and has been available without additional charge since Windows Server 2012 and Windows 8. Windows 8 was the first Windows client operating system to include hardware virtualization support natively. With Windows 8.1, Hyper-V has got a number of enhancements such as Enhanced Session Mode, enabling high fidelity graphics for connections to VMs using the RDP protocol, and USB redirection which is enabled from the host to VMs. Windows 10 brings further enhancements to the native hypervisor offering, including:
- Hot add and remove for memory and network adapters.
- Windows PowerShell Direct – the ability to run commands inside a virtual machine from the host operating system.
- Linux secure boot - Ubuntu 14.04 and later, and SUSE Linux Enterprise Server 12 OS offerings running on generation 2 virtual machines are now able to boot with the secure boot option enabled.
- Hyper-V Manager Down-level management - Hyper-V manager can manage computers running Hyper-V on Windows Server 2012, Windows Server 2012 R2 and Windows 8.1.
Here is how to enable Hyper-V in Windows 10.
Note: Only Windows 10 Pro, Enterprise, and Education editions include the Hyper-V virtualization technology.
Enable Hyper-V in Windows 10
Before proceeding, please read How to check if your PC can run Windows 10 Hyper-V. Also, you must be signed in with an administrative account to continue.
To enable Hyper-V in Windows 10, do the following.
- Press the Win + R keys to open Run and type
optionalfeatures.exeinto the Run box.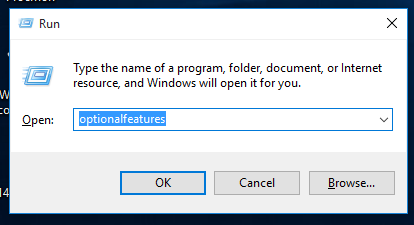
- In the Optional Features applet, scroll to and enable the group Hyper-V.
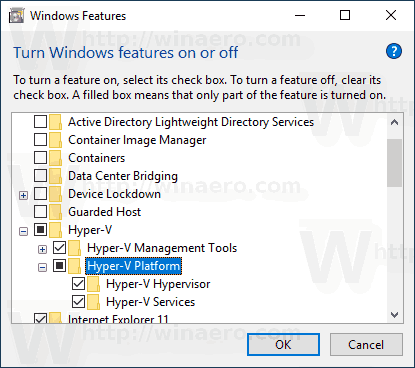
- Click on the OK button.
- Restart Windows 10 to apply the change.
- The Hyper-V feature is now enabled.
Now, let's see how to create a new virtual machine.
How to use Hyper-V
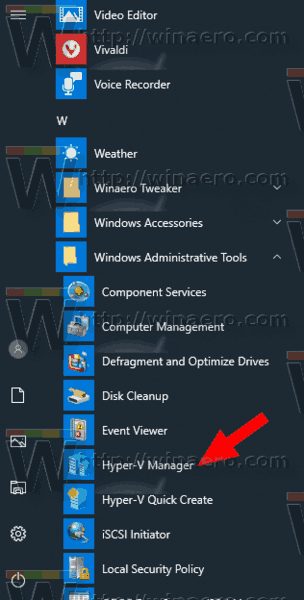
- Open the Hyper-V Manager from the Start menu. Tip: See How to navigate apps by alphabet in Windows 10 Start menu. It can be found under Windows Administrative Tools > Hyper - V manager.
- The app will automatically connect to your host. It will be displayed on the left as Hyper-V Manager > your computer's name.
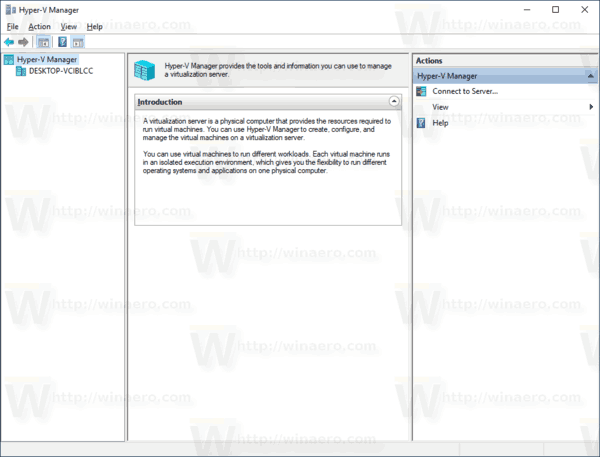
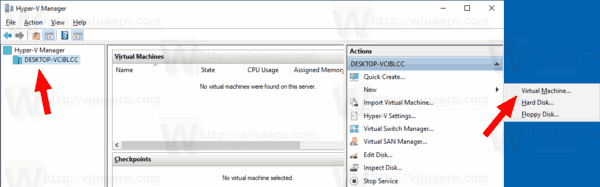
- Click on your host name on the left.
- Click on the New > Virtual Machine on the right.
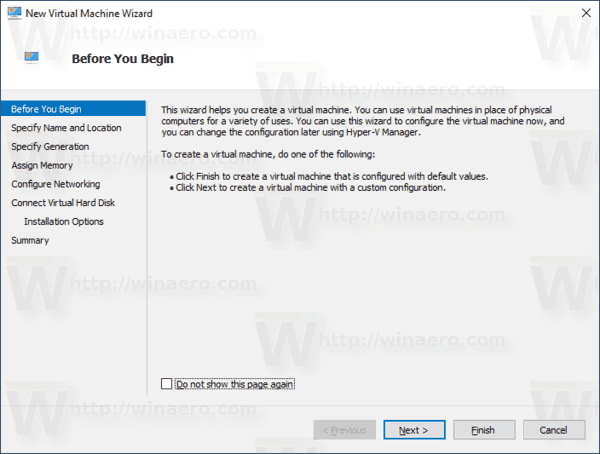
- Click Next to close the welcome screen.
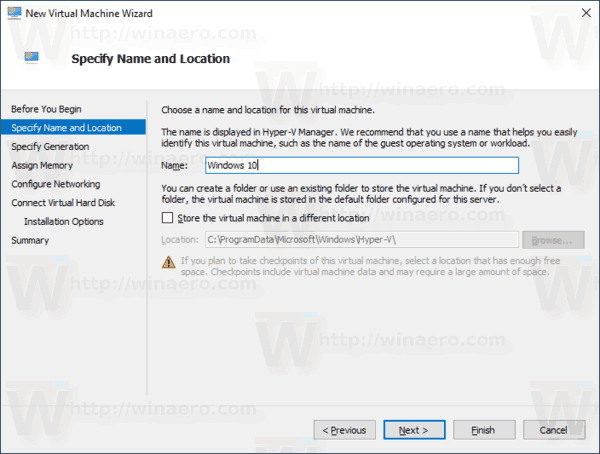
- On the next page, specify your virtual machine name. Change the location for its files if required.
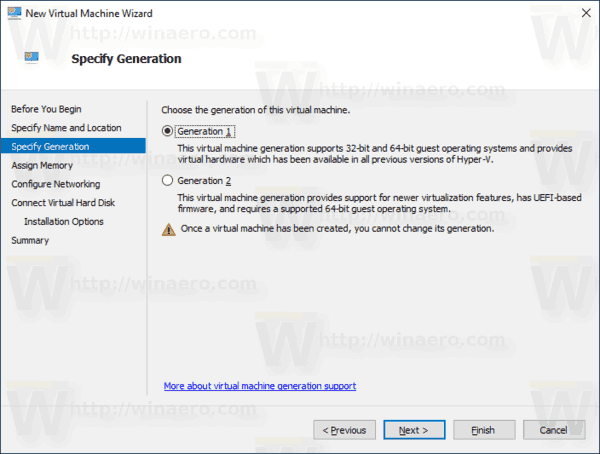
- On the next page, you can choose between two generations of virtual machine. Generation 1 supports 32-bit operating systems, Generation 2 comes with modern features like UEFI and secure boot, but it doesn't support 32-bit OSes. If you are going to install a 32-bit guest OS in your VM, then choose Generation 1.
- In the next step, assign RAM to your VM, select Use Dynamic Memory for this virtual machine, and then click Next.
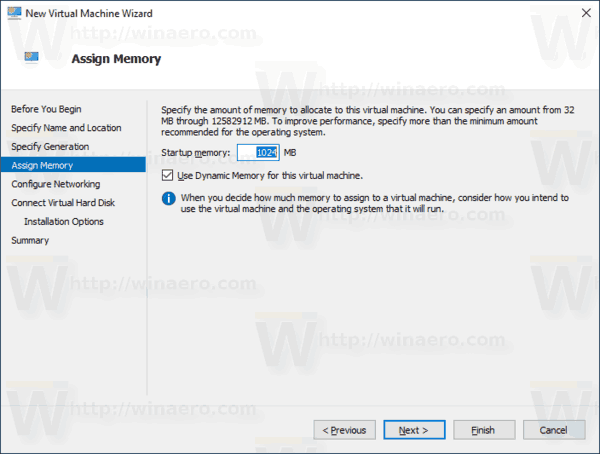
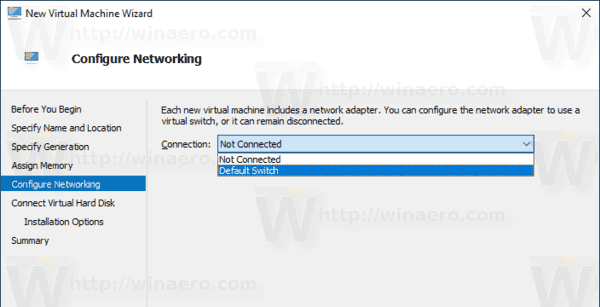
Alternatively, you can set the desired value for RAM for your VM and uncheck the dynamic memory option. In this case, your VM will reserve this value from the host's memory every time you start it. - Select an existing virtual switch to allow the vm to connect to network. Starting in Windows 10 version 1709, Windows 10 automatically creates a virtual switch named "Default switch" that you can use. In previous Windows 10 versions, you may need to create a new switch.
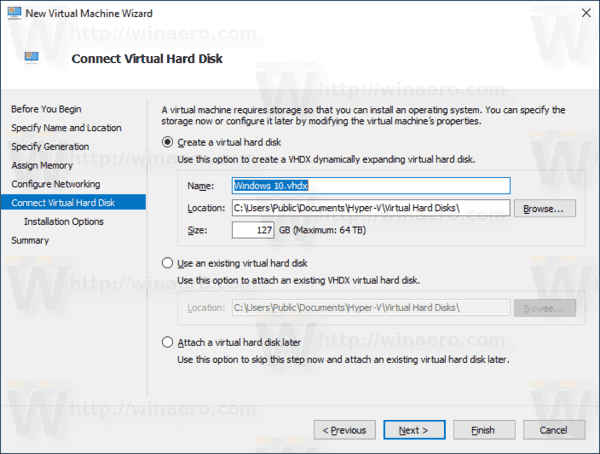
- Specify your virtual drive parameters. A dynamically allocated disk is a good choice to save space on your real hard drive. However, using a pre-allocated (fixed size) disk image will speed up your guest OS a little.
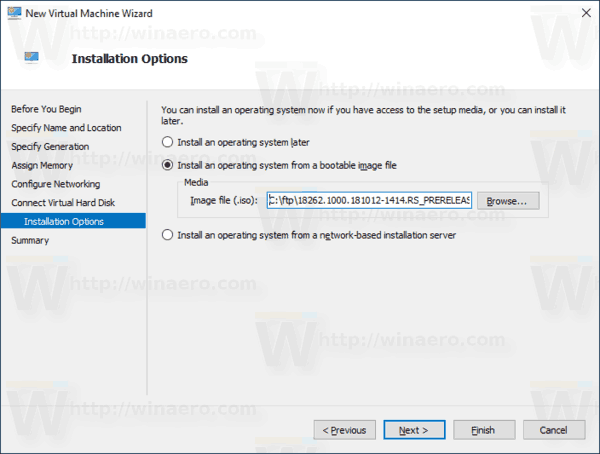
- In the next step, you can specify an ISO file to setup the guest OS from.
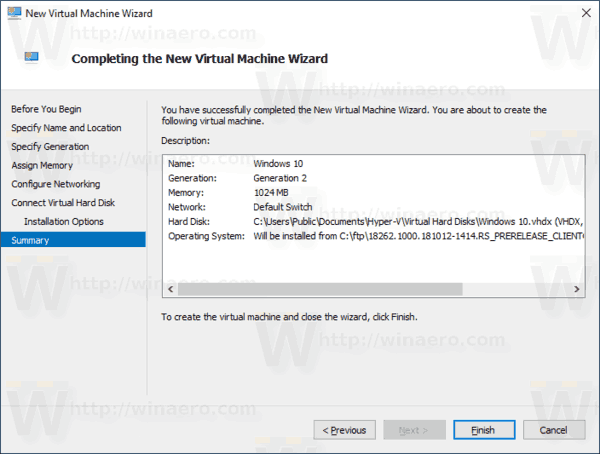
- Review your VM settings and click on the Finish button if everything is as expected.
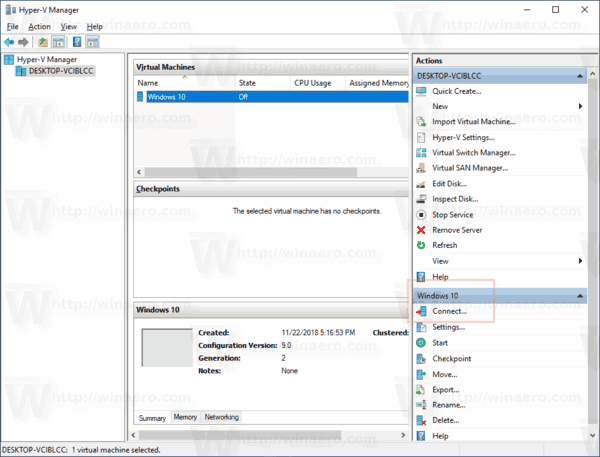
- This will create a new VM for you. Select it in the list and click Connect... on the right.
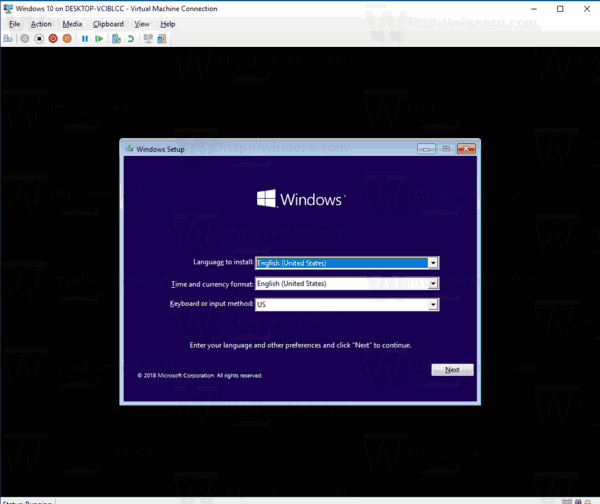
- In the next dialog, click on the Start button to start your VM. Install the OS on your VM exactly as you would do it on your real hardware.

You are done.
Note: If you are running a Windows 10 version released prior to Windows 10 version 1709, you must create a new virtual switch to get your VM connected to the Internet and/or LAN. Here is how it can be done. It will function as a bridge between the virtual network adapter in your VM and the physical network adapter connected to your host PC.
Create a new virtual switch
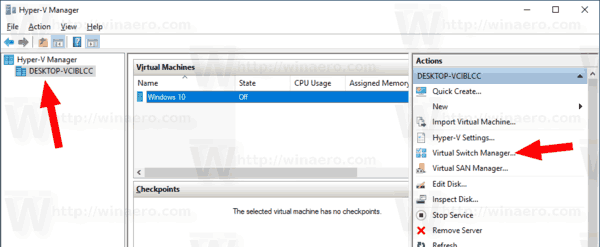
- In Hyper-V Manager, select your host on the left.
- On the right, click on the link Virtual Switch Manager.
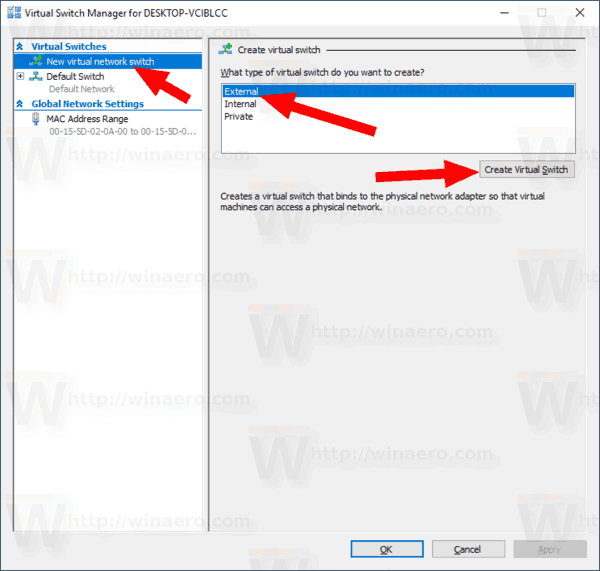
- In the next dialog, select New virtual network switch.
- On the right, select External, then click on the Create Virtual Switch button.
- Fill in the name for your new Virtual Switch and select your host network adapter you want to assign to it.
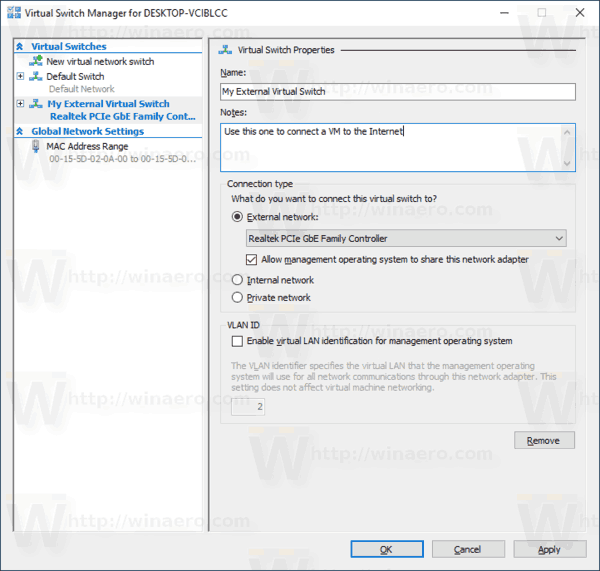
- Click OK and the confirm the operation to create your new virtual switch.
Note: If the Hyper-V Manager app shows an error message Hypervisor not running, try the following.
- Open an elevated command prompt.
- Type or copy-paste the following command:
BCDEDIT /Set {current} hypervisorlaunchtype auto - Restart Windows 10.
After that, Hyper-V should start properly.
That's it.
Support us
Winaero greatly relies on your support. You can help the site keep bringing you interesting and useful content and software by using these options:

Thanks Sergey! I enabled it a while ago to try Ubuntu but for some reason my Windows used to hang exactly once a day and after reboot no issues until I shutdown. So removed it again
Thanks! Nice tutorial.
good info, thank you
I am a faithful follower of your articles. Frequently, there is no indication of the versions in Windows 10. For example: Article Hyper-V in Windows 10 (not supported in Windows Home)
Thank you
OK, I will add it.
Hi sir, I’m unable to run Enable-WindowsOptionalFeature -Online -FeatureName Microsoft-Hyper-V -All command in windows PowerShell how do I fixed this issue? Please let me know do i need to update Windows 10 Pro again?