Months after Chrome and Edge, Mozilla Firefox is getting support for the Mica effect on Windows 11. With Mica enabled, the browser looks more consistent and fancy in the latest OS from Redmond. Here's how to give it a try.
Advertisеment
The Mica effect is part of the Windows 11's user interface. It adds a translucent layer to various UI elements like windows, taskbar, and Start menu, providing texture and depth. Its intensity adjusts based on the desktop background, resulting in a frosted glass-like visual.
Mica is not the only effect that gives Windows 11 its fresh look. Acrylic, another visual candy, blurs various elements and controls. It applies to context menus, flyouts, and dialogs, creating a sense of depth and highlighting the content.
The combination of Mica and Acrylic effects greatly enhances the visual appeal and immersive experience of the Windows 11 interface.
Chrome and Edge have support for Mica for quite some time. While it is still not perfect in those two, Firefox could not offer you anything until now. But the work has started. The working piece of code is already in Nightly, and you can enable it with a few parameters in about:config.
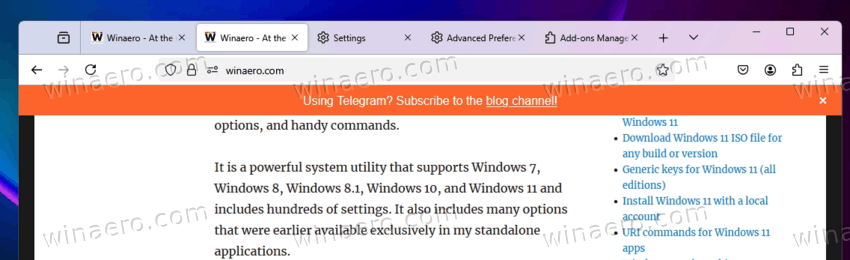
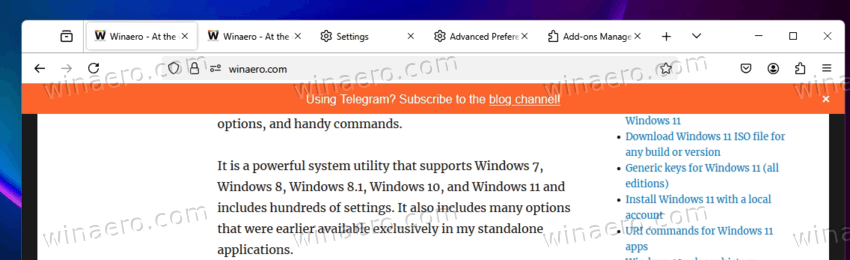
For comparison, here's the default Firefox look without Mica on Windows 11:
Note: As of this writing, Nightly represents Firefox 133. And you can install it alongside the stable version of the browser.
Enable Mica in Firefox
To enable the Mica effect in Mozilla Firefox, do the following.
- Get Firefox 133 or above. Currently, it is the Nightly version.
- Click on the main menu and select Add-ons & themes.
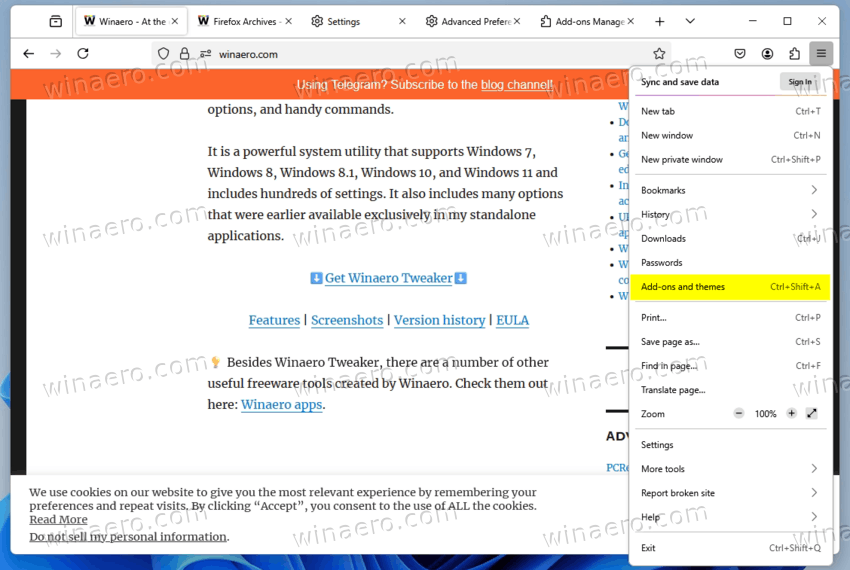
Select Add-ons and themes from menu. Image credits: winaero.com - Make sure that you have selected System theme - auto as your browser theme.
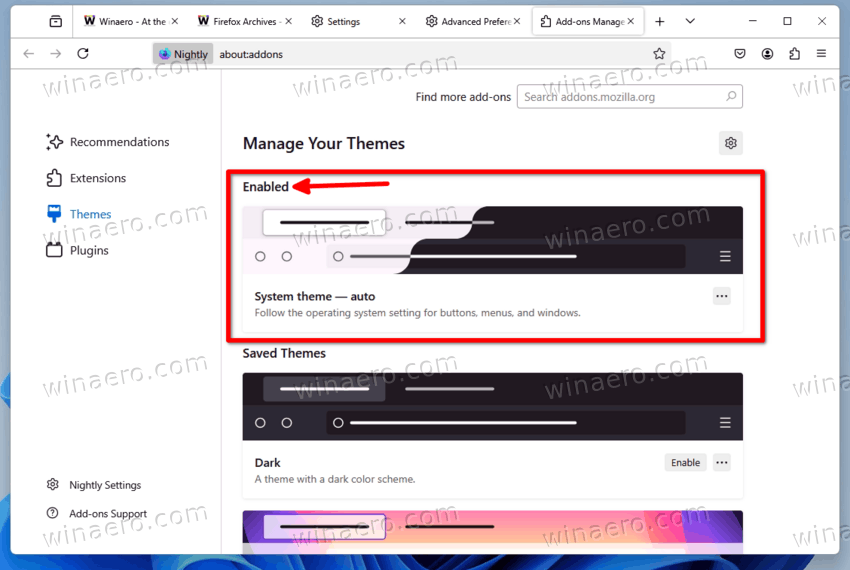
System theme - auto. Image credits: winaero.com - Open a new tab, type
about:configin the URL box, and hit Enter. - Click on the Accept the Risk and Continue button to open the Advanced Preferences page.

Click on Accept the Risk and Continue. Image credits: winaero.com - In the search box on Advanced Preferences, type or copy-paste the widget.windows.mica option name.
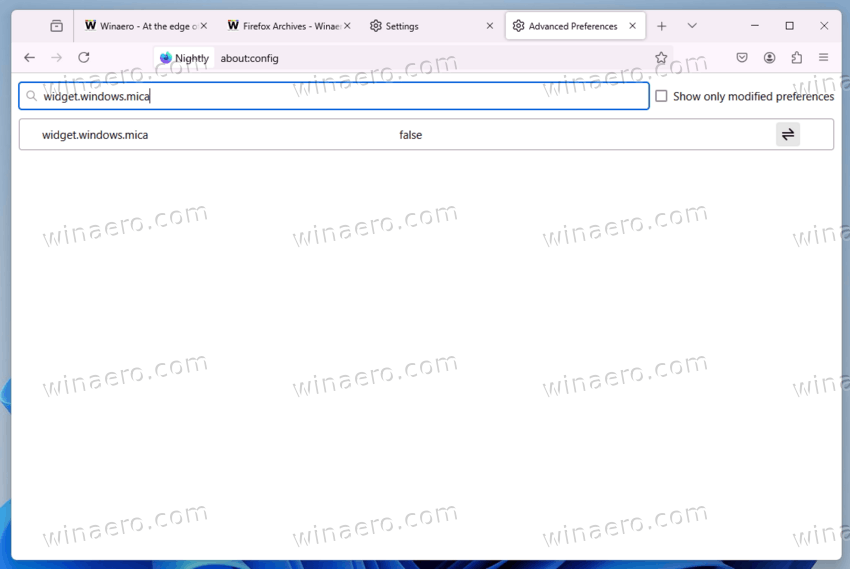
Type the option name in the search box. Image credits: winaero.com - Double-click on the option name to toggle its value from false to true.
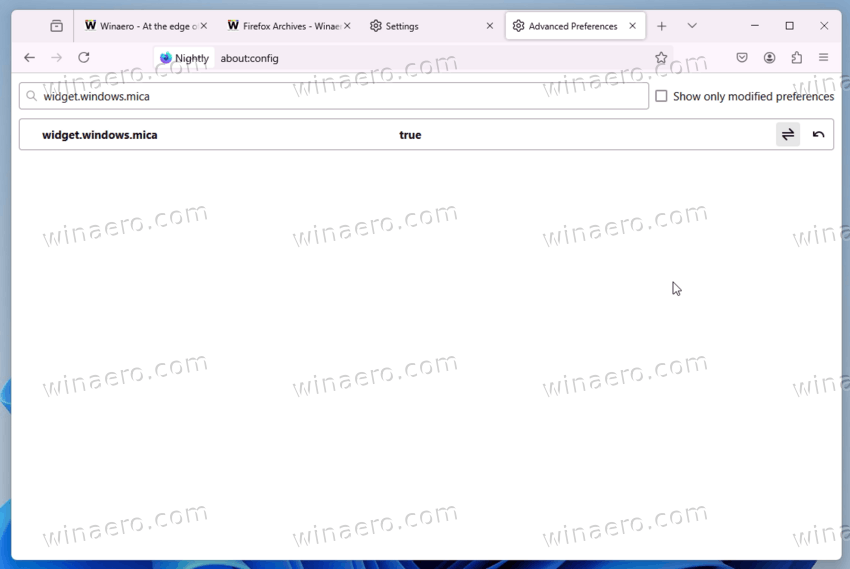
Enable the widget.windows.mica option. Image credits: winaero.com - Now, repeat the steps 4-5 for the browser.theme.native-theme value. It must be set to true, too.
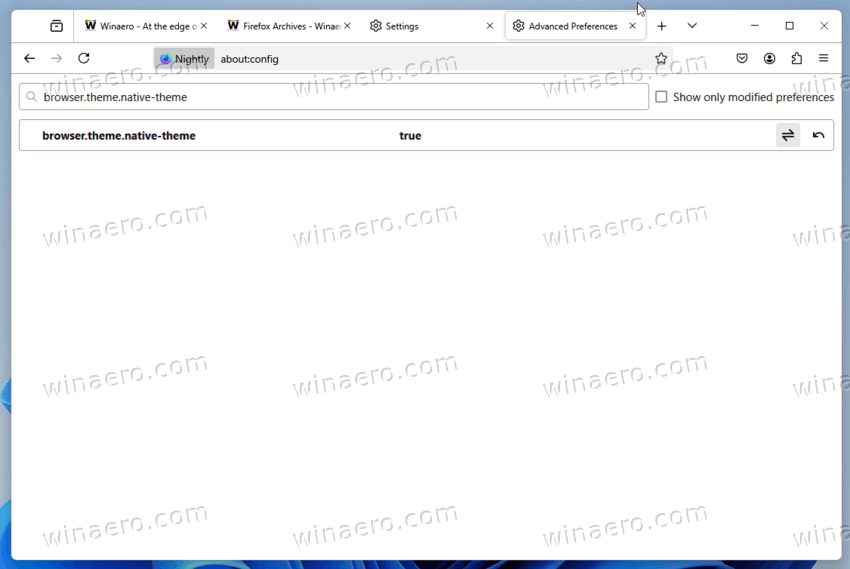
The browser.theme.native-theme value. Image credits: winaero.com - Finally, set browser.tabs.allow_transparent_browser option to true in the similar way.
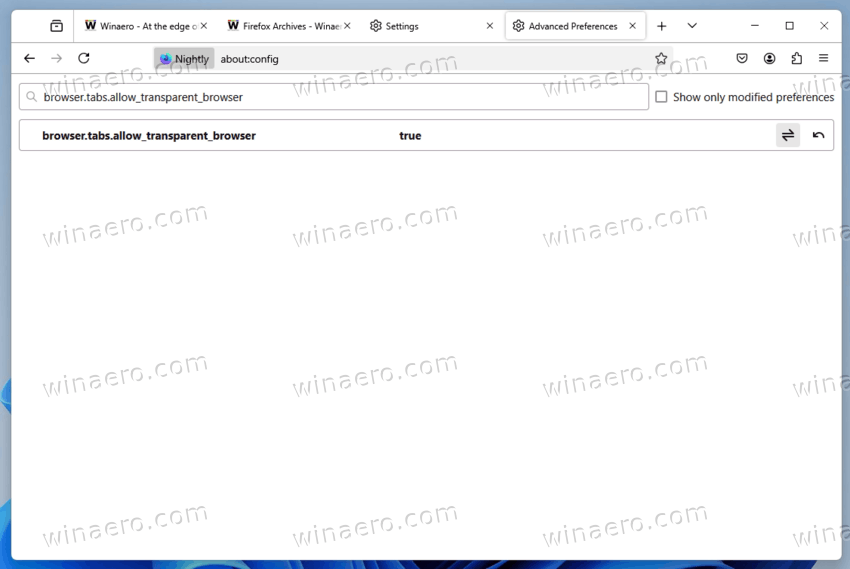
browser.tabs.allow_transparent_browser. Image credits: winaero.com - Finally, relaunch the browser. Enjoy the Mica effect.
Thanks to "fainas1337" to sharing the guide.
Support us
Winaero greatly relies on your support. You can help the site keep bringing you interesting and useful content and software by using these options:

Never