Windows has had a concept called the Guest account in the past. This is very limited user account, which can be useful when you need to give your device to someone else for a short time e.g. when any of your guests need to check something on the internet, or when some friend asks for your laptop for a couple of minutes. For privacy and safety reasons, you might not want to give him access to your primary user account. In such cases, a guest account is very useful. Unfortunately, in Windows 10, the Guest account feature is broken. So let's use another method.
Advertisеment
When you try to enable the guest account in Windows 10, you will see that it is broken. The built-in Guest account does not work.
While you can activate it using the "net user" command as described below, it will not allow you to sign in!
The built-in Guest account in Windows 10 and in earlier versions can be activated as follows:
- Open an elevated command prompt.
- Type or paste the following command:
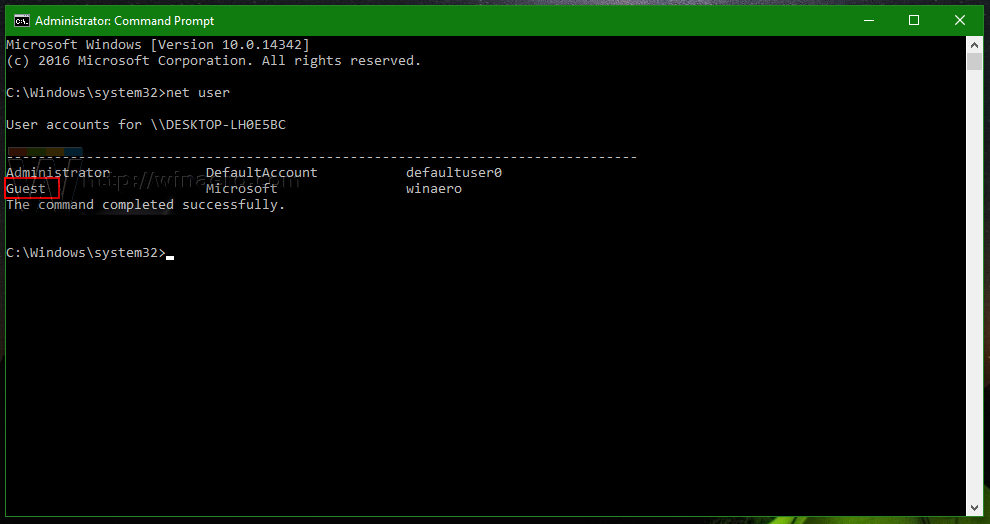
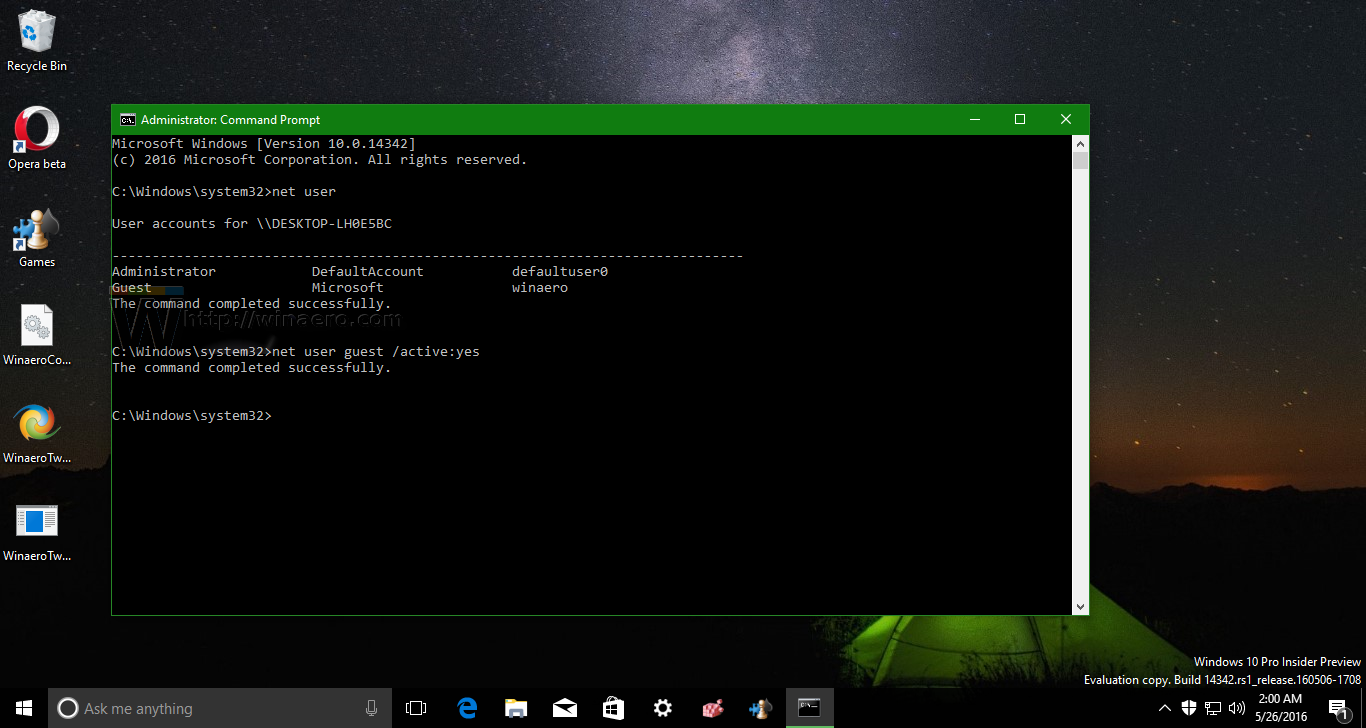
net user
See how exactly the guest account is named in your Windows 10:

- To activate the guest account, you need to type or paste the following command:
net user guest /active:yes


After that, the Guest account will become visible in the Start menu.
However, in Windows 10, it will not appear on the logon screen and will not allow you to sign in using the Start menu item either.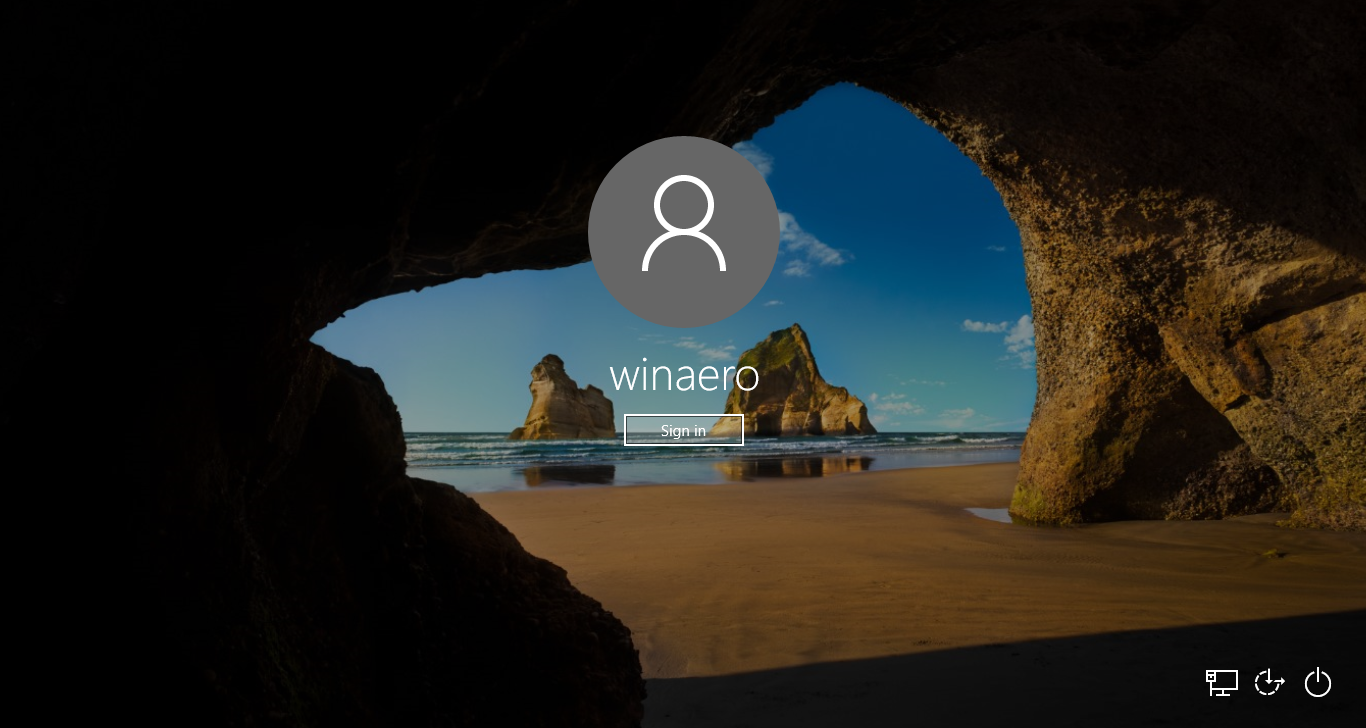
This is a bug in Windows 10, or maybe Microsoft decided to ditch the guest account feature. The situation is not clear.
To bypass this issue, you need to create your own Guest account with a different user name. Let's name it "GuestAccount" and set it up properly as follows.
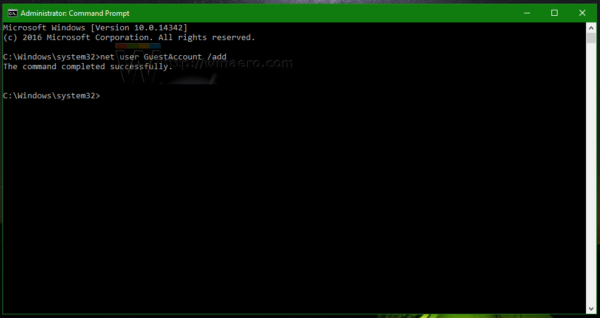
- Open an elevated command prompt.
- Type or paste the following command:
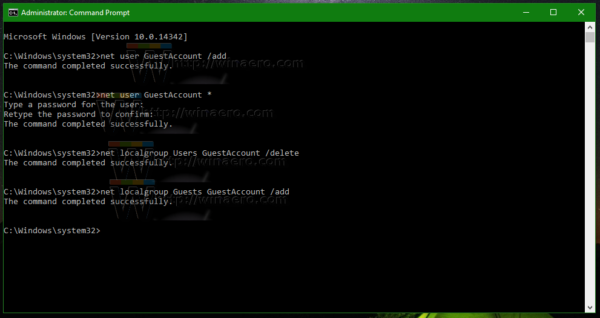
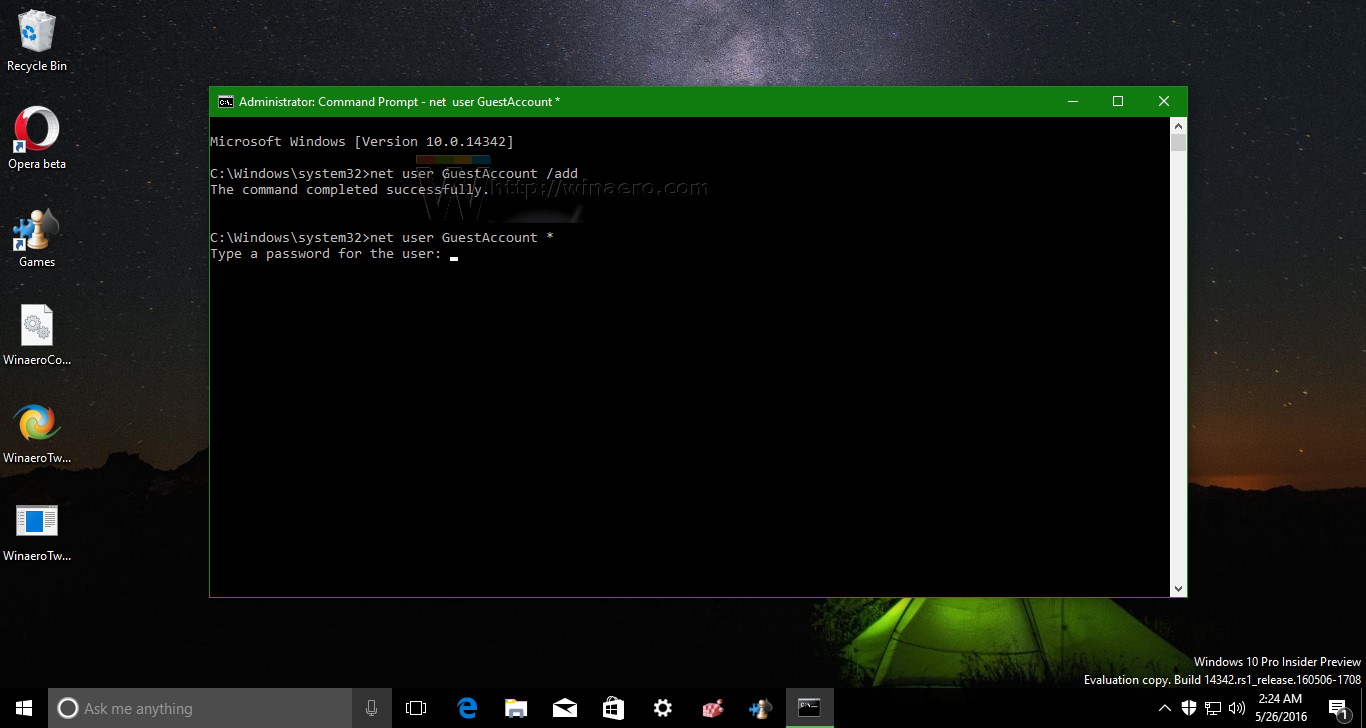
net user GuestAccount /add
- Now, set the desired password for the account you just created by using this command:
net user GuestAccount your_password_here
Use the asterik "*" to set the password interactively. The password will be requested after you type this:
net user GuestAccount *

If you will press Enter after it prompts you to enter a password, no password will be set. - Now, lets remove our "GuestAccount" account from the Users group in which it was added by default and move it to the Guests group to make it act like a true Guest account. Execute these commands:
	net localgroup Users GuestAccount /delete
	net localgroup Guests GuestAccount /add


That's it! Now, sign out from your current account and you will see the GuestAccount account you created on the logon screen.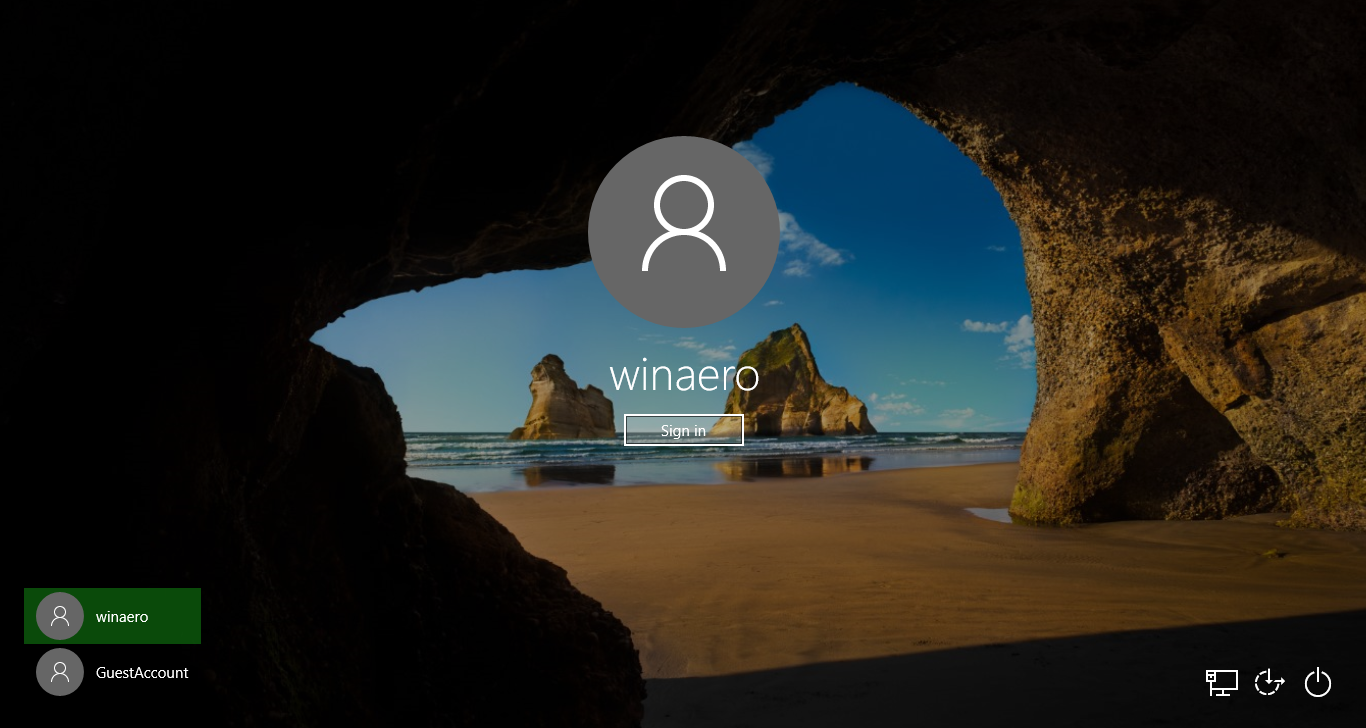
This account is very limited in terms of privileges and is suitable to share with your visitors and friends. When they log on with it, they can't change any system settings. They can however access the internet.
See this video:
Tip: you can subscribe to our official YouTube channel HERE.
Do you use the guest account in Windows 10? In which situations has it been helpful for you? Tell us in the comments.
Support us
Winaero greatly relies on your support. You can help the site keep bringing you interesting and useful content and software by using these options:

Here is the thing that I’ve done in order to use the reserved Guest name. Normally, if you create a user account with a name Guest, Windows will not accept it as it is a reserved name for the built-in Guest account. What I’ve did was:
1. Go to secpol.msc (Only available to Pro editions) and navigate to Local Policies and then Security Options. There you can see a policy which says Accounts:Rename guest account. Double-click it and change its value to whatever name. I changed mine to Guest (built-in).
2. Next, open the Run dialog box and run lusrmgr.msc. Go to Users and then click on Action Menu and then New user…
3. On the New User dialog box, type Guest on the User name field. Leave the password entry blank
4. Uncheck User must change password at next logon checkbox and then check the following checkboxes:
User cannot change password
Password never expires
5. To change its user group, just follow the Step 4 on the tutorial above.
Awesome! Thanks you.