Microsoft is rolling out a new feature to OneDrive users. Previously known as 'Folder Move feature for OneDrive business users', it is now renamed to Folder Protection and can be enabled or disabled from the OneDrive context menu.
![]()
With this new feature, OneDrive will be able to move and store the contents of your Desktop, Documents, and Pictures folders in the cloud. You can access your data uploaded to OneDrive from anywhere. According to the company, your files are safe in OneDrive if anything happens to your device. Let's see how to enable this feature.
Advertisеment
OneDrive is the online document storage solution created by Microsoft which comes bundled as a free service with Windows 10. It can be used to store your documents and other data online in the cloud. It also offers synchronization of stored data across all your devices.
The ability to save your data to OneDrive automatically is provided by the built-in OneDrive app.
To enable Folder Protection with OneDrive in Windows 10, do the following.
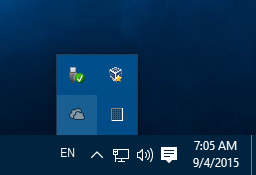
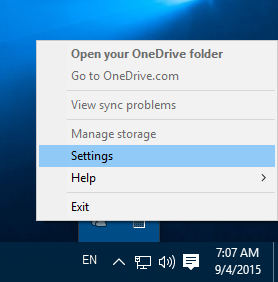
- Right-click on the OneDrive tray icon to open its menu. If you don't have the icon, click the tiny arrow pointing upwards near the system tray (notification area) to reveal the overflow area and then right click the OneDrive icon.
- From its context menu, select "Settings".
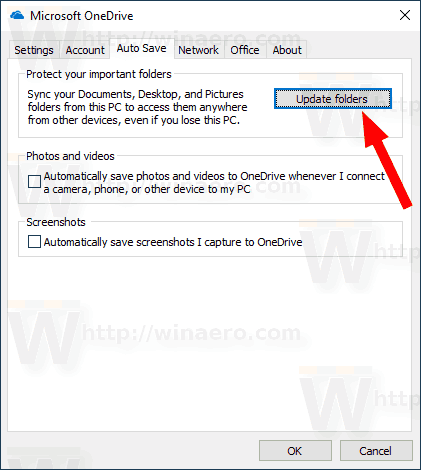
- The Settings dialog will be opened. There, go to the Auto Save tab.
- Click on the Update folders button.
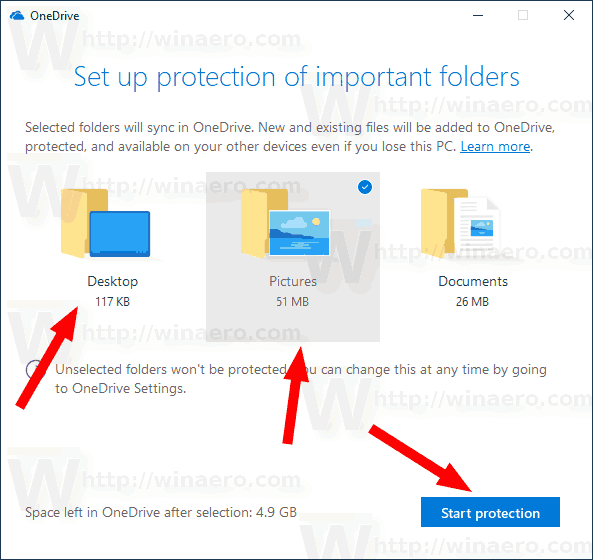
- In the next dialog, select the folders you want to sync with OneDrive automatically. Unselect unwanted folders and click on the button Start protection.
- Windows 10 will upload the existing files to the cloud.
After that, you will see the new link Where are my files with the OneDrive blue cloud icon in each location you have enabled to be protected with OneDrive.
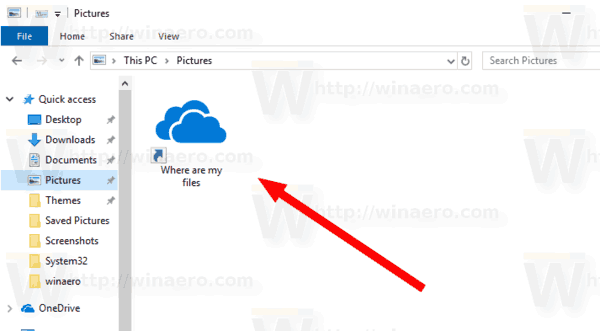
Click it to open your files stored in the cloud.
Tip: Windows 10 allows you to save your time and upload screenshots automatically to OneDrive. Every time you capture a screenshot, it can be uploaded to the OneDrive folder. See the article How To Save Screenshots Automatically to OneDrive in Windows 10.
Articles of interest:
- Sync Any Folder to OneDrive in Windows 10
- Automatically Make OneDrive Files On-Demand Online-Only in Windows 10
- Exclude OneDrive Images from Photos in Windows 10
- Disable OneDrive Cloud Icons in Navigation Pane in Windows 10
- Sign Out of OneDrive in Windows 10 (Unlink PC)
- Disable OneDrive Integration in Windows 10
- Change OneDrive Folder Location in Windows 10
- How To Add OneDrive Desktop Icon in Windows 10
- How To Reset OneDrive Sync In Windows 10
- Limit OneDrive Download and Upload Speed in Windows 10
- An Official Way to Uninstall OneDrive in Windows 10
Support us
Winaero greatly relies on your support. You can help the site keep bringing you interesting and useful content and software by using these options:
