File History is a very useful feature of Windows 10. It allows you to create a backup of the important data stored in your Documents, Pictures, Music, Videos and Desktop folders. You can specify the drive where you plan to store your backup. It will prevent data loss in case something goes wrong. In this article, we will see how to enable File History in Windows 10.
Advertisеment
Windows 10 comes with a built-in backup system called "File History". It allows the user to create a backup copy of files stored on your PC. There are a number of use cases for this feature. For example, it can help you to transfer your files from an old PC to a new one. Or you can use it to backup your files to an external removable drive. The File History feature was first introduced in Windows 8, and has been improved in Windows 10. It allows browsing and restoring different versions of files.
File History requires using the NTFS file system. File History relies on the journal feature of NTFS to track file changes. If the journal contains records about changes, File History includes the updated files in the archive automatically. This operation is very fast.
To enable File History in Windows 10, do the following.
- Open the classic Control Panel app.
- Go to Control Panel\System and Security\File History. It looks as follows (the screenshot below is from Windows 10 Creators Update version 1703):
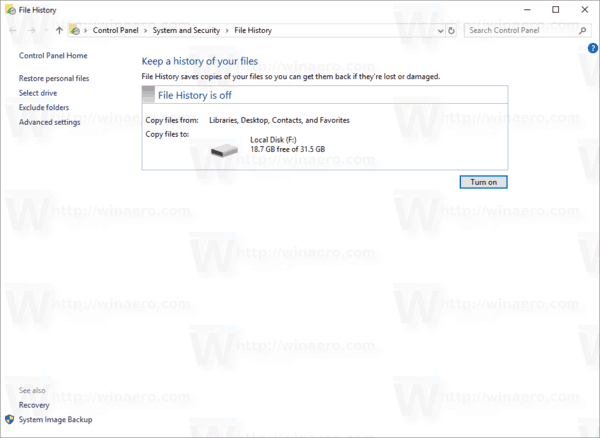
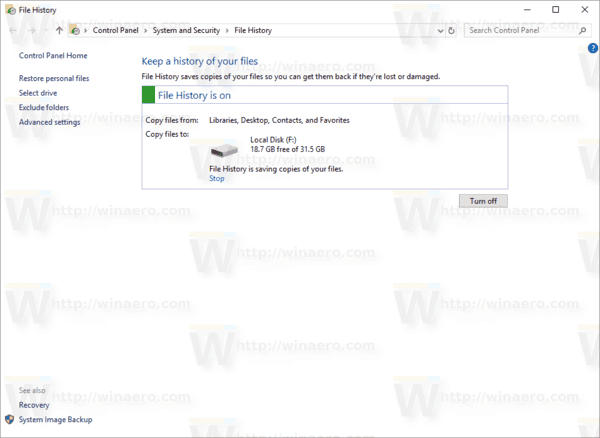
- Click Turn on to enable the File History feature.
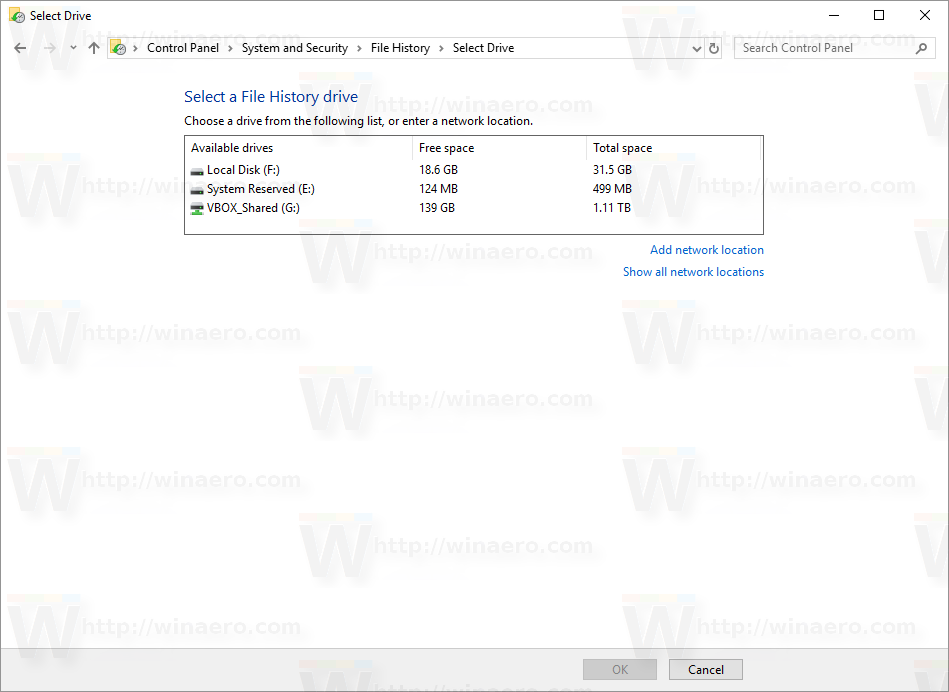
- You can change a number of File History options. See the links on the left. The Select a drive link will allow you to set a new drive for File History. If you click that link, the following page will be opened.
- The link Exclude folders opens the next page:
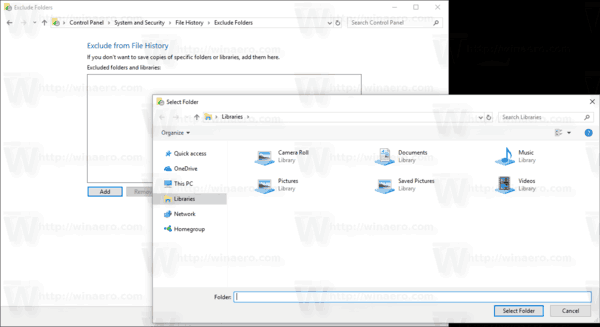
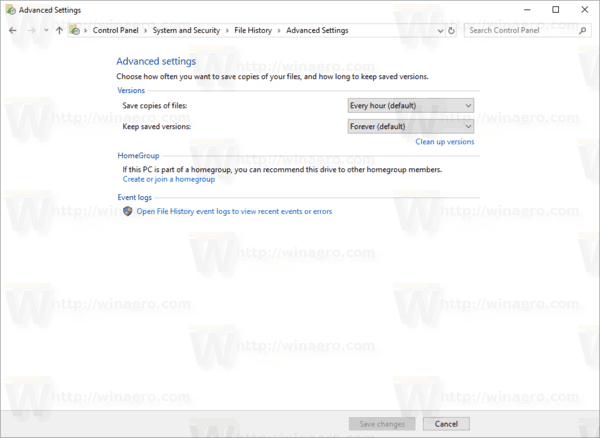
It can be used to specify the folders you want to be excluded from the backup. - In Advanced Settings, you can set how often Windows should backup your files and how long to keep your files in the archive. It is possible to clean up their older versions here.
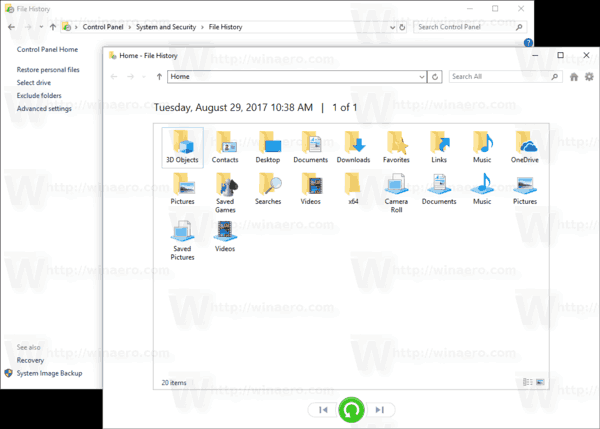
- The link Restore personal files will open the backup browser window, which you can use to browse and restore previous versions of your files.
 Tip: You can access this page faster if you add the History context menu to File Explorer.
Note: If you are using a removable drive for File History which is not connected when a file has changed, then the changed contents will be cached on your local drive. Once you connect the backup drive again, File History will move the contents from the cache to the File History drive and free up local drive space.
Enable File History in Settings
The File History feature can be enabled using the Settings app in Windows 10. It is available under Update & recovery - Backup.
- Open the Settings app.

- Go to Update & Security -> Backup.
- On the right, turn on the option Automatically back up my files.
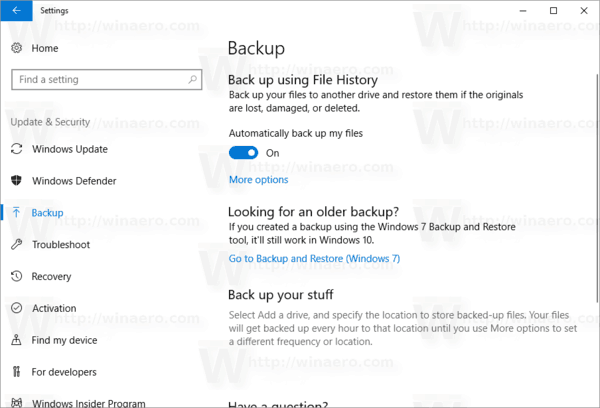
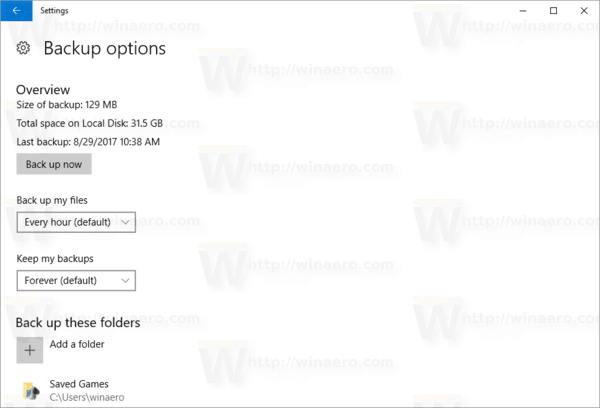
- Click the link More options to open the following page and check settings provided there.
That's it.
Support us
Winaero greatly relies on your support. You can help the site keep bringing you interesting and useful content and software by using these options:

I have been using this method for a long time with no issues. Today I added a new 5 TB Seagate hard drive and just noticed there were no files being copied. I looked at the Event Viewer and it’s filled with the same error:
Directory was not backed up because it is a reparse point
If you want it to be protected, remove the reparse point.
Can you tell me what I need to do to get the backup copying files again? Thanks for any help. I think you are amazing!
I got it working. Here is what I did.
1. Stop FH
2. Delete the FH config files at C:\Users\\AppData\Local\Microsoft\Windows\FileHistory\Configuration
3. Restart FH and select to use the same backup drive as before