How to Disable Windows Insider Program Settings in Windows 10.
Windows 10 Settings include a page that allows joining the Windows Insider Program and managing how you receive pre-release builds. For instance, users who run a stable version of Windows 10 can quickly switch to the newest release to check out new features (and bugs). That page in Settings can be disabled.
Advertisеment
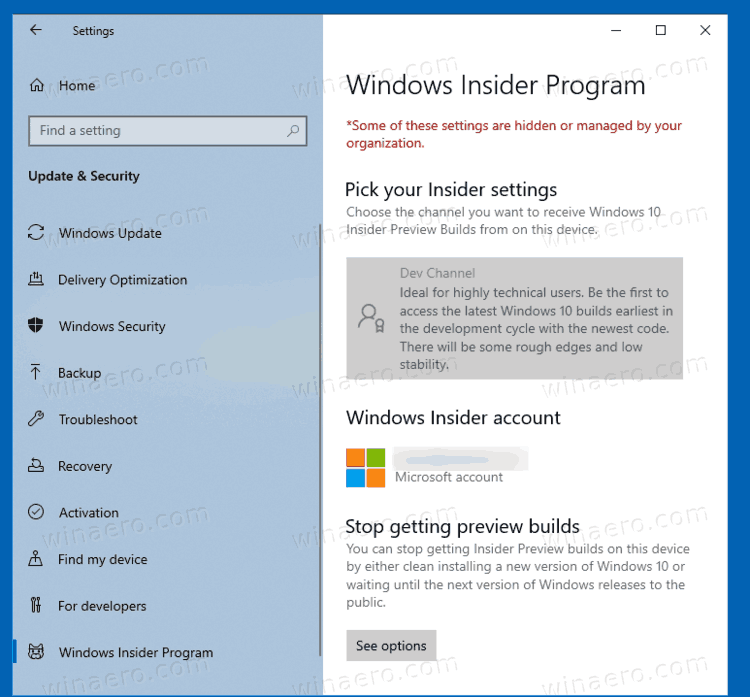
You may want to disable the page options in order to preserve your settings from being changed. Also, system administrators may want to apply the restriction to prevent other users from joining the program and getting unstable builds.
This post will show you how to disable the Windows Insider Program Settings in Windows 10. There are two methods that you can use, the Local Group Policy Editor app and a Registry tweak.
To Disable Windows Insider Program Settings in Windows 10
- Open the Local Group Policy editor app.
- Navigate to Computer Configuration > Administrative Templates > Windows Components > Windows Update > Windows Update for Business.
- On the right, find the policy setting Manage preview builds and double click it.
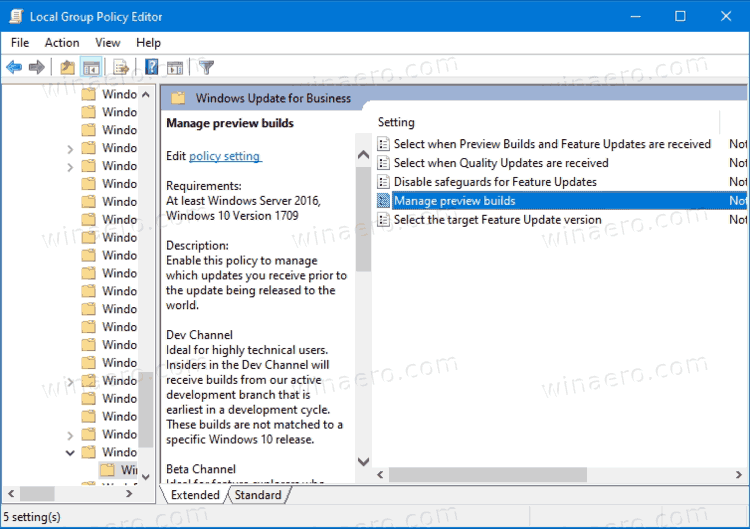
- Set the policy to Enabled.
- Select the desired release channel, e.g. Dev, Beta, or Release preview from the drop-down menu.
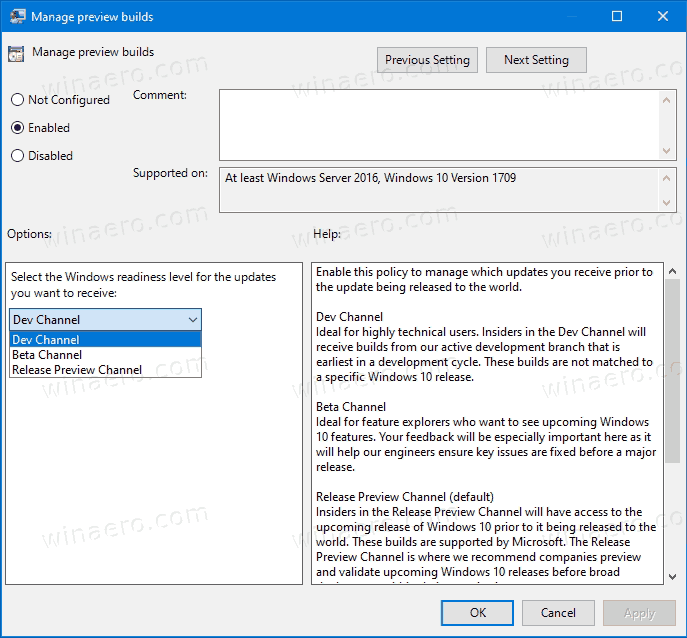
- Click OK and Apply.
You are done.
Finally, by setting the Manage preview builds policy option to Not Configured or Disabled you will allow users to manage the Insider Program options, which is used by default.
Alternatively, you can apply a Registry tweak to disable the options on the Windows Insider Program page. Do the following.
Disable the Windows Insider options in Registry
- Open the Registry app.
- Go to the key
HKEY_LOCAL_MACHINE\SOFTWARE\Policies\Microsoft\Windows\WindowsUpdate. It is possible to open this key with one click. - Create the missing subkeys if any of them are missing on your computer.
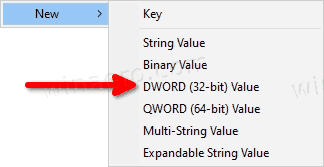
- To the right of the WindowsUpdate key, create a new 32-bit DWORD value. Even if you are running 64-bit Windows you must still create a 32-bit DWORD value.
- Name it ManagePreviewBuildsPolicyValue and set it to one of the following values.
- 1 = enable the Insider Program page options in Settings (default)
- 2 = disable the Insider Program page options in Settings (default)
- Now create a new DWORD value BranchReadinessLevel and set it to one the following values.
- 2 = Receive Dev channel builds.
- 4 = Receive Beta channel builds.
- 8 = Receive Release Preview builds.
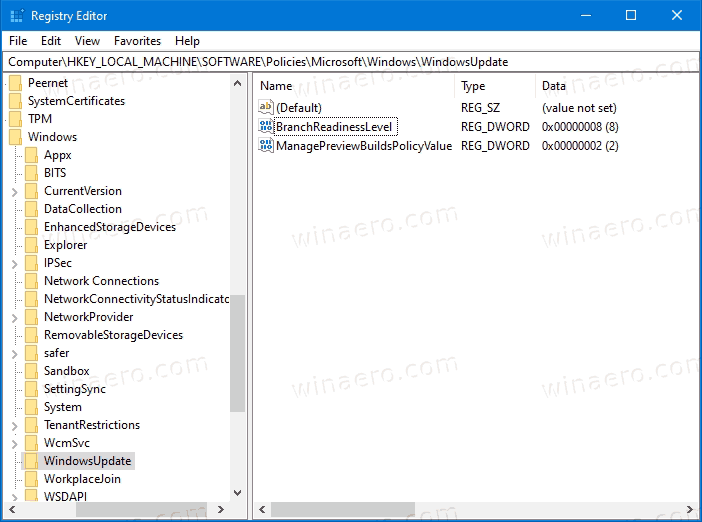
- You can now close the Registry editor.
You are done!
👉Bonus tip: You can also hide the Windows Insider Program page from Settings.
That's it.
Support us
Winaero greatly relies on your support. You can help the site keep bringing you interesting and useful content and software by using these options:

I found a solution for myself. In my case, in the registry in the Explorer settings, there was a setting “SettingsPageVisibility”, which hid the WindowsInsider page.
After deleting the SettingsPageVisibility key, all missing pages appeared after the SystemSettings.exe program was reopened.
Solution. Delete or rename the key:
Computer\HKEY_LOCAL_MACHINE\SOFTWARE\Microsoft\Windows\CurrentVersion\Policies\Explorer\ SettingsPageVisibility
In my case the value of the key was:
SettingsPageVisibility = “hide:gaming-broadcasting;gaming-gamebar;gaming-gamedvr;gaming-gamemode;gaming-trueplay;gaming-xboxnetworking;windowsdefender;holographic-audio;maps;windowsinsider;cortana”
Windows 10 21H1 Build 19043.985
Windows Feature Experience Pack 120.2212.2020.0