The built-in Windows tool, Disk Cleanup, which can be launched as cleanmgr.exe from the Run dialog, supports a number of interesting command line arguments which can be useful in various situations. Let's review them and see how you can use them.
Advertisеment
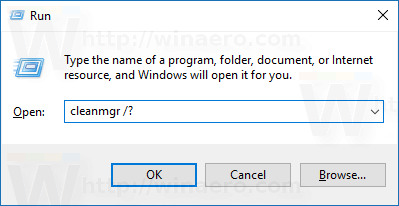
You can learn the switches available for Disk Cleanup by entering the following command in the Run dialog:
cleanmgr.exe /?
See the following screenshot:
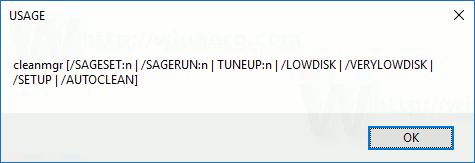
The list is as follows:
Here's what those switches mean.
cleanmgr.exe /D DRIVELETTER
Executes disk cleanup for a specific drive. The user should specify the drive letter without ":" as shown below:
cleanmgr.exe /D C
The command above will launch disk cleanup for drive C:.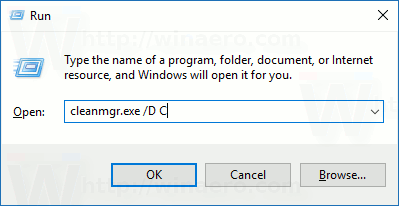
You can combine the /D argument with other switches of cleanmgr.exe.
cleanmgr.exe /SAGESET
The SAGESET key allows you to create a preset of selected checkboxes in cleanmgr.exe. Once this is done, you can launch the preset using the /SAGERUN option. The syntax is as follows:
cleanmgr.exe /SAGESET:number
The command needs to be executed elevated (as administrator).
Where "number" can be any value from 0 to 65535. The options you select during the SAGESET session will be written to the Registry and stored there for further use. The command needs to be executed elevated.
Use it as follows:
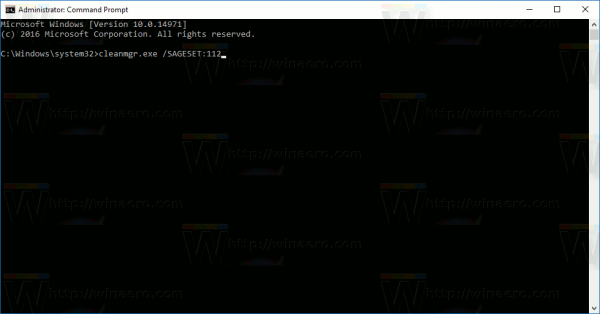
- Open an elevated command prompt.
- Type the following command
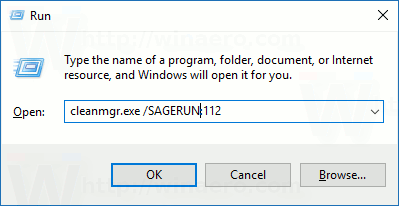
cleanmgr.exe /SAGESET:number
Suppose you use the number 112, for example:
- Tick the options you want to be enabled for this preset as shown below:
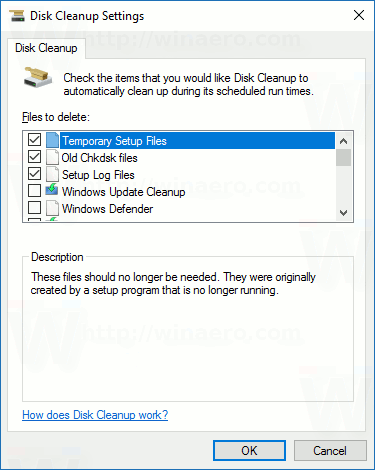
- Click OK to save the preset under the number you entered in the Run dialog.

Since you started cleanmgr.exe /SAGESET:n elevated, it will be opened directly in the "Clean up system files" mode. See the following article: How to run Disk Cleanup directly in the system files mode and speed it up.
Technically, every checkbox shown in Disk Cleanup reflects the appropriate registry subkey under the following Registry branch:
HKEY_LOCAL_MACHINE\SOFTWARE\Microsoft\Windows\CurrentVersion\Explorer\VolumeCaches
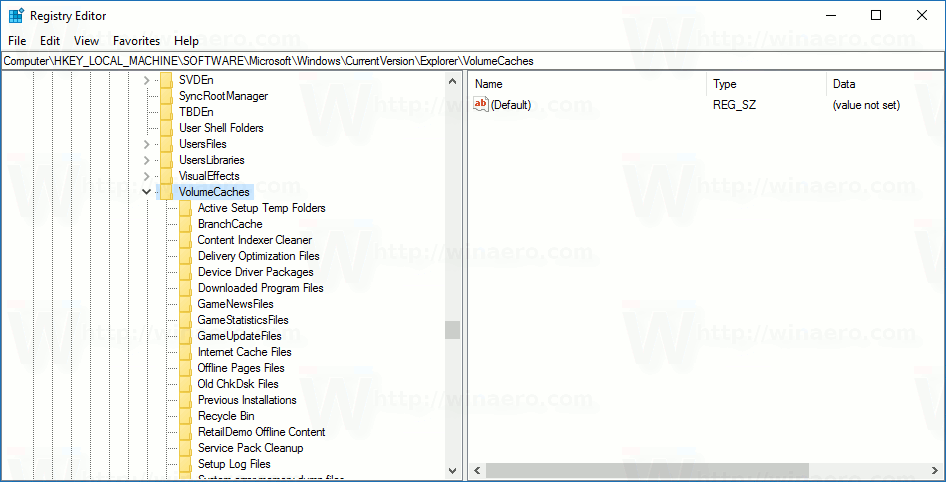
For example, the Windows Upgrade Log Files subkey reflects the same option in the user interface of the app.
For every value you check, it will be marked under the StateFlagsNNNN DWORD value, where NNNN is a number you passed to the SAGESET argument. I have the value StateFlags0112 there for my /SAGESET:112 command: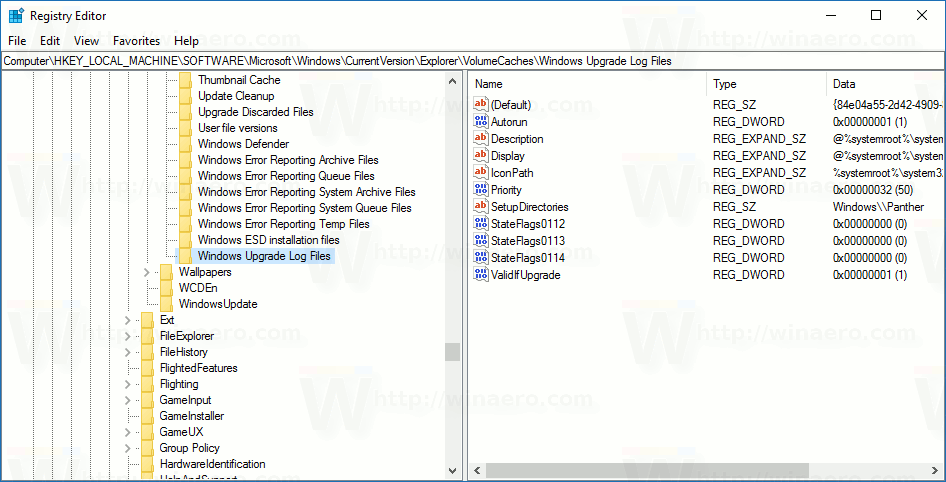
cleanmgr.exe /SAGERUN
The argument /SAGERUN allows the user to launch the preset configured earlier with the /SAGESET:n command. The syntax is as follows:
cleanmgr.exe /SAGERUN:number
Use the same number that you used for the previous /SAGESET:number command.
Combining with the previous example, you should do the following.
- Open an elevated command prompt.
- Type the following command
cleanmgr.exe /SAGESET:number
Suppose you use the number 112, for example:
- Tick the options you want to be run for this preset as shown below:
- Click OK to save the preset under number 112.
- Now, type cleanmgr.exe /SAGERUN:112 in the Run dialog. It will start clean up using the preselected options automatically.
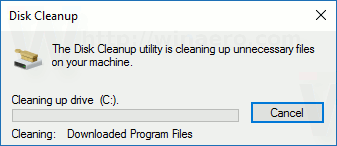
The cleanup process will be started immediately, without any confirmation prompt. Disk Cleanup will also be closed automatically.
If the /D argument is not specified for this command, it will be applied to all drives.
You can see the article How to run Disk Cleanup directly in the system files mode and speed it up.
The following commands are not documented. To discover them, I used Sysinternals Process Monitor and logs of the cleanmgr utility. If they don't behave as described, please correct me in the comments.
cleanmgr.exe /TUNEUP
The command is similar to the described SAGESET functionality. In Windows 10, it does exactly the same thing. Like the SAGESET switch, it writes presets to the Registry. It can be used instead of SAGESET. The syntax is as follows:
cleanmgr.exe /tuneup:112
The command needs to be executed elevated.
If you previously configured the number specified with the TUNEUP switch with SAGESET, it will reflect the changes you made: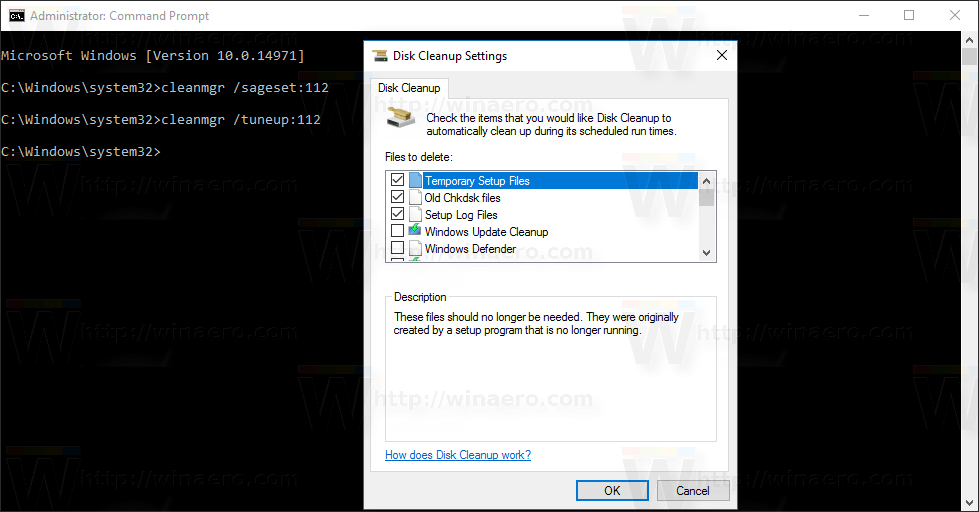
This switch is not documented, so Microsoft can remove or change its behavior at any moment. I recommend you to use SAGESET instead.
cleanmgr.exe /LOWDISK
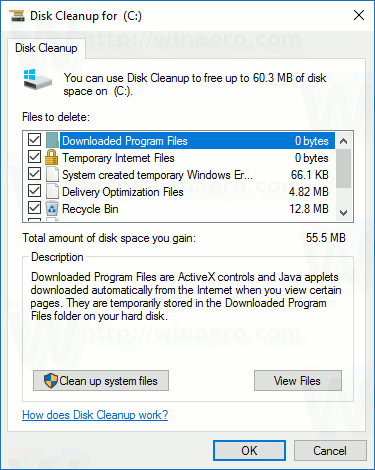
This switch is used when Windows notifies the user that he is running out of disk space on a drive. When you click the notification, Disk Cleanup opens with all checkboxes checked by default. You can execute it from the Run dialog as follows:
cleanmgr.exe /LOWDISK
See the following screenshot: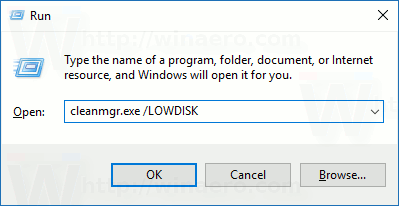
Once you press the Enter key, it will analyze the drive and show the familiar user interface, but with all checkboxes checked by default:

 You can run the command from an elevated command prompt to make it switch to the system files mode.
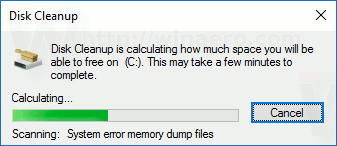
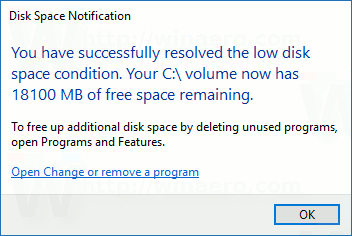
cleanmgr.exe /VERYLOWDISK
It is the same as the /LOWDISK disk switch, but it will cleanup all files automatically. It won't show you a confirmation, but will show you a dialog to indicate how much free disk space you have now.
Syntax:
cleanmgr.exe /VERYLOWDISK
Run the command from the elevated command prompt to make it switch to the system files mode.
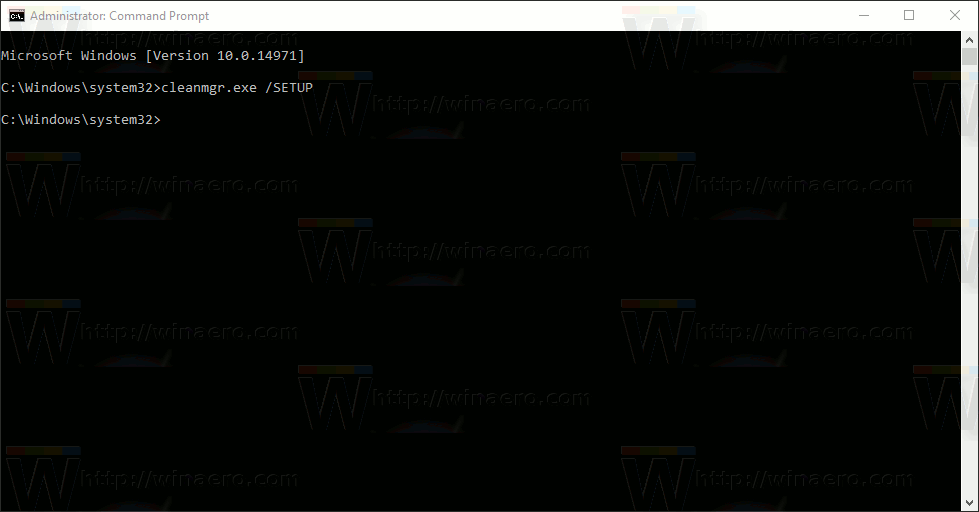
cleanmgr.exe /SETUP
The setup switch analyzes the system files left from a previous Windows version. For example, if you upgraded from Windows 7 to Windows 10, running this switch is useful. It also needs to be executed from an elevated command prompt:
cleanmgr.exe /SETUP
The application will calculate the space used by files from the previous Windows installation. It is similar to the cleaning Previous Windows Installation files using the user interface of Disk Cleanup in regular mode. The application will analyze the following locations:
C:\$Windows.~BT\*
C:\$Windows.~LS\*
C:\$Windows.~WS\*
C:\ESD\Download\*
C:\ESD\Windows\*
C:\$WINDOWS.~Q\*
C:\$INPLACE.~TR\*
C:\Windows.old\*
C:\Windows\Panther
The application will not clean them up automatically. It won't show a user interface either. Instead it will write two log files which you can inspect:
C:\Windows\System32\LogFiles\setupcln\setupact.log
C:\Windows\System32\LogFiles\setupcln\setuperr.log

cleanmgr.exe /AUTOCLEAN
It's the same as above, but the application will remove files from the previous Windows installation or the previous in-place upgrade automatically.
The following folders will be removed:
C:\$Windows.~BT\*
C:\$Windows.~LS\*
C:\$Windows.~WS\*
C:\ESD\Download\*
C:\ESD\Windows\*
C:\$WINDOWS.~Q\*
C:\$INPLACE.~TR\*
C:\Windows.old\*
C:\Windows\Panther
The application will write the results to the following log files:
C:\Windows\System32\LogFiles\setupcln\setupact.log
C:\Windows\System32\LogFiles\setupcln\setuperr.log
No user interface will be shown.
The syntax is as follows:
cleanmgr.exe /AUTOCLEAN
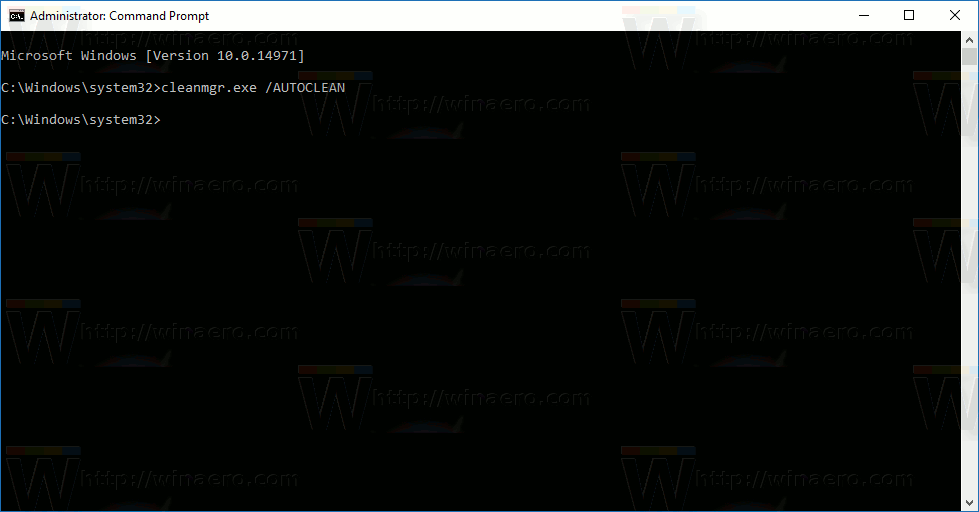 The command needs to be executed elevated, e.g. you need to launch it from an elevated command prompt instance.
That's it.
Don't forget to tell us if some commands don't behave as described for you. Feel free to leave a comment if you have a question or a suggestion.
Support us
Winaero greatly relies on your support. You can help the site keep bringing you interesting and useful content and software by using these options:

Time to begin planning a compilation of all these tips for new users to Windows 10. This should be oriented toward current users of windows 7 and 8. Many of us are waiting -at least a year- before we tray this radical new system which also seems to be plagued with problems. Such a guide would be indispensable a year from now when we are ready to move to windows 10.
Thank you! This was very useful for an In Place Upgrade from Windows 10 1511 to Windows 10 1607. This is the only place I found documentation for the autoclean switch!
I need to write a script that will use cleanmgr.exe but I need to capture the “before” and “after” parts of the cleanup process.
Before : 1150 GB
run the cleanup
After : 1250 GB
100 GB was recovered
Thanks for any tips you could provide.
David Schroeder
Hey, I just wanted to say out of all the crap posts online that are vague and irritatingly shallow your post about a basic subject cleanmgr.exe was VERY USEFUL and WELL DONE! Thank you! It helped me to batch out a cleanup process on 40 pc’s so I don’t have to manually click next, tick boxes, log into another machine, click next, tick boxes. Love the “/VERYLOWDISK” switch! It’s like the greatest think that crap OS Windows ever did! LOL
I’m adding this to my toolset when I work on the most junk OS known to man…Windows!
– RW –
Glad to be of help!
As others have said, other people’s articles show you how to run cleanmgr.exe from the commandline -which is useless without any of the arguments. The arguments allow this to be done in an automated, scripted fashion, making your article extremely relevant and useful.
Thank you for your insight, this made my life easier.
Very good Post and full of helpfull information.
Iwantedt to use the /VERYLOWDISK-option on a remote PC and wait untill the process is finished, but as no one will click on OK, the process will not finish.
So is there any way to suspend the final dialogbox by the /VERYLOWDISK-option?
Thanks for this post! great stuff!
You are most welcome!
Just a clarification: /LOWDISK and /VERYLOWDISK switches don’t delete all files if the disk doesn’t need that even though the checkboxes are all selected before you click OK.
I am writing a script I can run through Task Scheduler to automate some general Maintenance including disk cleanup.
I understand the “SAGESET:n” switch probably only affects a local machine. Can this be exported and copied to domain machines to create a preset for all workstations?
Уважаемый господин Sergey Tkachenko,
It was really a pleasure to find this article.
i would like to know if these instructions are still valid for windows 10 version 1909
Also, I would recommend you give a hint in your articles about the date it was published.
Наилучшие пожелания,
Julio Borges
Rio de Janeiro – Brazil
hi.
thanks for your kind words.
the post is still applicable to 1909 and 2004.
the post date is below the text.
The /D parameter does not seem to work.
I tried running the following, after running sageset/1234 and checked the boxes for what I wanted to cleanup:
cleanmgr /sagerun1234 /D C
or
cleanmgr /D C /sagerun1234
From the popups, It looks like the cleanup is run against not just the C drive, but all partitions, including a USB drive.
I forgot to add that I am running on Windows 10 in an administrator command window.
Sorry but /AUTOCLEAN does absolutely nothing. I am running Windows Pro. Upgraded from Windows 10. Trying to find a way to silently remove windows.old. /AUTOCLEAN does not touch that folder. I am doing it from an elevated command prompt. What gives?