Checking the system drive for errors is an essential task when you want to resolve various issues with the operating system and the file system. If you face some drive read or write errors in Windows 10 or performance issues when doing disk operations, it is a good idea to check your system drive for errors.
Advertisеment
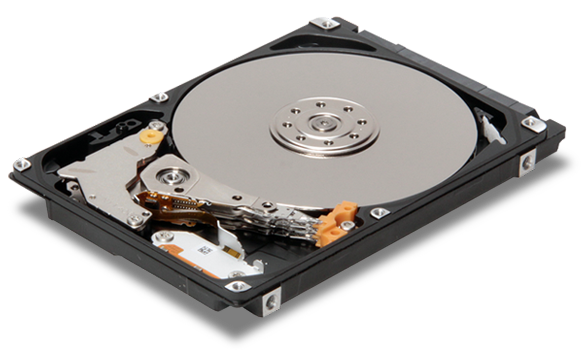 Drive errors usually indicate that there is something wrong with the file system. They can be caused by various reasons ranging from improper shutdowns to physical damage to the drive surface if it's a hard drive. To see if your drive has file system errors, you need to check it.
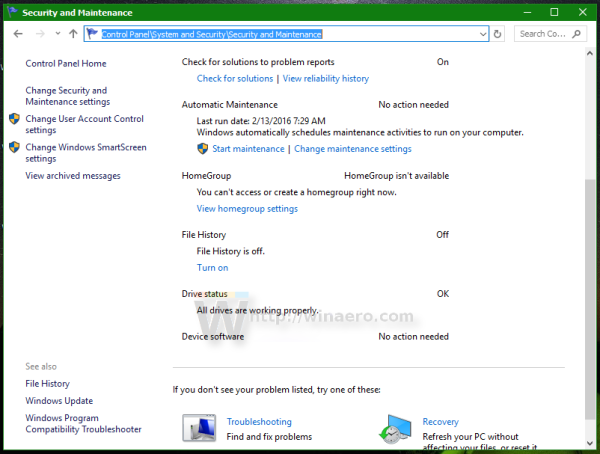
You can first check the information provided by Windows. If some issue is present with the drive which Windows can detect, it will report this in the Security and Maintenance Control Panel of Windows 10 (called Action Center in Windows 8 and Windows 7). To check this information, follow these steps:
- Open Control Panel.
- Go to the following applet:
Control Panel\System and Security\Security and Maintenance
- Under "Drive status", you will see the current status of your drives. In my case, Windows 10 does not report any issues:
To check a drive for file system errors in Windows 10, you need to do the following:
- Open a command prompt as Administrator (an elevated instance). See how to open elevated command prompt in Windows 10.
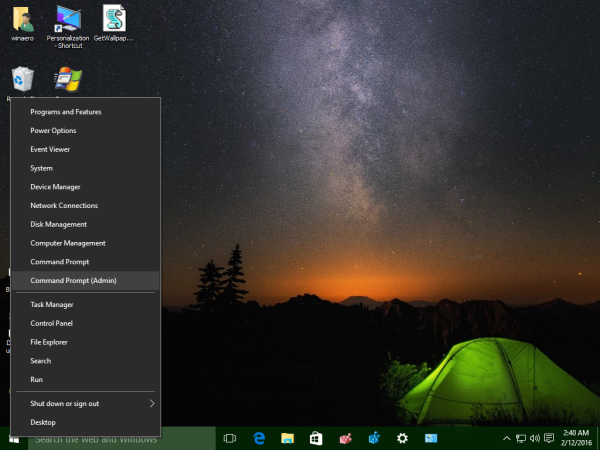
- Type the following in the elevated command prompt you just opened:
chkdsk /F DriveLetter:
Replace the DriveLetter portion with the actual drive or partition letter you want to check. For example, the following command will perform an error check on drive D:
chkdsk /F D:
If the drive is not in use, the disk check and repair operations will commence. If the drive is in use, Chkdsk will prompt you whether to force a dismount or schedule the drive check for the next boot.
Schedule the drive check at next boot
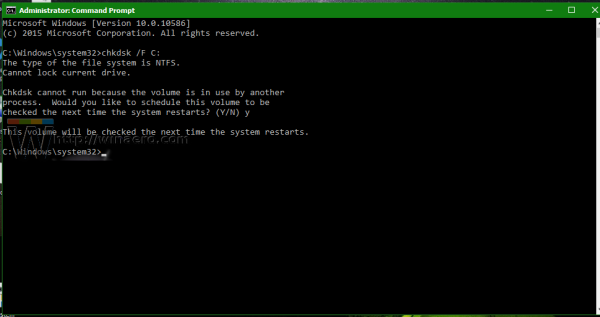
Chkdsk can be run in read-only mode on the system drive however to fix errors, the drive has to be unmounted by all other programs accessing it. On the drive where the Windows operating system is running, Chkdsk /F can only be done before the next boot because the drive is in use by operating system files. You can check the system drive for errors in Windows 10 by executing the following command:
chkdsk /F C:
You will see the following output: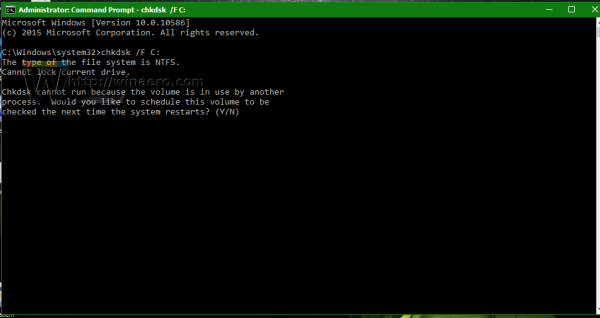
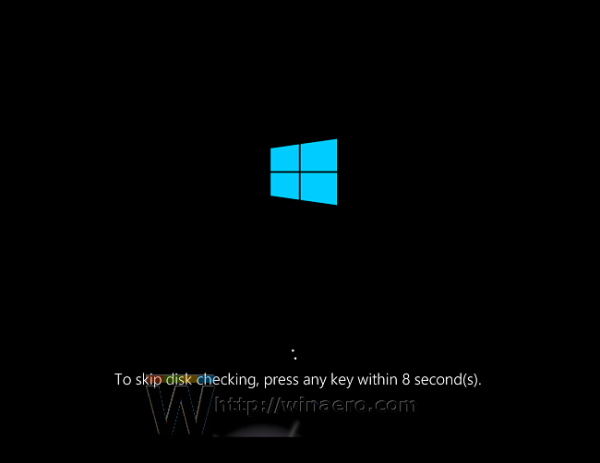
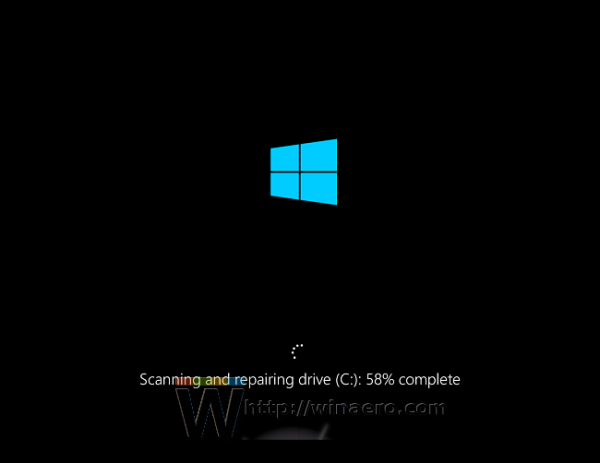
Once you press Y to confirm the request, Chkdsk will run the next time before Windows 10 boots completely.
You will be able to cancel it within a timeout period (you can adjust this timeout as described in the article Change the Chkdsk timeout at Windows 10 boot):
Cancel a scheduled drive check
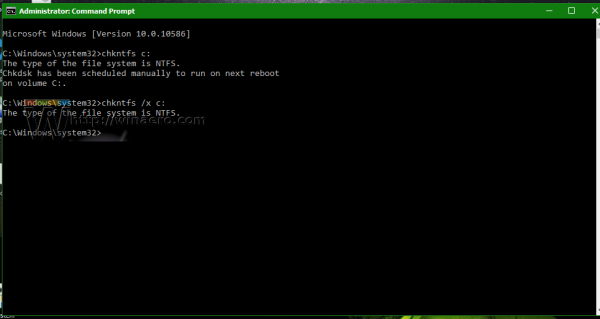
If you change your mind, you can cancel the scheduled drive check before you reboot Windows 10. In an elevated command prompt, run the following commands:
- To check if a drive check is scheduled manually at the reboot, run the following command:
chkntfs c:
The output will tell you if chkdsk /F has been used to manually schedule a disk check otherwise it will report that the drive does not have a 'dirty' bit set.
- To cancel a scheduled drive check, type the following command:
chkntfs /x C:
That's it. After chkdsk finishes the drive check, you can find its results by following the steps described here: How to find chkdsk results in Windows 10
Support us
Winaero greatly relies on your support. You can help the site keep bringing you interesting and useful content and software by using these options:
