If your PC is a home PC or it is located in a small office, it is probably included to a workgroup without any Active Directory domain or server. When you are connecting your PC to a network, Windows 10 automatically creates a new workgroup, simply named WORKGROUP. After thatn, you can join any existing workgroup on your network or create a new one. Workgroups allow combining PCs to logical groups and act as a basis for file and printer sharing.
Advertisеment
So, a workgroup is a collection of computers on a local area network on the same subnet that usually share common resources like folders and printers. Each PC that is a member of the workgroup can access the resources being shared by the others, and can share its own resources. Workgroups are not protected by a password.
Joining a workgroup is very simple. You need to change the default WORKGROUP name to a matching name used by other group participants. However, all PCs in the workgroup must have a unique computer name.
Windows 10 allows changing the workgroup name by using various methods. For your new workgroup name, avoid using spaces, and the following special characters: ` ~ @ # $ % ^ & ( ) = + [ ] { } | ; : , ‘ “ . < > / ?.
To change the workgroup name in Windows 10, do the following.
- Press Win + R hotkeys on the keyboard. The Run dialog will appear on the screen, type the following into the text box and press Enter:
SystemPropertiesAdvanced
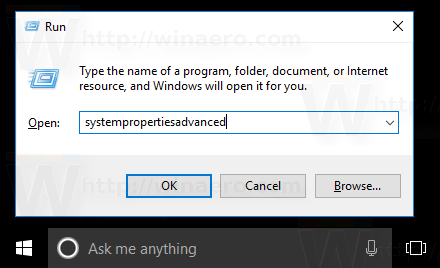
- Advanced System Properties will open.
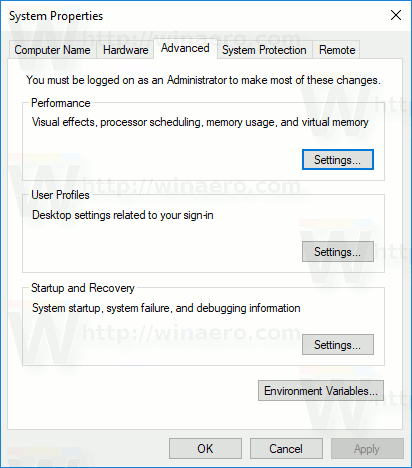
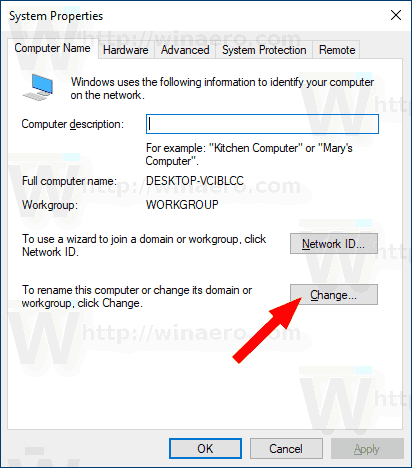
- Switch to the Computer Name tab.
- Click on the Change button.
- Select Workgroup under Member of and enter the desired name of the workgroup that you want to join or create.
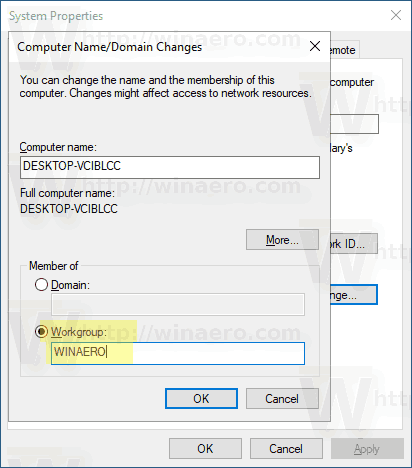
- Restart Windows 10. You will be prompted to restart immediately.
Alternatively, you can use one of the following methods described below.
Change Workgroup Name in Command Prompt
- Open an elevated command prompt.
- Type the following command:
wmic computersystem where name="%computername%" call joindomainorworkgroup name="Workgroup_Name"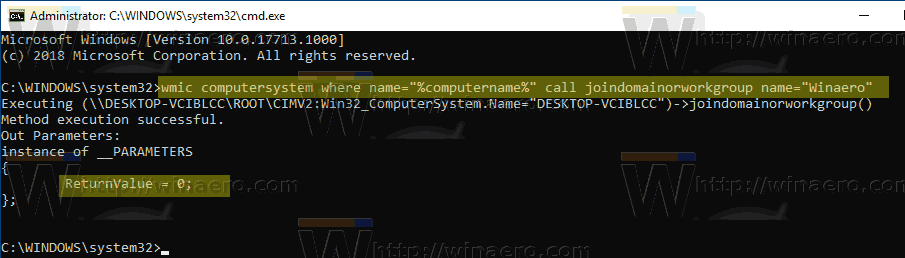
- Substitute the Workgroup_Name portion with the actual workgroup name you want to set.
- Restart Windows 10.
Change Workgroup Name using PowerShell
- Open an elevated PowerShell.
- Type the following command:
Add-Computer -WorkGroupName "Workgroup_Name". - Substitute the Workgroup_Name portion with the actual workgroup name you want to set.
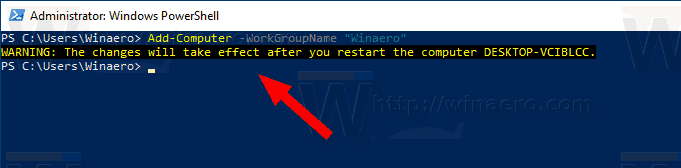
- Now, restart your computer.
That's it.
Support us
Winaero greatly relies on your support. You can help the site keep bringing you interesting and useful content and software by using these options:

Very helpful information. Changing microsoft workgroup name!