As you may already know, Windows shares your computer's CPU resources between running apps. How many resources will be given to a process is determined by its priority. The higher the priority level, the more resources will be allocated to the process. In this article, we will see how to set or change process priority in Windows 10.
Advertisеment
There are 6 priority levels available to processes in Windows, as follows:
- Low
- Below normal
- Normal
- Above normal
- High
- Realtime
Normal is the default level. Most apps start with this priority level and run without issues. The user can temporarily change process priority to speed up the app or slow it down and make it consume less resources. A new priority level applied to the app will take effect till the app's process terminates. Once you exit it, the next time it will open with the default priority level (Normal) unless the app itself has a setting to change its priority automatically.
Some apps can adjust their priority automatically. The popular WinRAR and 7-Zip archivers are able to raise its priority to "Above normal" to speed up the archiving process. Or media players like Winamp can raise their process priority during playback.
Before you proceed, you need to know the following. The Realtime priority level is not meant to be set by the user. It can cause system instability. An application running at this priority can consume 100% of CPU and intercept keyboard and mouse input, making the PC unusable.
To change process priority in Windows 10, do the following.
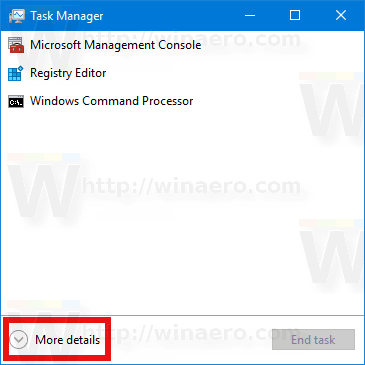
- Open Task Manager.
- Switch it to the More details view if required using the "More details" link in the bottom right corner.
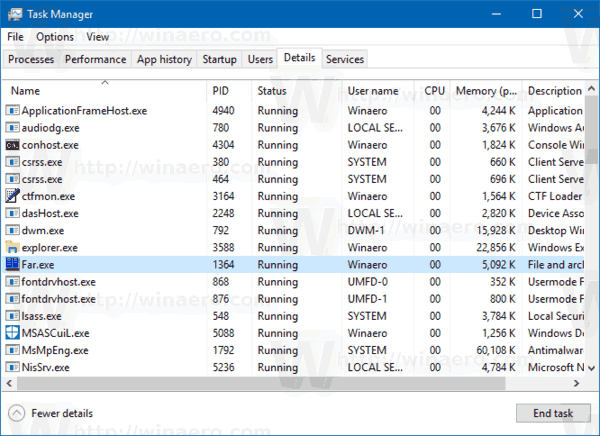
- Switch to the Details tab.
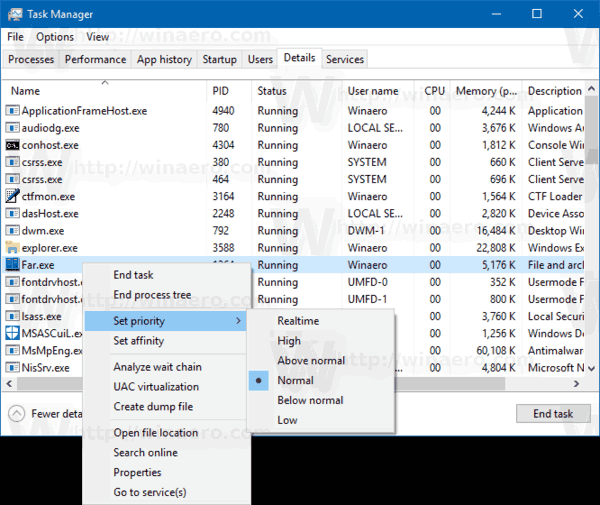
- Right-click the desired process and select Set priority from the context menu. In the submenu drop down, select the desired priority level, for example, Above Normal.
- The following dialog will open:
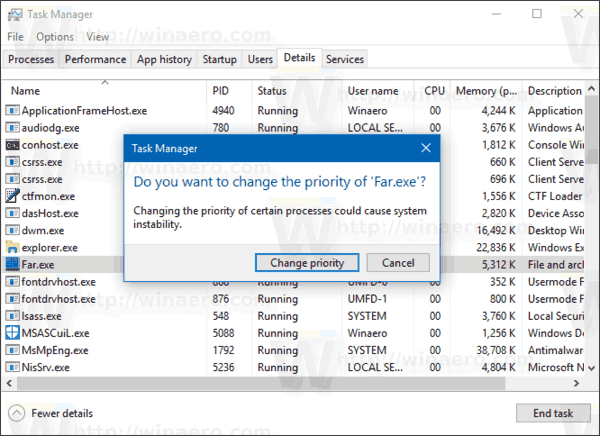 Confirm the operation and you are done.
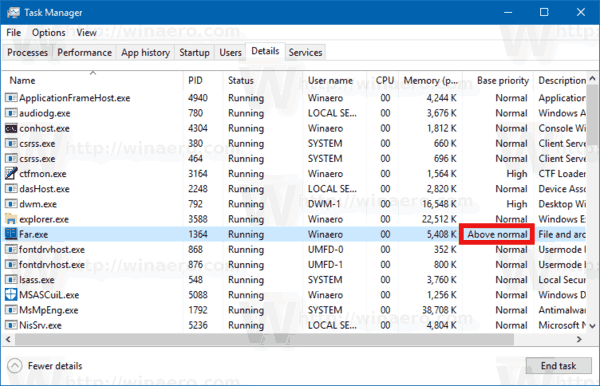
There is a way to start a process with the desired priority. This can be done with a console command "start", available in the classic command prompt (cmd.exe). Here is how.
How to start an app with a specific priority level
- Open a new command prompt instance.
- Type or copy-paste the following command:
start "" /AboveNormal "C:\Windows\System32\notepad.exe"
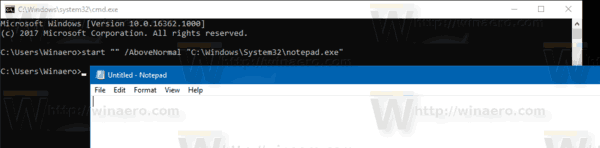 This will start Notepad with the Above Normal priority.
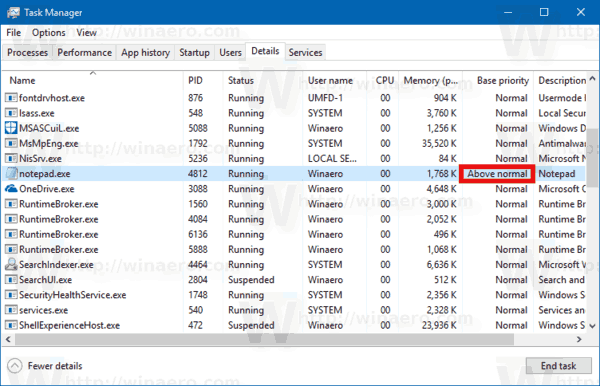 Replace the value with the desired priority level, for example, High or BelowNormal. Substitute the executable's path with the full path to the app you want to run.
Finally, using the console tool wmic, you can change an already running app's process priority level. This can be useful in various automation scripts.
How to change the app priority level using wmic
- Open a new command prompt instance.
- Type or copy-paste the following command:
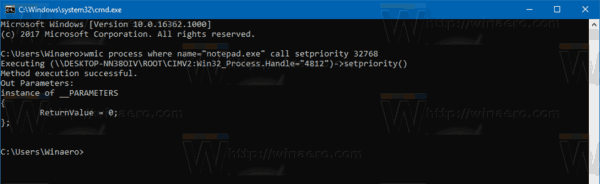
wmic process where name="Process Name" call setpriority "Priority Level"
Replace the 'Process Name' portion with the actual name of the process, for example, "notepad.exe".
Replace the 'Priority Level' portion according to the next table:Priority Level Value Priority Level Name 256 Realtime 128 High 32768 Above normal 32 Normal 16384 Below normal 64 Low You can use Value or Name in the command. The following two examples do the same:
wmic process where name="notepad.exe" call setpriority 32768
wmic process where name="notepad.exe" call setpriority "Above normal"
That's it.
Support us
Winaero greatly relies on your support. You can help the site keep bringing you interesting and useful content and software by using these options:

What can I use for Microsoft Flight Simulator 2020?
It does not like the App name “flightsimulator.exe”.
In Process Explorer there’s a priority below “low”, called idle. What is that about?