How to Change Display Orientation in Windows 10
Modern tablets and convertibles support screen rotation thanks to built-in hardware sensors. When you turn your device, its desktop may change the display to a portrait or landscape orientation. This post will show you how to change the display orientation in Windows 10.
Advertisеment
The display orientation can be changed with a number of methods. Windows 10 offers a native option to change it. Also, hardware vendors, for example, NVDIA, ship drivers that also allow changing the display orientation when supported.
In most cases, you can change the display orientation by rotating your display, by changing Display Orientation in Settings, or change Display Orientation in NVIDIA Control Panel if you have an NVIDIA GPU installed in your computer.
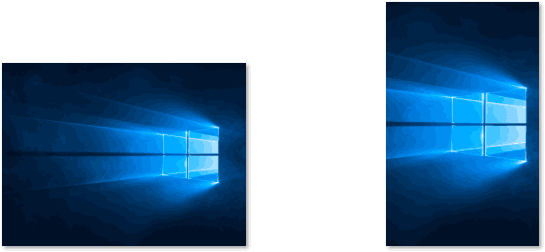
Change Display Orientation by Rotating Display
This option is usually available for tablets and 2-in-1 devices, such as convertible and hybrid laptops.
Just manually rotate the display, and the the display orientation will change to landscape or portrait automatically. This will be triggered by the built-in hardware sensors.
Note: If you have Rotation Lock enabled, the display orientation will not change when you rotate the display.
Alternatively, you can use Settings to change the display orientation.
To Change Display Orientation in Windows 10,
- Open Settings.
- Navigate to Settings > Display.
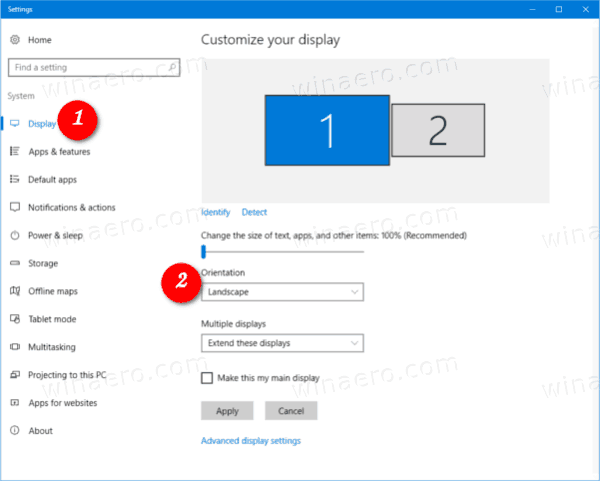
- If you have multiple screens, pick the screen on the right for which you want to change the display orientation.
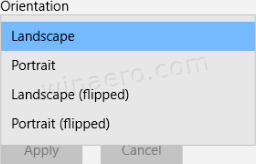
- On the right, select Landscape, Portrait, Landscape (flipped), or Portrait (flipped) from the Display orientation drop-down list for what you want.
- If the selected display orientation suits your needs, click on the Keep changes button in the confirmation dialog.

- Otherwise, you click on Revert to restore the previous display orientation.
You are done.
Finally, if you have a video adapter made by NVIDIA, you can use its control panel tool to change the display orientation.
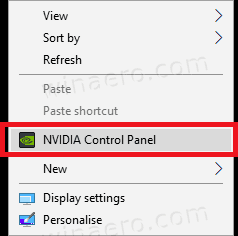
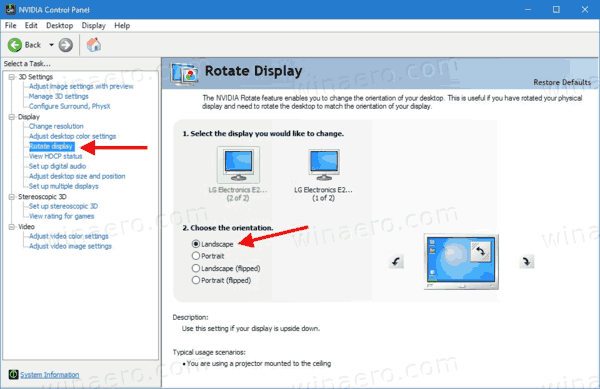
Change Display Orientation in NVIDIA Control Panel
- Right-click anywhere on your Desktop.
- Select NVIDIA Control Panel from the context menu.
- In the app, go to Display > Rotate display on the left.
- On the right, select the proper connected display if you have a few.
- Select Landscape, Portrait, Landscape (flipped), or Portrait (flipped) under Choose the orientation for what you want, and click Apply.
- If everything looks as you expected, click Yes in the confirmation box. Otherwise, click No.
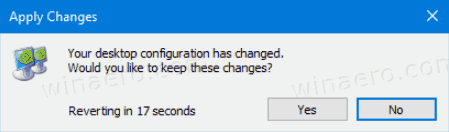
Note: The previously used display orientation will be automatically restored in 20 seconds if you do not take any action. This is useful if the changes you made prevent the display from showing the proper image.
That's it!
Articles of interest:
- How to Disable Screen Rotation in Windows 10
- Change Display Resolution in Windows 10
- Set exact display resolution in VirtualBox virtual machine
- Clear and Reset External Display Cache in Windows 10
- Change Display Refresh Rate in Windows 10
- How To Change Screen Brightness in Windows 10
- How to Restart Video Driver in Windows 10
- How to Set Display Custom Scaling in Windows 10
Support us
Winaero greatly relies on your support. You can help the site keep bringing you interesting and useful content and software by using these options:
