In earlier versions of Windows, such as Windows XP, users had the ability to change system-wide fonts for interface elements like menus, file explorer, and desktop icons through a simple graphical interface. However, this functionality has been removed from modern versions of Windows. In Windows 10 and Windows 11, there is no built-in setting to change the system font globally.
Advertisеment
By default, Windows 11 uses Segoe UI across all desktop components, including context menus and Explorer icons. While Microsoft has discontinued native support for changing this behavior, it remains technically possible by modifying registry entries. This method affects traditional desktop interface elements but does not change the look of Microsoft Store apps or modern UI components such as Settings or Start menu.
💡 It is worth mentioning that if you want to simple change the text size, you can adjust just one slider in the Settings app. So, for only resizing fonts, you can avoid registry editing.
To proceed with this customization, follow the steps outlined below.
Change Default Font in Windows 11
To change the system font, do the following.
- Download a pre-configured registry file in a ZIP archive to set a custom system font. This file must be edited before applying it to your system.
- Extract the
change system font.regfile to your Desktop for easy access.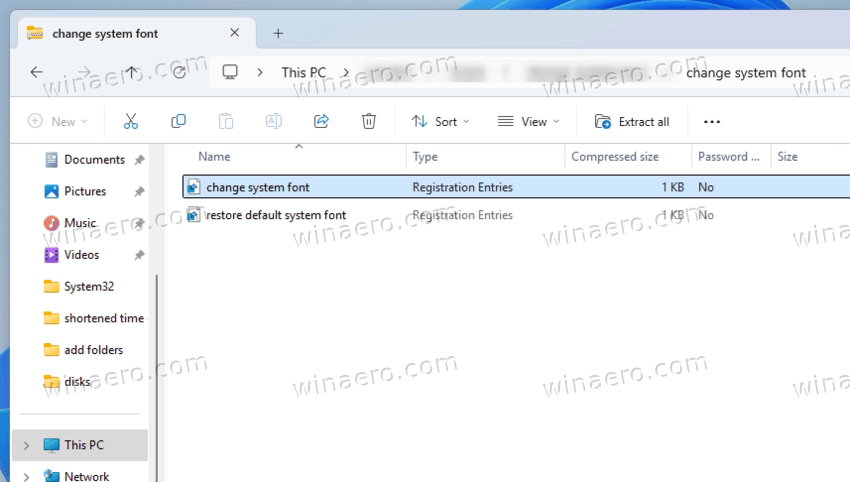
- Right-click the saved
.regfile, and select Open with > Notepad to edit it.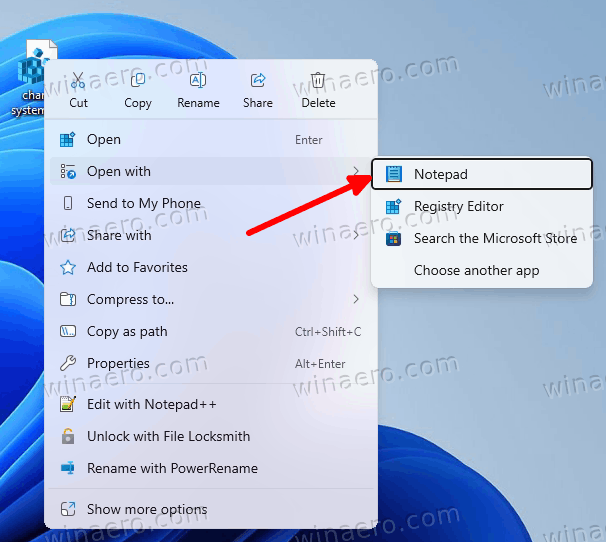
- Locate the line containing the placeholder
SPECIFY YOUR FONT NAME.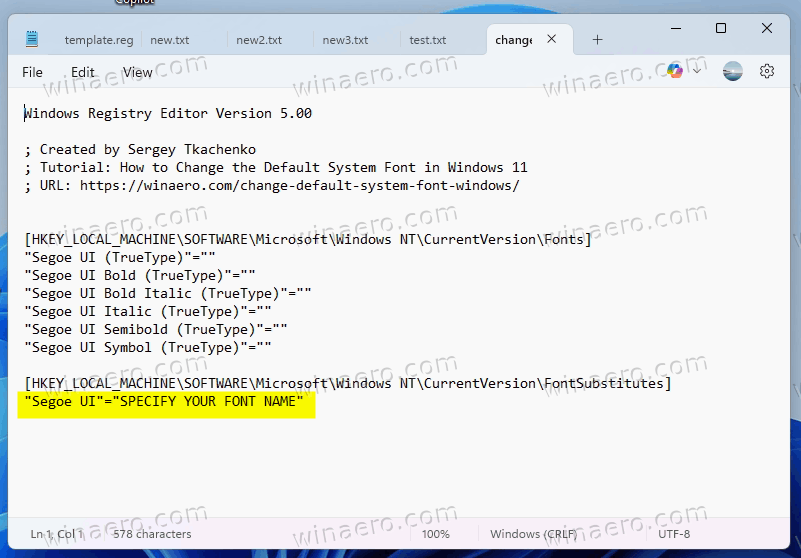 Replace this with the exact name of the desired font family (e.g., Tahoma Bold). Ensure that the specified font is installed and available within the operating system.
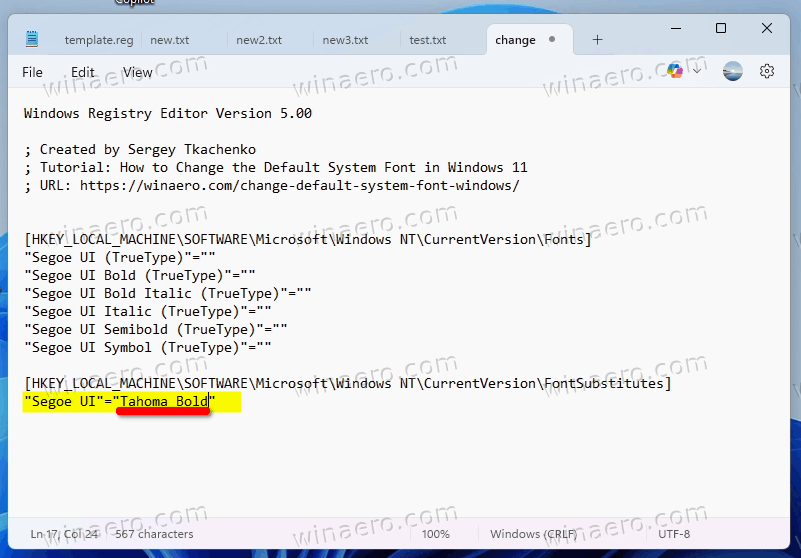
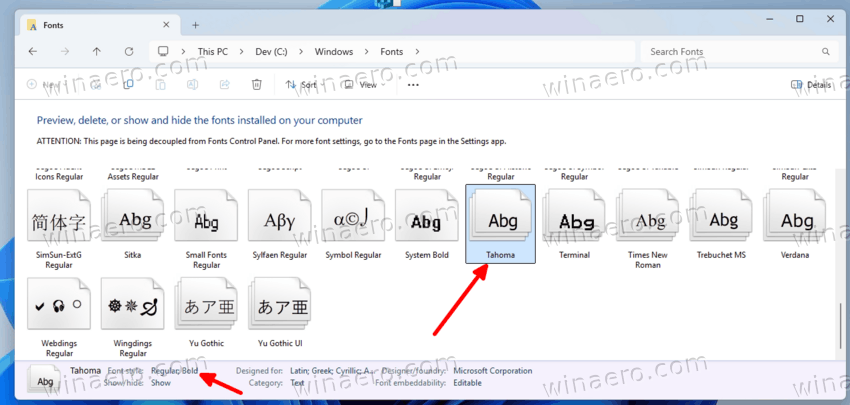
- To verify valid font names:
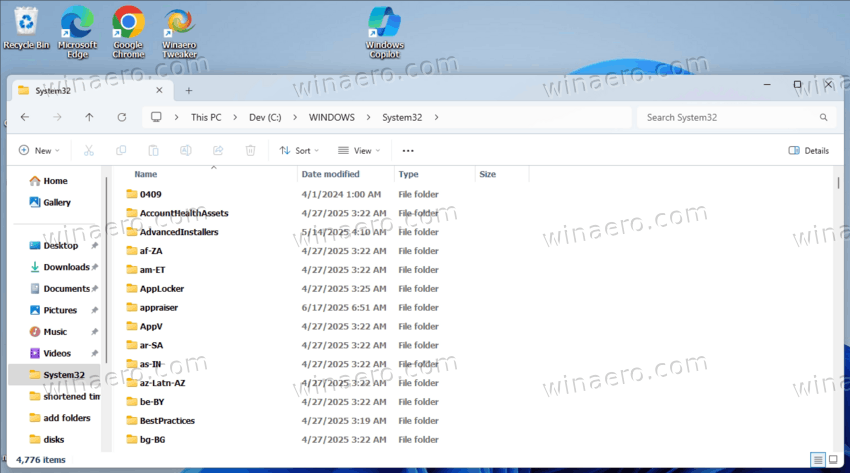
- Navigate to the system Fonts folder located at
C:\Windows\Fonts. - Select a font family to view its individual variants and corresponding full names.
- Navigate to the system Fonts folder located at
- After making the necessary edits, save the modified
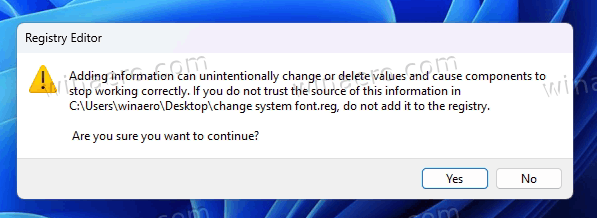
.regfile by selecting File > Save from the Notepad menu. - Double-click the updated
.regfile to merge it into the system registry. - A confirmation dialog will appear. Proceed by clicking Run, followed by Yes to User Account Control prompts, and confirm the registry update by selecting Yes and OK when prompted.
- Reboot the computer to apply the changes system-wide. Voila, you now have a new default font of your choice!
How to Restore the Default System Font
If you wish to revert to the original system font configuration, a separate registry file is available to restore Segoe UI as the default interface font. This process replaces any modified settings and removes unintended font substitutions made during prior customization.
- Download an undo ZIP file from this link.
- Extract the included
Restore default system font.regfile to your desktop or any other convenient location for ease of access.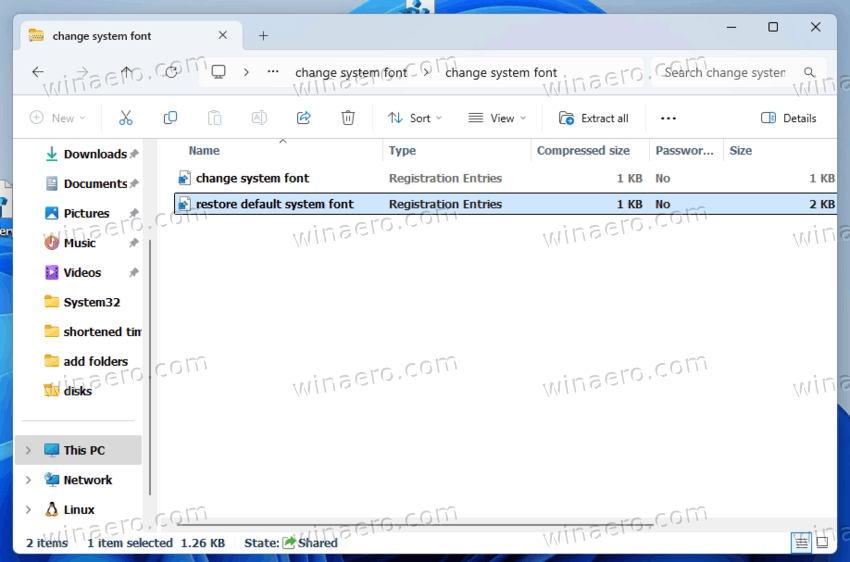
- Double-click the
.regfile to begin the import process. - A confirmation prompt will appear. Click Run, then confirm with Yes to both the file execution and the User Account Control warning.
- Select OK to complete the registry merge operation.
- Restart your computer to finalize the restoration of default font settings.
- Once the system reboots and the changes are confirmed effective, you may delete the
.regfile to maintain a clean workspace.
How it works
This method modifies core registry values under HKEY_LOCAL_MACHINE\SOFTWARE\Microsoft\Windows NT\CurrentVersion\FontSubstitutes. It should be performed with caution and ideally backed up before any modifications are made. The changes affect legacy UI elements and do not extend to Universal Windows Platform (UWP) applications or the modern Fluent Design interface.
The affected values:
Windows Registry Editor Version 5.00

[HKEY_LOCAL_MACHINE\SOFTWARE\Microsoft\Windows NT\CurrentVersion\Fonts]
"Segoe MDL2 Assets (TrueType)"="segmdl2.ttf"
"Segoe Print (TrueType)"="segoepr.ttf"
"Segoe Print Bold (TrueType)"="segoeprb.ttf"
"Segoe Script (TrueType)"="segoesc.ttf"
"Segoe Script Bold (TrueType)"="segoescb.ttf"
"Segoe UI (TrueType)"="segoeui.ttf"
"Segoe UI Black (TrueType)"="seguibl.ttf"
"Segoe UI Black Italic (TrueType)"="seguibli.ttf"
"Segoe UI Bold (TrueType)"="segoeuib.ttf"
"Segoe UI Bold Italic (TrueType)"="segoeuiz.ttf"
"Segoe UI Emoji (TrueType)"="seguiemj.ttf"
"Segoe UI Historic (TrueType)"="seguihis.ttf"
"Segoe UI Italic (TrueType)"="segoeuii.ttf"
"Segoe UI Light (TrueType)"="segoeuil.ttf"
"Segoe UI Light Italic (TrueType)"="seguili.ttf"
"Segoe UI Semibold (TrueType)"="seguisb.ttf"
"Segoe UI Semibold Italic (TrueType)"="seguisbi.ttf"
"Segoe UI Semilight (TrueType)"="segoeuisl.ttf"
"Segoe UI Semilight Italic (TrueType)"="seguisli.ttf"
"Segoe UI Symbol (TrueType)"="seguisym.ttf"

[HKEY_LOCAL_MACHINE\SOFTWARE\Microsoft\Windows NT\CurrentVersion\FontSubstitutes]
"Segoe UI"=-
Now, when we learned how the things work, let's save some time and use a GUI for changing the system font. It is part of Winaero Tweaker.
Using Winaero Tweaker
- Download the app and install it.
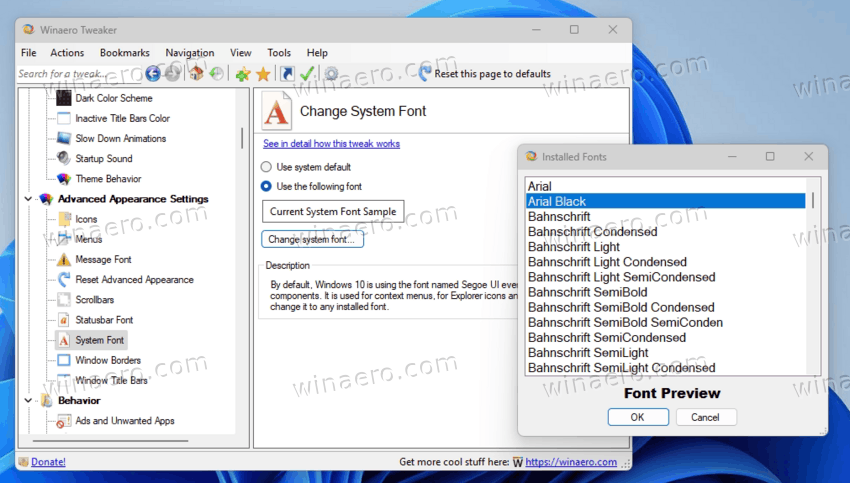
- On the left, find the System Font option in the Advanced Appearance section, and select it.
- Then on the right, select (dot) the Use the following font option.
- Now, click the Change system font button below it.
- Pick the desired font and click OK. You will see a preview for the selection to make the right choice.
- Restart Windows once prompted, and you are good to go.
As you can see, it is very easy to change the system font with help of Winaero Tweaker. It also allows reverting the changes you made. For that, you need to click the Reset this page to defaults button in the top toolbar.
That's it.
Support us
Winaero greatly relies on your support. You can help the site keep bringing you interesting and useful content and software by using these options:
