In Windows 10, the user can specify the default sound input device. Recent versions of the operating systems provide a number of ways to do it, including the Settings app, and the classic Sound applet of the Control Panel.
Advertisеment
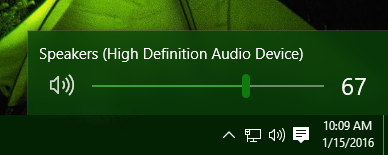
Windows 10 introduced a new style of items and their panes/flyouts which open from the notification area. All of the applets which open from the system tray are different now. This includes the Date/Time pane, the Action Center, the Network pane and even the volume control. Once you click the sound icon in the system tray, the new volume indicator will appear on the screen.
Note: In a number of situations, the Volume icon can be hidden in the taskbar. Even when you have all the drivers installed, the icon might remain inaccessible. If you are affected by this issue, see the following post:
Fix: Volume Icon is Missing in Windows 10 Taskbar
Tip: It is still possible to restore the good old "classic" sound volume control.
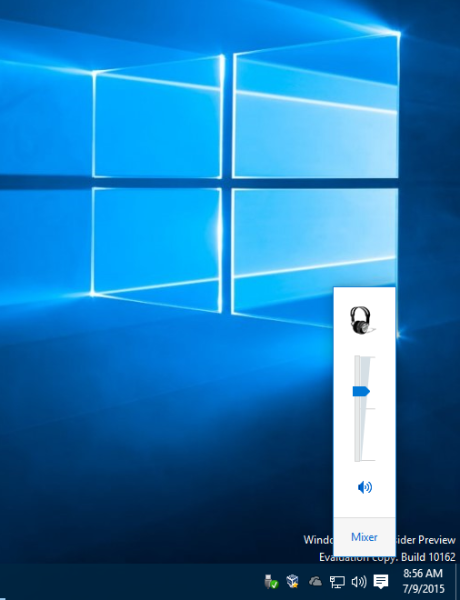
Refer to the following article:
How to enable the old Volume control in Windows 10
The default sound input device is the device that the operating system uses to record or hear sounds. If you have connected several audio devices to your PC or laptop, such as microphones, a web camera with a built-in microphone, a Bluetooth headset, it is possible to specify which device to use by default for audio input. Let's see how it can be done.
To change Default Sound Input Device in Windows 10, do the following.
- Open the Settings app.

- Go to System -> Sound.
- On the right, go to the section Choose your input device and select the desired device in the drop-down list.
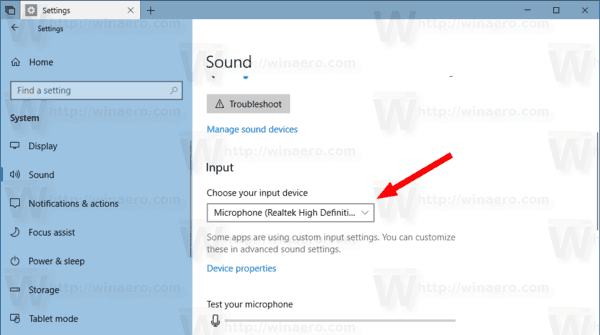
Windows 10 will switch the audio input device instantly.
Alternatively, you can use the classic Sound applet, as described below.
Change Default Sound Input Device using Sound Dialog
Tip: To save your time, you can open the classic Sound dialog using the following command:
rundll32.exe shell32.dll,Control_RunDLL mmsys.cpl,,1
Refer to the next article:
Windows 10 Rundll32 Commands – the complete list
Then do the following.
- Open the classic Control Panel app.
- Navigate to Control Panel\Hardware and Sound\Sound.
- On the Recording tab of the sound dialog, select the desired input device from the list of available devices.
- Click on the Set default button.
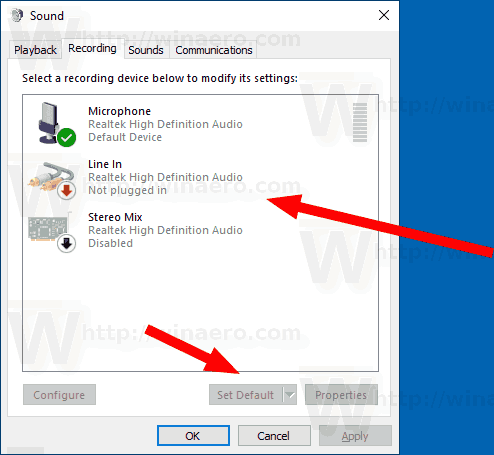
That's it.
Related articles:
- How to Change Default Audio Device in Windows 10
- Set Audio Output Device For Apps Individually in Windows 10
- How to Enable Mono Audio in Windows 10
Support us
Winaero greatly relies on your support. You can help the site keep bringing you interesting and useful content and software by using these options:

You describe how to (simply) go to sound input device select panel and choose the device you want, but in both ways microphone is the only option listed on my laptop. If I disable it then there is nothing. So what do you do if you want ‘Stereo Mix’ or ‘Line In’ and it is not there to select?
Same. I don’t know how to fix it. Like obviously I tried switching the input in settings.
People who write tutorials are almost never helpful.