Windows Defender Firewall is a great feature in modern Windows versions. It was introduced in Windows XP and improved in Windows XP Service Pack 2. In Windows 10, it is part of the Windows Defender Security Center. Today, we will see how to add the Windows Firewall context menu in Windows 10 to access it faster.
Advertisеment
Over the Windows 10 lifecycle, Microsoft has improved Defender in many ways and enhanced it with numerous features such as Advanced Threat Protection, Network Drive Scanning, Limited Periodic Scanning, Offline Scanning, the Security Center dashboard and Exploit Protection (previously offered by EMET). In recent builds, it includes Windows Firewall options.
Windows Defender Security Center
Don't be confused between Windows Defender and its related user interfaces such as Windows Defender Security Center. Windows Defender remains the built-in anti-virus software which provides real-time protection against threats based on malware definition files/signatures.
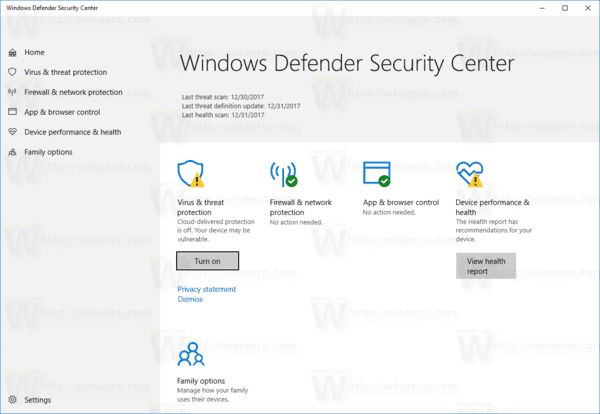
Whereas Windows Defender Security Center app is only a dashboard which allows you to track the protection state of several other Windows security technologies. It can be used to configure various security options like SmartScreen. Defender Security Center is what opens now when you click its icon in the system tray.
Windows Firewall
In Windows 10, Windows Firewall is based completely on the Windows Filtering Platform API and has IPsec integrated with it. This is true since Windows Vista where the firewall added outbound connection blocking and also comes with an advanced Control Panel called Windows Firewall with Advanced Security. It gives fine-grained control over configuring the firewall. The Windows Firewall supports multiple active profiles, co-existence with third-party firewalls, and rules based on port ranges and protocols.
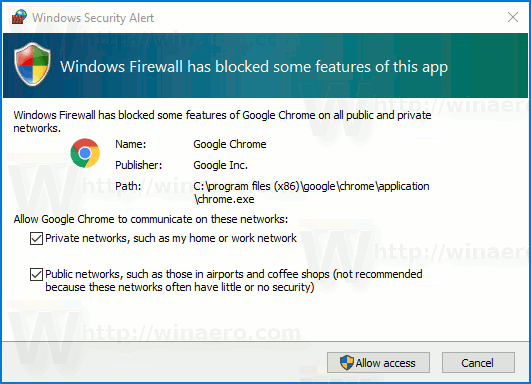
By default, all apps are blocked in Windows Firewall and cannot act as a service on your computer. You need to unblock them manually. Usually, a prompt appears when an app is going to access the network.
- Download the following Registry files: Download Registry Files.
- Extract the ZIP archive contents to any folder you want and unblock the files.
- Double-click the file
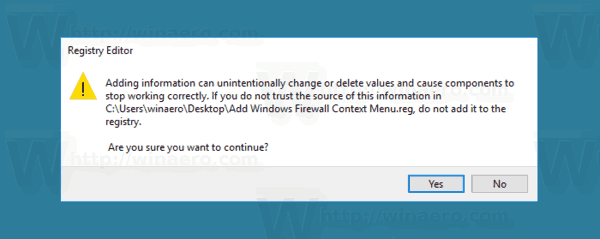
Add Windows Firewall Context Menu.reg. - Confirm the UAC prompt, then click Yes to confirm the import operation.
You are done! The following context menu will appear when you right-click your Desktop.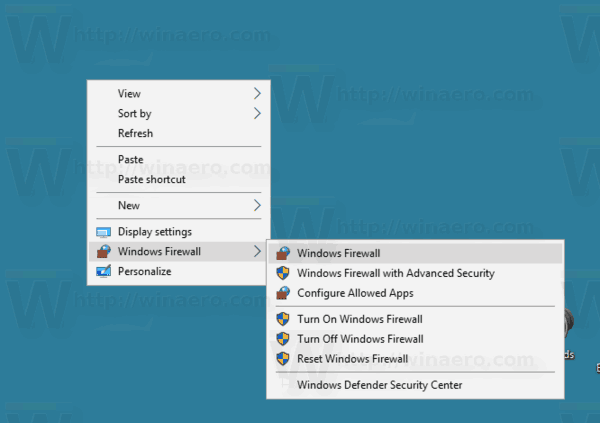
It contains the following commands:
- Windows Firewall - opens the user interface of the app.
- Windows Firewall with Advanced Security - opens Windows Firewall with Advanced Security.
- Configure Allowed Apps.
- Turn On Windows Firewall.
- Turn Off Windows Firewall.
- Reset Windows Firewall
- Windows Defender Security Center.
The undo tweak is included to quickly remove the context menu.
Extra software
In addition, you can add extra functionality to your Firewall in Windows with these freeware apps.
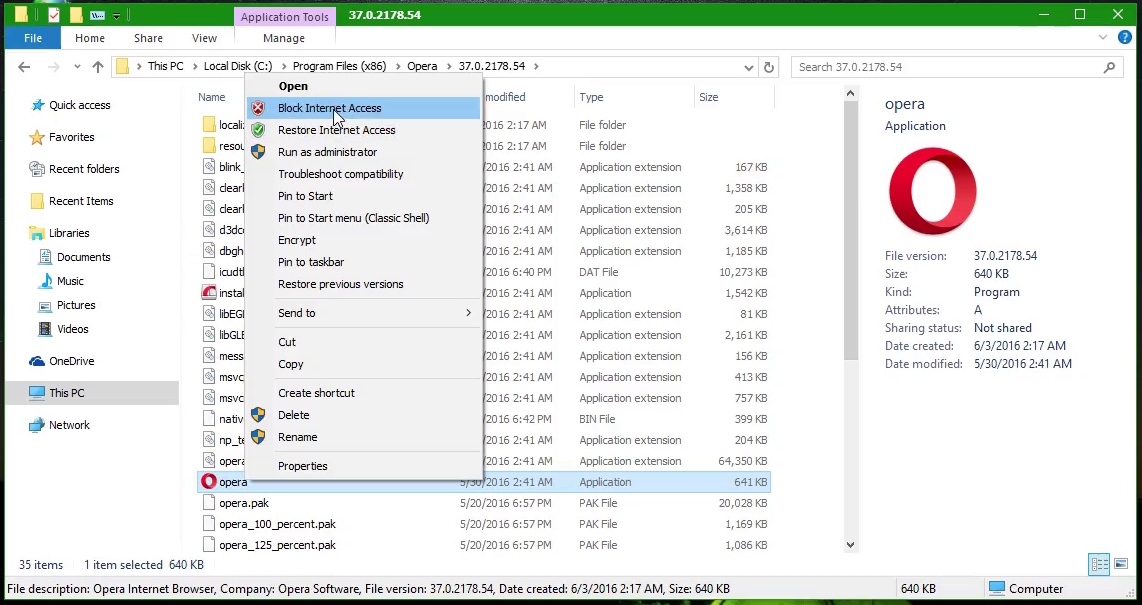
OneClickFirewall - it's a little app I coded to block an app right from the context menu from accessing the Internet (both inbound and outbound connections) because the Windows Firewall UI involves too many steps.
Windows 10 Firewall Control - Windows 10 Firewall Control puts you in control of all network communications your PC has. It can prevent applications from "phoning home", sending "telemetry", showing advertisements, checking for updates without your permission and so on. It's very useful to detect and stop zero-day malware by blocking its network activity. By adopting a block-everything-by-default approach and allowing access to only white-listed apps, Windows 10 Firewall Control gives you full control over network communication.
Articles of interest:
- How To Allow Or Block Apps In Windows Firewall in Windows 10
- How To Disable Windows Firewall in Windows 10
- Disable Firewall Notifications In Windows 10
- How to Backup and Restore Firewall Rules in Windows 10
- How to Reset Windows Firewall in Windows 10
That's it.
Support us
Winaero greatly relies on your support. You can help the site keep bringing you interesting and useful content and software by using these options:
