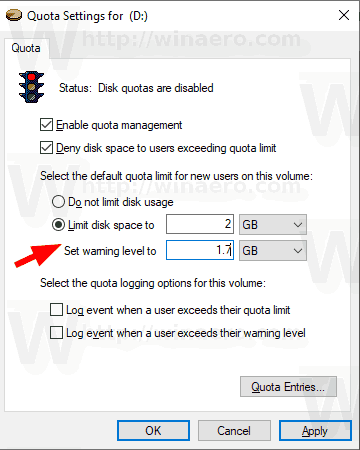
NTFS is the standard file system of the Windows NT operating system family. It supports disk quotas, that help administrators track and control disk space usage by users. This post explains how to configure disk quotas in the command prompt in Windows 10.
Advertisеment
The NTFS file system allows administrators to control the amount of data that each user can store on an NTFS file system volume. Administrators can optionally configure the system to log an event when users are near their quota, and to deny further disk space to users who exceed their quota. Administrators can also generate reports, and use the event monitor to track quota issues.
The Disk Quota feature can be enabled for an individual drive, or forced for all drives. Also, there are a number of options you can adjust for disk quotas. Before proceeding, ensure that your user account has administrative privileges.
Normally, you can use the GUI to set disk quotas in Windows 10. The operation is reviewed in detail in the article How To Enable Disk Quotas In Windows 10.

In certain situations, it can be useful to check and configure disk quotas in the command prompt. Here is how it can be done.
To Set Disk Quota in Command Prompt in Windows 10,
- Open an elevated command prompt.
- Type or copy-paste the following command:
fsutil quota track drive_letter:. - Substitute the drive_letter portion with the actual drive letter of the disk for which you want to enable quotas.

- To disable disk quotas, execute the command
fsutil quota disable drive_letter:.
Set Disk Quota Limit and Warning Level
- Open an elevated command prompt.
- To see the current limits, type or copy-paste the following command:
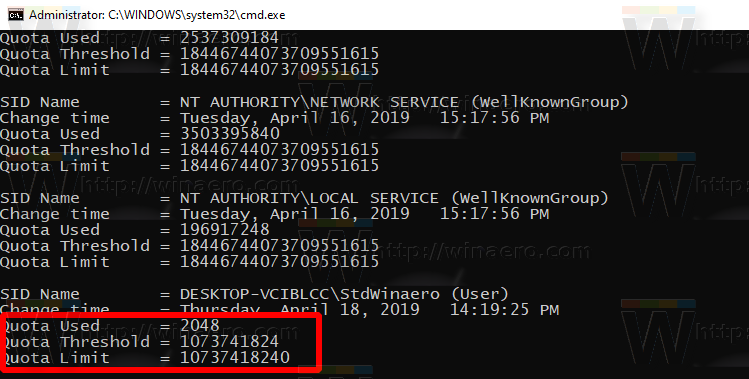
fsutil quota query drive_letter: - Substitute the drive_letter portion with the actual drive letter of the disk for which you want to see disk quota limits.

- To change disk quota limits, run the command:
fsutil quota modify drive_letter: warning_level_in_bytes quota_limit_in_bytes user_name. For example:fsutil quota modify D: 1073741824 16106127360 StdWinaero.
- The disk quota limit is now changed for the specified user account.

Note: Use the following reference values to change the limits quickly.
1 Kilobyte (KB) = 1,024 Bytes (B)
1 Megabyte (MB) = 1,048,576 Bytes (B)
1 Gigabyte (GB) = 1,073,741,824 Bytes (B)
1 Terabyte (TB) = 1,099,511,627,776 Bytes (B)
Replace the following parameters with their actual values:
- Substitute drive_letter with the actual drive letter you want to set a disk quota limit and warning level for.
- Substitute warning_level_in_bytes with the desired value to set the warning level to in bytes. To remove the limit, use a value data of 0xffffffffffffffff.
- Set the quota_limit_in_bytes parameter to the desired quota limit in bytes ( for 'no limit' use 0xffffffffffffffff).
- Finally, replace user_name with the actual use account name for which you want to set a quota limit and its warning level.
Deny disk space to users exceeding quota limit
- Open an elevated command prompt.
- Type or copy-paste the following command:
fsutil quota enforce drive_letter:
- Substitute the drive_letter portion with the actual drive.
- Now, when a user reaches an enforced disk quota limit, the system will prevent further disk write operations to the drive.

You are done.
Related articles:
Support us
Winaero greatly relies on your support. You can help the site keep bringing you interesting and useful content and software by using these options:
