In Windows 10, you can unregister a WSL Linux distro to reset it to defaults. After resetting, the next time you start it, Windows will install a clean non-configured copy of the distro, so you set it up from scratch, create a new user and set its password, and install some apps you need.
Advertisеment
The ability to run Linux natively in Windows 10 is provided by the WSL feature. WSL stands for Windows Subsystem for Linux, which initially, was limited to Ubuntu only. Modern versions of WSL allow installing and running multiple Linux distros from Microsoft Store.
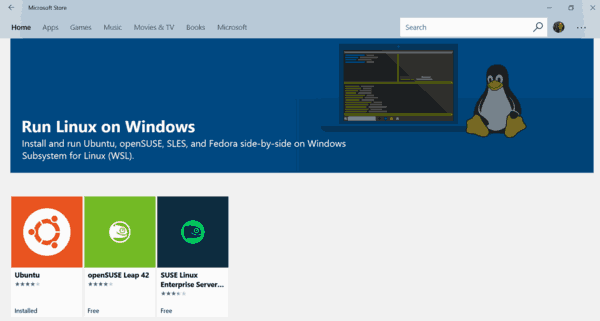
After enabling WSL, you can install various Linux versions from the Store. You can use the following links:
and more.
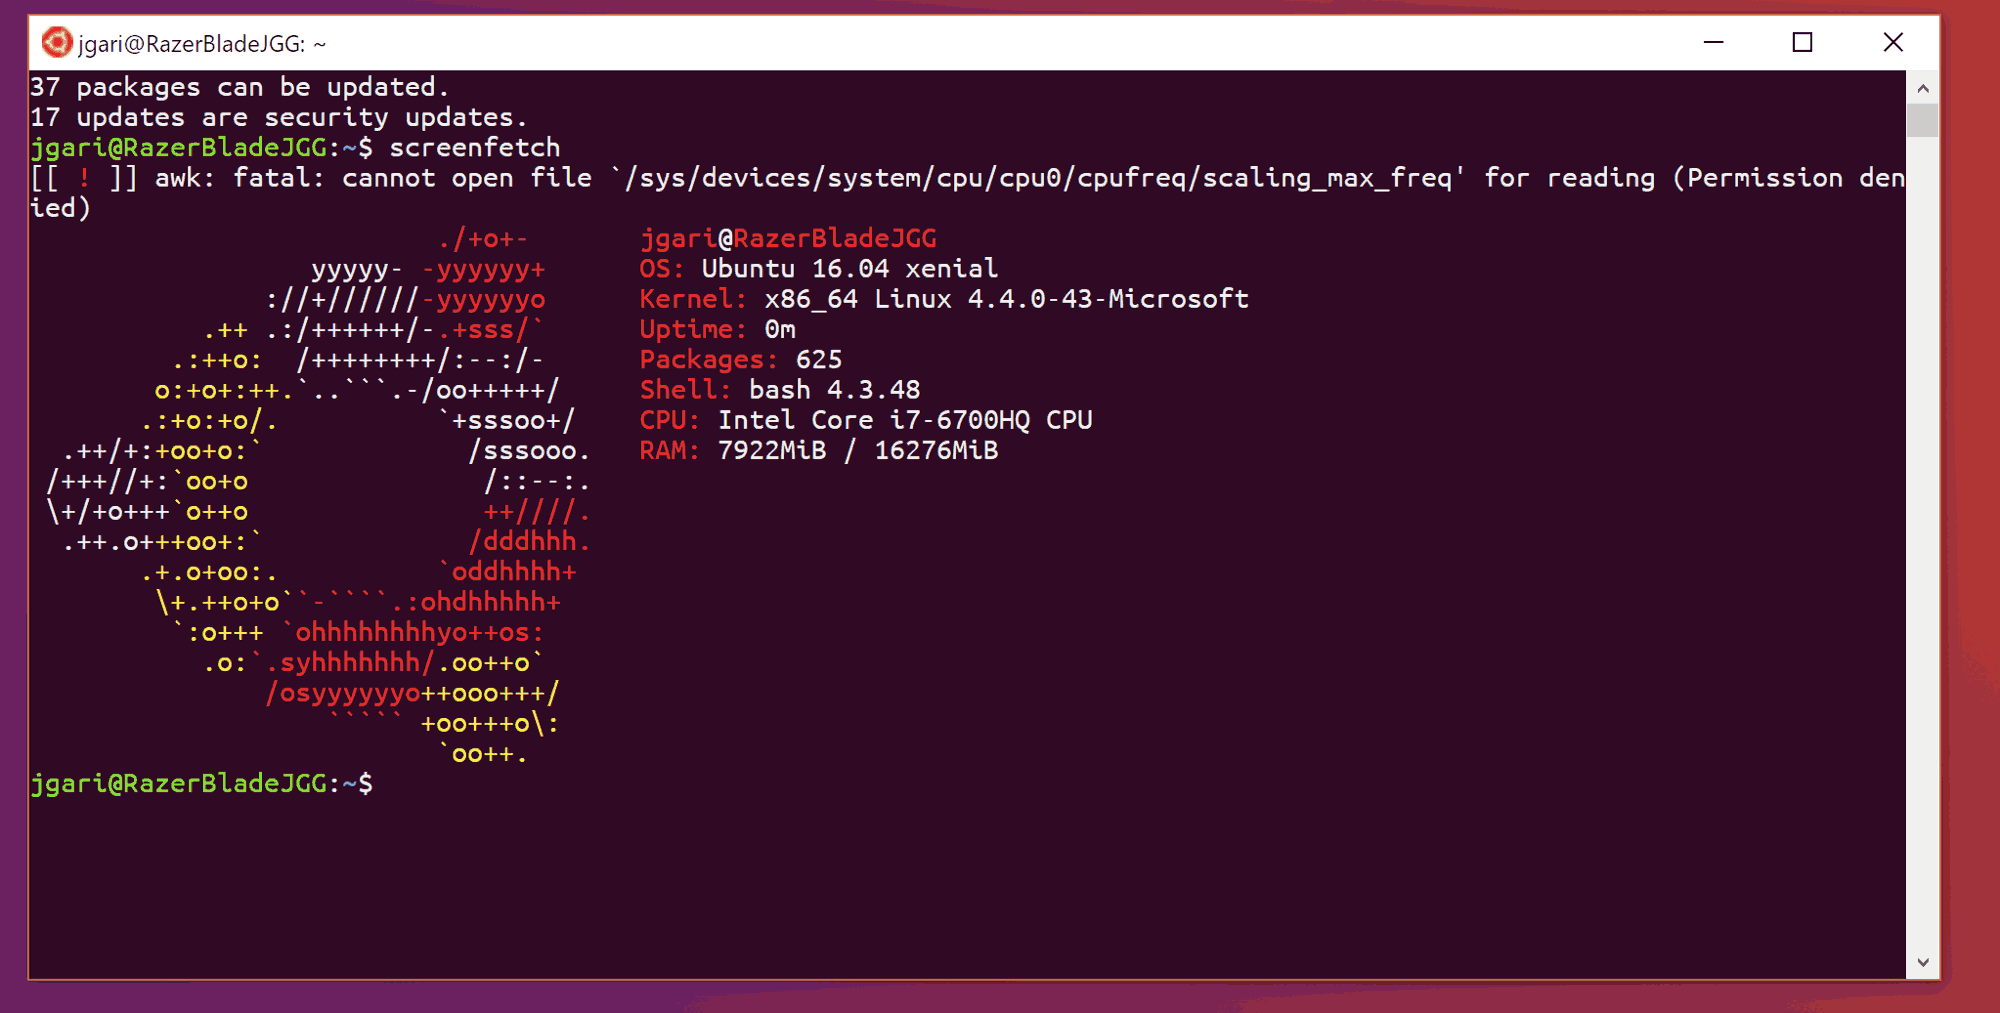
When you start a WSL distro for the first time, it opens a console window with a progress bar. After a moment of waiting, you will be prompted to type a new user account name, and its password. This account will be your default WSL user account that will be used to sign-in automatically every time you run the current distro. Also, it will be included in the 'sudo' group in order to allow it to run commands elevated (as root).
Each Linux distribution running on the Windows Subsystem for Linux has its own Linux user accounts and passwords. You will have to configure a Linux user account any time you add a distribution, reinstall, or reset.
There are two ways to reset a WSL Linux distro in Windows 10. Yiou can use either Settings, or a console tool, wsl.exe.
To Reset a WSL Linux Distro in Windows 10,
- Open the Settings app.
- Go to Apps -> Apps & features.
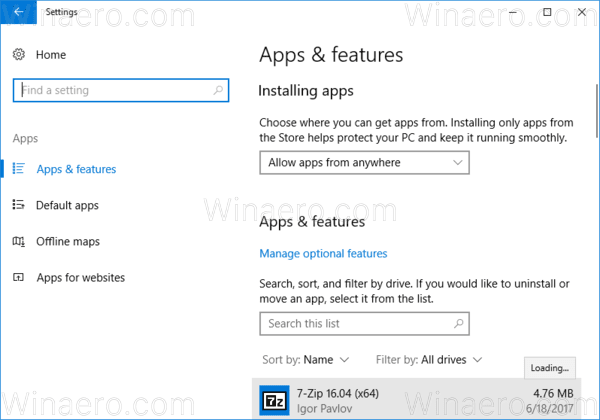
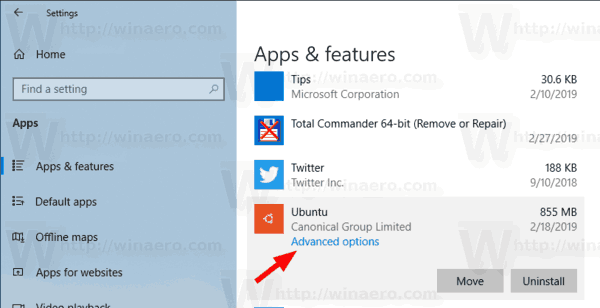
- On the right, look for the installed WSL distro you want to reset and click it.
- The Advanced options link will appear. Click it to open the next page.
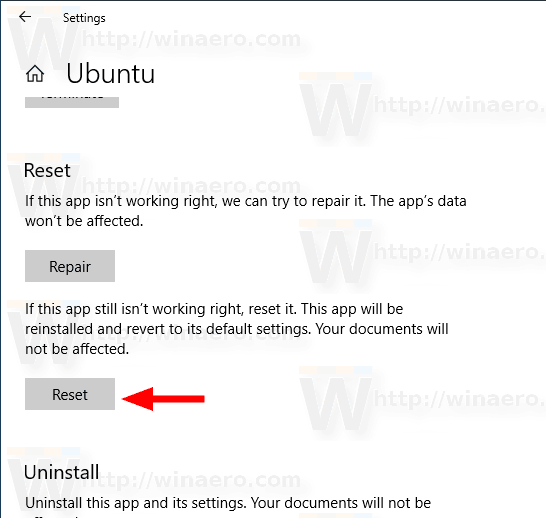
- Under the Reset section, click on the Reset button.
- Now, you can run your WSL distro to configure it and setup the environment you need.
You are done.
Alternatively, you can use the wsl.exe console tool to unregister a WSL distro. Unregistering allows distributions to be reinstalled. Once unregistered, all data, settings, and software associated with that distribution will be permanently lost. Reinstalling from the store will install a clean copy of the distribution.
To Unregister a WSL Linux Distro in Windows 10,
- Open a new command prompt.
- Find available WSL distros by executing the following command:
wls --list --all, or simplywsl -l --all.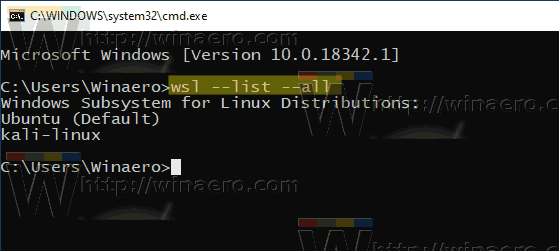
- Issue the command
wsl --unregister <DistributionName>. Substitute<DistributionName>with the actual name of the a WSL distro installed on your computer, for example kali-linux.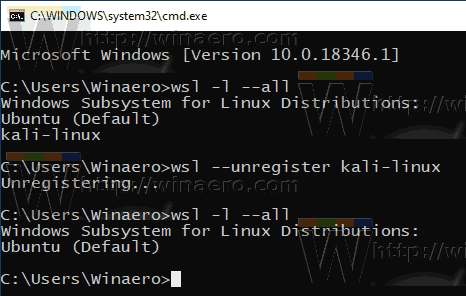
You are done!
This will would remove your WSL distro from the distributions available in WSL. When you run wsl --list it will not be listed. To reinstall it, find the distribution in the Windows Store and select "Launch".
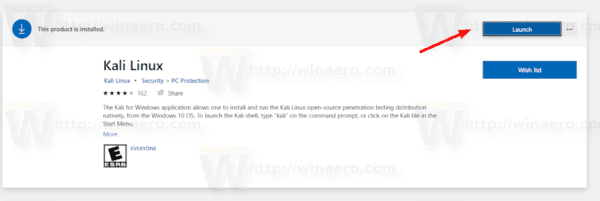
Alternatively, you can run it directly from the command prompt. Type one of the following commands:
- Ubuntu:
ubuntu - openSUSE Leap 42:
openSUSE-42 - SUSE Linux:
SLES-12 - Debian:
debian - Kali Linux:
kali


Articles of interest:
- Reset Password for WSL Linux Distro in Windows 10
- All Ways to Run WSL Linux Distro in Windows 10
- Set Default WSL Linux Distro in Windows 10
- Find Running WSL Linux Distros in Windows 10
- Terminate Running WSL Linux Distro in Windows 10
- Remove Linux from Navigation Pane in Windows 10
- Export and Import WSL Linux Distro in Windows 10
- Access WSL Linux Files from Windows 10
- Enable WSL in Windows 10
- Set Default User for WSL in Windows 10
- Windows 10 Build 18836 Shows WSL/Linux File System in File Explorer
Support us
Winaero greatly relies on your support. You can help the site keep bringing you interesting and useful content and software by using these options:
