Windows 10 version 1903 "April 2019 Update" comes with a number of interesting changes and improvements made to the WSL feature. These include additional distros in the Store, the ability to browse WSL files from File Exporer, and more. A new item, Linux, appears in File Explorer to provide faster access to Linux file system. If you are interested in removing it, here's how it can be done.
Advertisеment
The ability to run Linux natively in Windows 10 is provided by the WSL feature. WSL stands for Windows Subsystem for Linux, which initially, was limited to Ubuntu only. Modern versions of WSL allow installing and running multiple Linux distros from Microsoft Store.
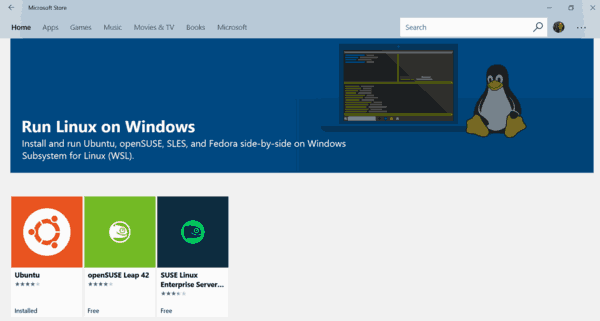
After enabling WSL, you can install various Linux versions from the Store. You can use the following links:
and more.
The Linux Item in File Explorer
With Windows 10 version 1903 "April 2019 Update" you can easily access all the files in your Linux distros from Windows. As of this writing, this feature is implemented in Windows 10 build 18836. It is on its way to the 19h1 branch, so we will see it with the next build.
File Explorer shows the distro files as a virtual network share under the path \\wsl$\<running_distro_name>\.
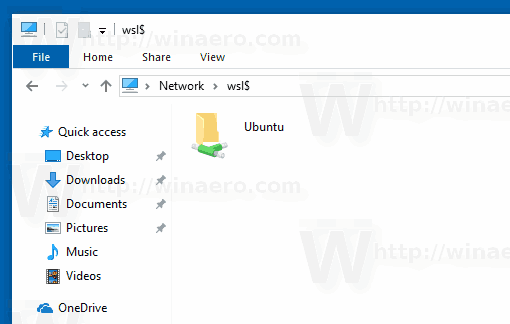
Also, it includes a new Linux entry in the Navigation pane.It contains the installed distros in a dedicated folder. When you follow the Distro shortcut in the Linux folder, it will show all currently available WSL distros.
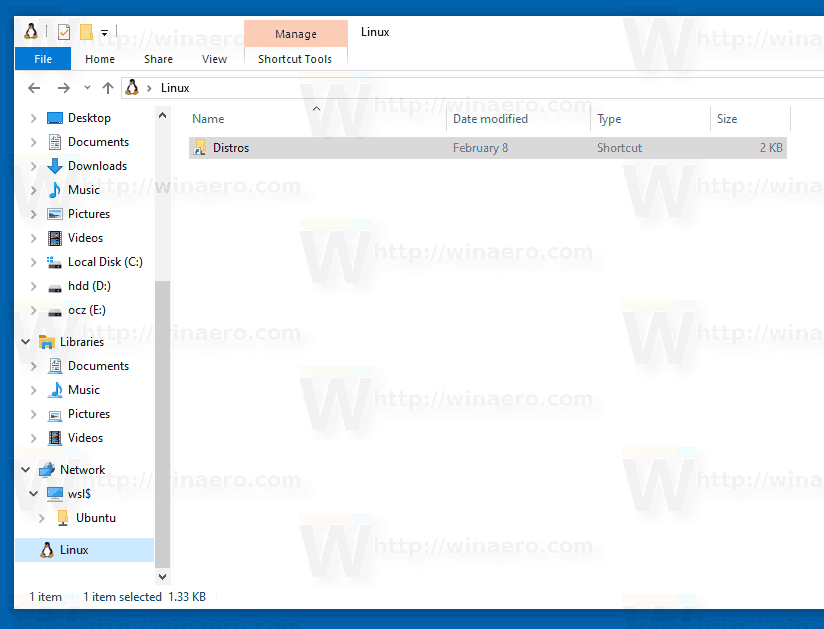
If you are not happy to have an extra item for WSL in the Navigation Pane, it is easy to hide it with a Registry tweak. Your WSL files will remain accessible with File Explorer and Command Prompt/PowerShell as explained in detail in the article Access WSL Linux Files from Windows 10.
The next screenshot demonstrates the Linux entry removed from the Navigation Pane.
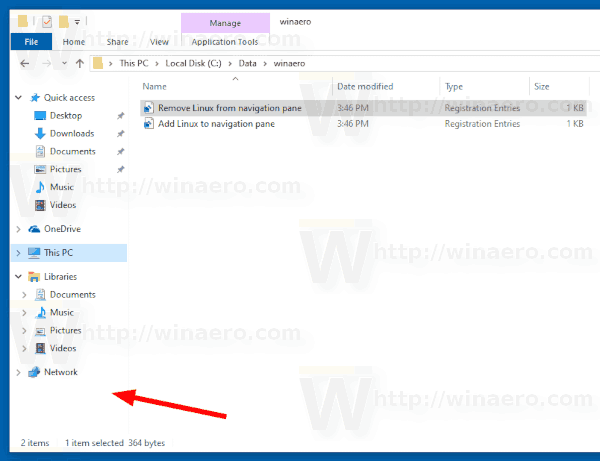
- Download the following ZIP archive: Download ZIP archive.
- Extract the contents of the ZIP archive to any folder. You can place the files directly to the Desktop.
- Unblock the files.
- Double click on the Remove Linux from navigation pane.reg file to merge it.
- To restore the Linux icon in the Navigation Pane, use the provided file Add Linux to navigation pane.reg.
You are done!
How it works
The Registry files above modify the Registry branch
HKEY_CURRENT_USER\Software\Classes\CLSID\{B2B4A4D1-2754-4140-A2EB-9A76D9D7CDC6}Tip: See how to go to a Registry key with one click.
To hide the Linux entry, you need to create there a new 32-bit DWORD value System.IsPinnedToNameSpaceTree and leave its value data as 0. Note: Even if you are running 64-bit Windows you must still create a 32-bit DWORD value.
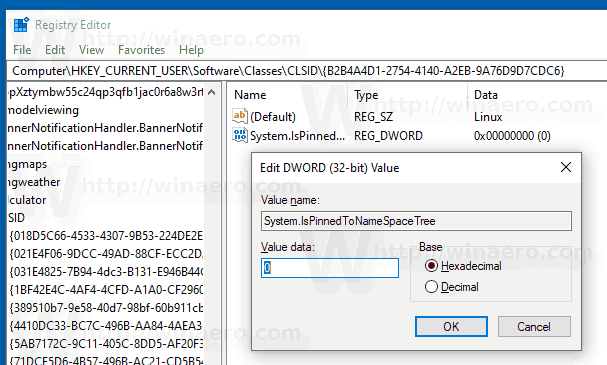
By setting this value to 1 you will make it visible again. Removing the value will restore Windows defaults.
That's it.
Articles of interest:
- Export and Import WSL Linux Distro in Windows 10
- Access WSL Linux Files from Windows 10
- Windows 10 Build 18836 Shows WSL/Linux File System in File Explorer
Support us
Winaero greatly relies on your support. You can help the site keep bringing you interesting and useful content and software by using these options:

In Windows 11, I can’t find {B2B4A4D1-2754-4140-A2EB-9A76D9D7CDC6}.