Windows 10 comes with a number of features which are not enabled by default. For example, you can the SMB1 Sharing protocol manually if you really need it. Or, you can remove the XPS Viewer app if you find no use for it. These tasks can be done by managing Optional Features. In this article, we will see how to add or remove Optional features in Windows 10.
Advertisеment
Note: The XPS Viewer is no longer installed by default if you install Windows 10 version 1803 from scratch (clean install). If you are using this Windows feature, you need to install it manually.
You can add or remove optional Windows features with Settings, DISM, PowerShell, or by using the appropriate classic Control Panel applet. Let's review these methods.
To manage optional features in Windows 10, do the following.
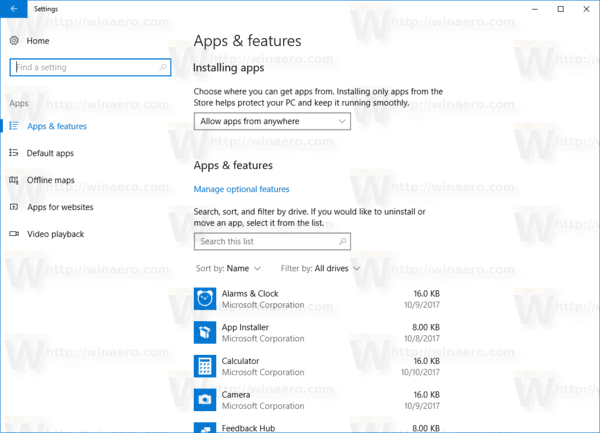
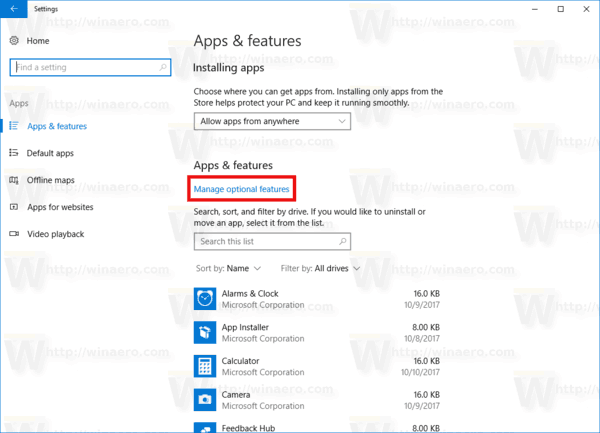
- Open the Settings app.
- Go to Apps > Apps & features.
- On the right, click on the link Manage optional features.
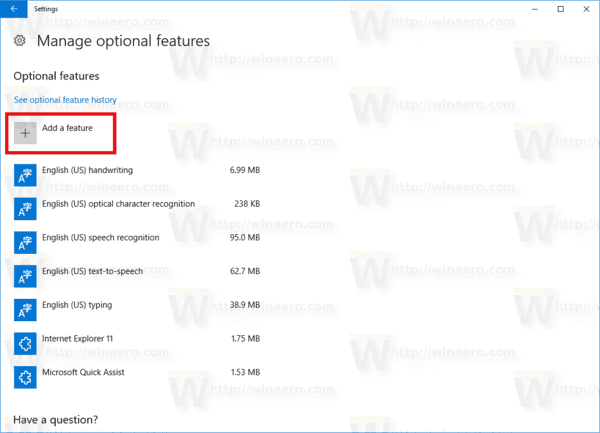
- Click on the button Add a feature at the top of the next page.
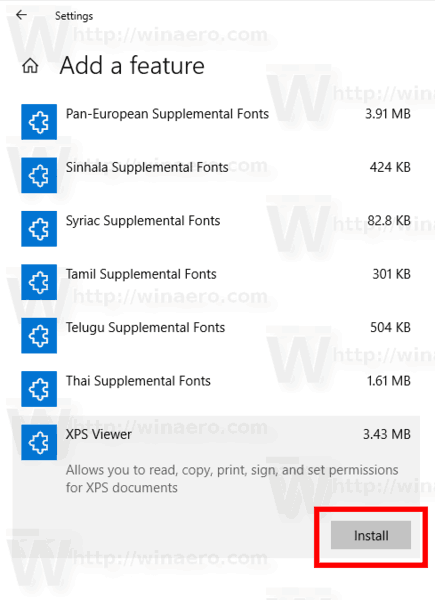
- Find the optional feature you need to install, e.g. XPS Viewer, in the list under Add a feature.
- Select it and click on the Install button.
- To remove an optional feature, select it in the list of the installed feature, and click on the Uninstall button.

Manage optional features using DISM
- Open an elevated command prompt.
- Type the following command:
dism /Online /Get-Capabilities.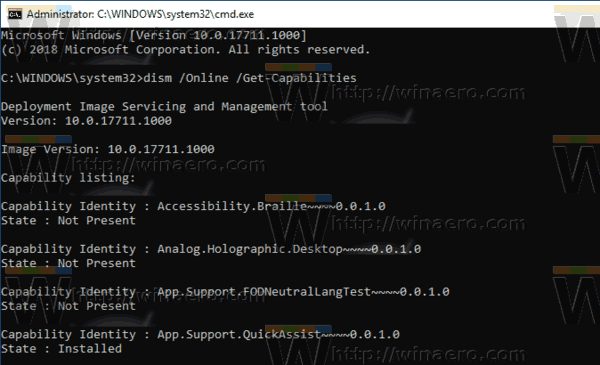
- Make note of the name of the feature you want to add or remove.
- To add a feature, type
dism /Online /Add-Capability /CapabilityName:<feature name>, e.g.dism /Online /Add-Capability /CapabilityName:XPS.Viewer~~~~0.0.1.0.
- To Remove an optional feature, execute the command
dism /Online /Remove-Capability /CapabilityName:<feature name>, e.g.dism /Online /Remove-Capability /CapabilityName:XPS.Viewer~~~~0.0.1.0.
Manage Optional Features with PowerShell
- Open PowerShell as Administrator.Tip: You can add "Open PowerShell As Administrator" context menu.
- Type or copy-paste the following command:
Get-WindowsOptionalFeature -Online.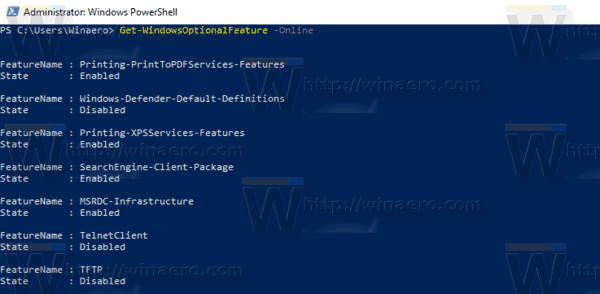
- Make note of the name of the feature you want to add or remove.
- To add an optional feature, run the command
Enable-WindowsOptionalFeature –FeatureName "name" -All -Online.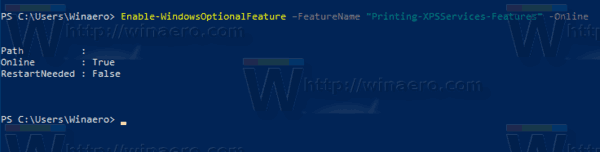
- To remove an optional feature, execute the command:
Disable-WindowsOptionalFeature –FeatureName "name" -Online.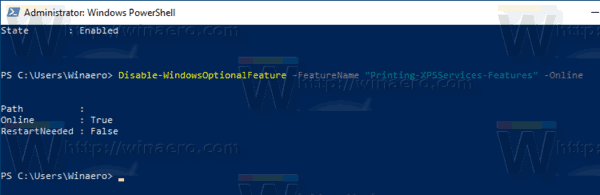
- If prompted to restart the computer to apply, type Y, and hit the Enter key.
Finally, you can use the good old Control Panel applet.
Manage optional features using the Windows Features applet.
- Press the Win + R keys to open Run and type
optionalfeatures.exeinto the Run box.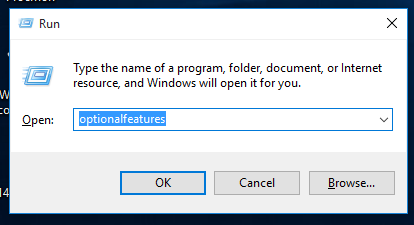
- Find the desired feature in the list and check the box to enable it.
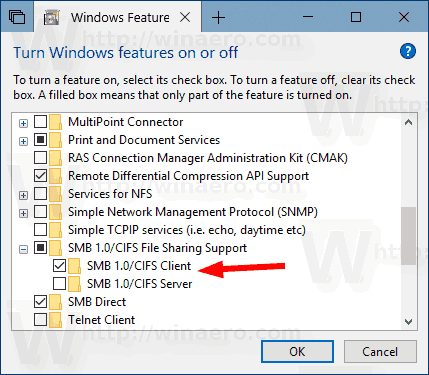
- Unckeck the desired feature to remove it.
That's it.
Support us
Winaero greatly relies on your support. You can help the site keep bringing you interesting and useful content and software by using these options:
