During its startup, Windows 10 executes the automatic repair feature which tries to fix booting related issues automatically. If your PC crashes twice consecutively or fails to boot, it will launch the automatic repair procedure and will try to fix the issue which caused the crash. It runs chkdsk and also runs System File Checker (sfc.exe) to restore any corrupt files.
While this feature can be useful for the average user, in some situations, this automatic repair can annoy you very much. Sometimes, it has also been known to get stuck in a repair loop. So it's better in such case to not let Windows do any automatic repairs.
Let's see how we can disable automatic repair in Windows 10
Advertisеment
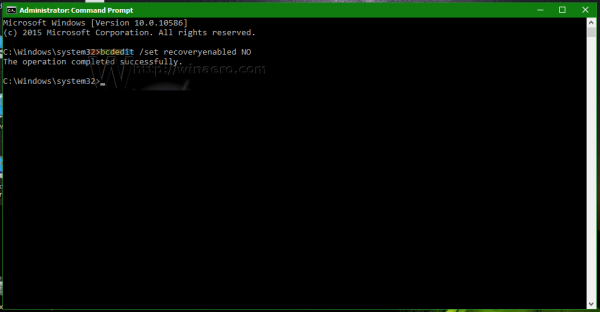
Another most important reason that you wouldn't want to the automatic repair enable is because Windows tells you nothing about what exactly it is doing while it's repairing. To disable automatic repair at Windows 10 boot, do the following:
- Open the command prompt as Administrator (an elevated instance). See how to open elevated command prompt in Windows 10.

- Type the following in the elevated command prompt you just opened:
bcdedit /set recoveryenabled NO
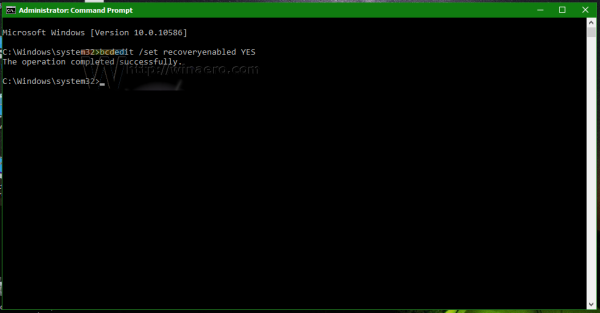
 You are done. Now, you will be in control even if Windows 10 fails to boot. You can manually run chkdsk or bcdedit to repair boot related issues, instead of Windows doing everything automatically. To re-enable the automatic repair feature of Windows 10, type the following in an elevated command prompt:
bcdedit /set recoveryenabled YES
Update: We have learned that the above option also disables the manual recovery options. If this is an unwanted side effect for you, use the following command instead.
bcdedit /set {current} bootstatuspolicy IgnoreAllFailures
This prevents Windows 10 from triggering the automatic repair process and retains the ability to use the recovery environment manually.
The undo command is
bcdedit /set {current} bootstatuspolicy DisplayAllFailures
That's it.
Support us
Winaero greatly relies on your support. You can help the site keep bringing you interesting and useful content and software by using these options:


I disabled automatic repair from command prompt and now when I start my computer the windows logo flashes and the screen goes black. I have no way to get back to command prompt to enable it again. The only thing I can do is get to the f2, f8, and f12 screens but from there it goes black. Any ideas?
Boot from the Windows Setup USB disk or DVD and do a startup repair. If that doesn’t fix, then run:
1. Sfc /scannow
2. Dism /Online /Cleanup-Image /RestoreHealth
Same problem, no resolve
Same thing happened to me.
I somehow got to command prompt by pressing escape then F11, but the ‘bcdedit /set recoveryenabled YES’ didn’t work.
Mine is not working at all but I’ve followed all the instructions
Well I can’t tell you how to get out of the automatic repair loop without either doing a system restore (worked last week) or doing a complete reboot and install of windows to bare bones :( (today’s fix) but I can tell you how I figured out to shut the damn thing off so it won’t do it again!!
Go to settings, I typed in “recovery” and it brought up the advanced recovery tools. Selected the Configure System Restore, selected the Advanced Tab, opened the Startup and Recovery Settings, Deselected Automatic Restart!!!
that better fix it. Otherwise Microsoft and I are going to have some serious words!
Hope that helps someone!
My computer run automatic repair after install driver. I has followed your instruction and Windows said successfully, but when I type bcdedit again it said “recoveryenabled YES”, and my computer continue to load automatic repair every time I turn on