Windows Defender is the default antivirus app shipped with Windows 10. Earlier versions of Windows like Windows 8.1, Windows 8, Windows 7 and Vista also had it but it was less efficient previously as it only scanned spyware and adware. In Windows 8 and Windows 10, Defender is based on the Microsoft Security Essentials app which offers better protection by adding full blown protection against all kinds of malware. However, if you prefer to use alternative solution for protecting your PC, you might want to disable Windows Defender. Here is how you can disable it in Windows 10 Fall Creators Update.
Note: This will not remove the Windows Defender icon in the system tray:
Advertisеment
![]()
To hide the icon, refer to the following article:
Disable Windows Defender Security Center Tray Icon
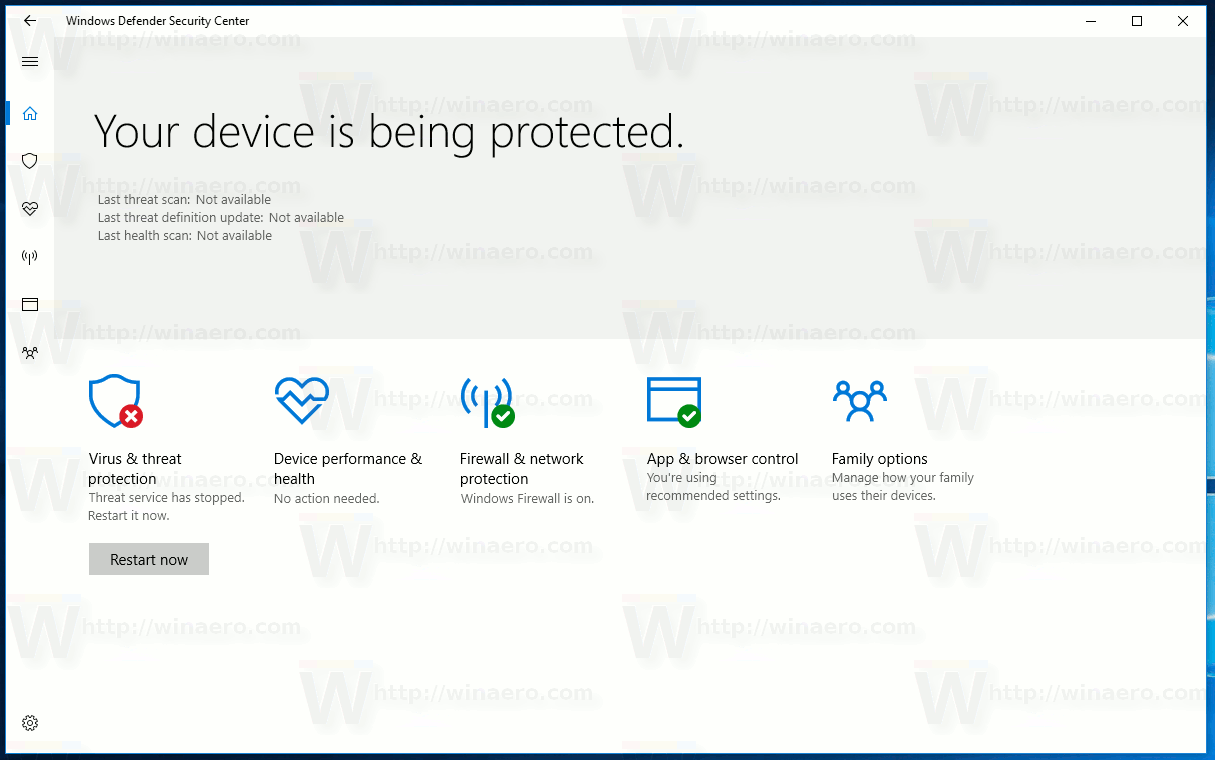
Recent Windows 10 version come with is a new app called Windows Defender Security Center. The application, formerly known as "Windows Defender Dashboard", has been created to help the user control his security and privacy settings in a clear and useful way. It includes all the settings related to Windows Defender. See the following article: Windows Defender Security Center in Windows 10 Creators Update.
It is possible to use Windows Defender Security Center to temporarily disable Windows Defender in Windows 10 Fall Creators Update. After some period of time, it will be re-enabled automatically. For some users, this solution is suitable. Here is how it can be done.
To disable Windows Defender in Windows 10 Fall Creators Update, do the following.
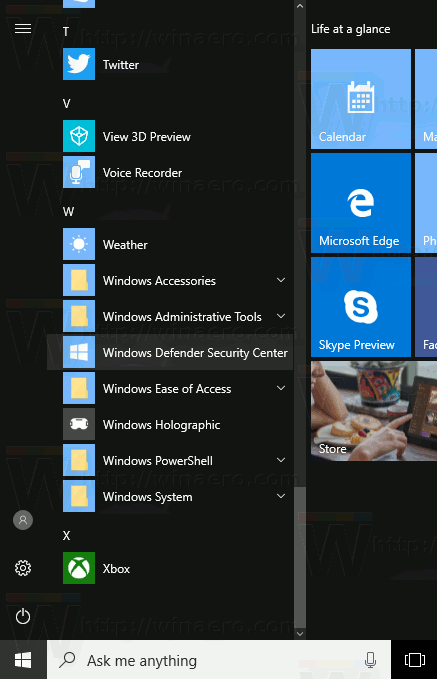
- Open Windows Defender Security Center. You can launch Windows Defender Security Center from the Start menu or with a special shortcut.
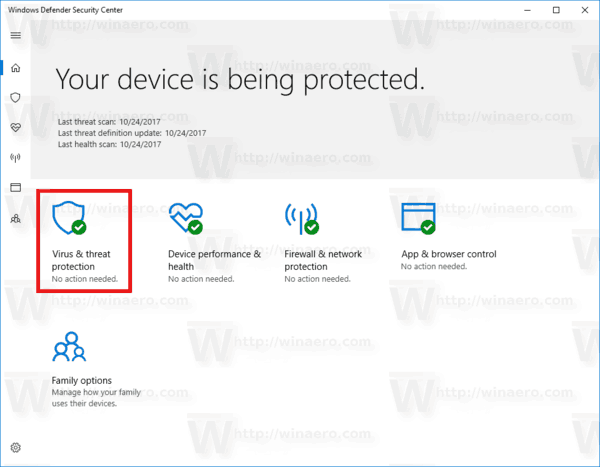
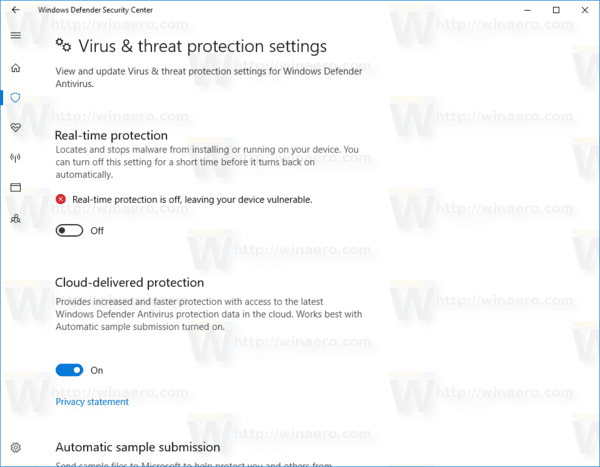
- In the user interface of the app, click on the icon Virus & Threat protection.
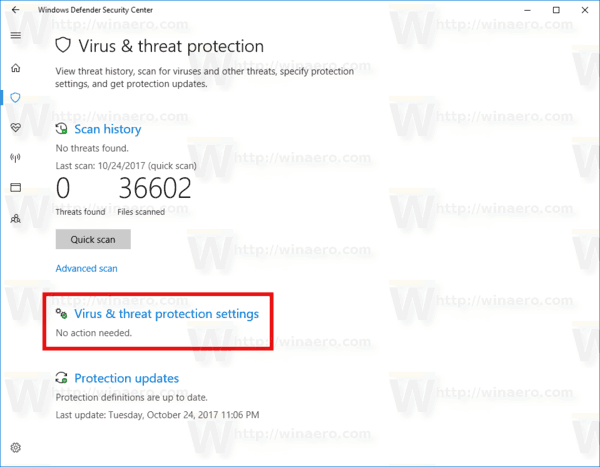
- On the next page, click on the link Virus and threat protection settings.
- On the next page, toggle the Real-time protection option to Off. This will temporarily disable Windows Defender in Windows 10.
Unfortunately, it is not possible to use the method described above if you need to disable Windows Defender permanently. You need to apply a Registry tweak instead.
Disable Windows Defender permanently in Windows 10 Fall Creators Update
To permanently disable Windows Defender in Windows 10, do the following.
- Open Notepad and paste the following text into a new text document:
Windows Registry Editor Version 5.00

[HKEY_LOCAL_MACHINE\SOFTWARE\Policies\Microsoft\Windows Defender]
"DisableAntiSpyware"=dword:00000001

[HKEY_LOCAL_MACHINE\SOFTWARE\Policies\Microsoft\Windows Defender\Real-Time Protection]
"DisableBehaviorMonitoring"=dword:00000001
"DisableOnAccessProtection"=dword:00000001
"DisableScanOnRealtimeEnable"=dword:00000001

- In Notepad, press Ctrl + S or execute the File - Save item in the menu. This will open the Save dialog. There, type or copy-paste the following name "Disable Defender.reg" including quotes. Double quotes are important to ensure that the file will get the "*.reg" extension and not *.reg.txt.
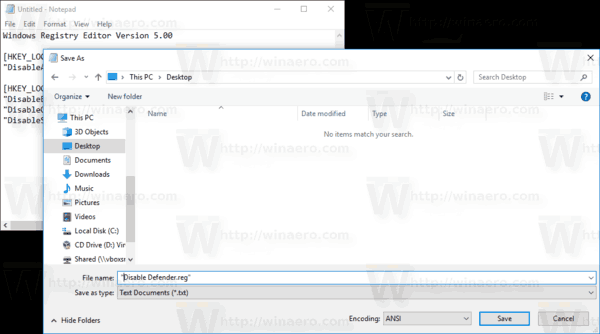 You can save the file to any desired location, for example, you can put it in your Desktop folder.
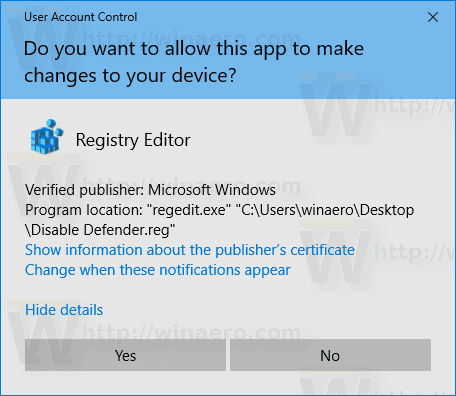
 - Double-click the *.reg file. that you created. Confirm the UAC prompt and click Yes to merge it into the Registry.
- Restart Windows 10.
You can save your time and download the following ready-to-use Registry files.
Download "Disable Windows Defender" Registry Files
The undo tweak is included.
Alternatively, you can use Winaero Tweaker to disable Windows Defender: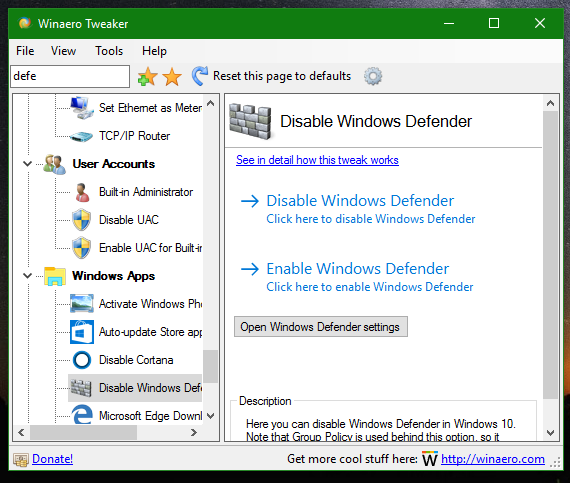
You can download it here:
Using Winaero Tweaker, you can keep Defender disabled until you click the option "Enable Windows Defender". I recommend you to disable it this way, it is safe and reliable.
That's it.
Support us
Winaero greatly relies on your support. You can help the site keep bringing you interesting and useful content and software by using these options:

how about the freakin Windows Defender Security Center Service service disable ? why bother with half of defender if the other stays .thx
Here you go:
How To Disable Windows Defender Security Center
Although security has always been a priority for Microsoft, before Windows 10 it took the company several years to release new versions of the OS, making the response to new threats very slow. In order to help commercial customers deliver mitigations against specific vulnerabilities, Microsoft created the Enhanced Mitigation Experience Toolkit (EMET), which allowed customers to keep devices secure without waiting until the next version of Windows.
On a low-end computer, this is a must. Defender severely cripples already weak computers. I use BitDefender FREE version on Creators Update, not sure if it’s compatible with FCU yet, it’s very basic but doesn’t impact performance. For an extra layer of protection I also use BitDefender Anti-Ransomware, also a free product.
To fully disable WD, you should also disable its services.
reg add “HKLM\System\CurrentControlSet\Services\WdBoot” /v “Start” /t REG_DWORD /d “4” /f
reg add “HKLM\System\CurrentControlSet\Services\WdFilter” /v “Start” /t REG_DWORD /d “4” /f
reg add “HKLM\System\CurrentControlSet\Services\WdNisDrv” /v “Start” /t REG_DWORD /d “4” /f
reg add “HKLM\System\CurrentControlSet\Services\WdNisSvc” /v “Start” /t REG_DWORD /d “4” /f
reg add “HKLM\System\CurrentControlSet\Services\WinDefend” /v “Start” /t REG_DWORD /d “4” /f
From my personal experience, applying the group policy tweak is enough in all cases.
please return to previous statis
PLEASE PUT DATES ON ALL POSTS!!!
take a looks at the bottom of the list. the date is there.