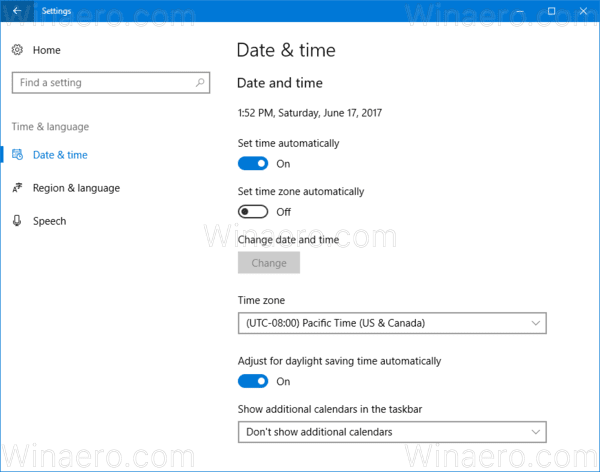
In Windows 10, there are two ways to manage date and time. One is the classic date and time applet in the Control Panel. Another one is the modern Settings page. In this article, we will see how to create a shortcut to open date and time settings quickly.
Advertisеment
Windows 10 comes with a new calendar flyout which can display up to three clocks in different time zones. The calendar pane can also show your agenda for the day. Additional clocks can be useful for people who need to track the time in other places with different time zones. If you often change these settings (for example, you are traveling a lot), it is a good idea to create a shortcut to the appropriate settings. You can create the Date and Time shortcut to both - the Settings page and the classic Control Panel applet. Here is how.
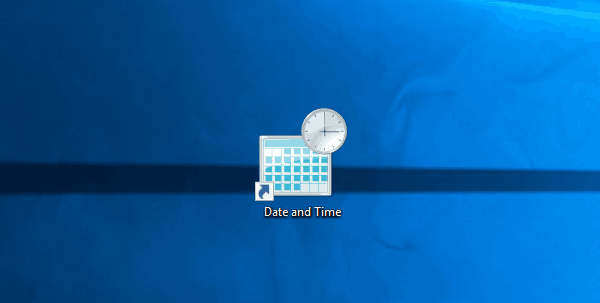
To create the Date and Time shortcut in Windows 10, do the following.
- Right click your Desktop and select New - Shortcut from the context menu:

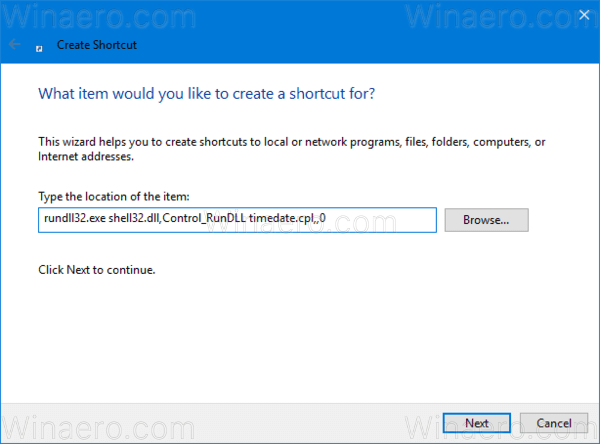
- In the location of the item box, type or copy-paste one of the following commands.
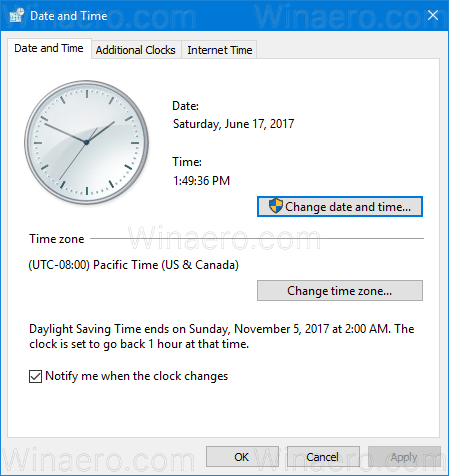
To open the classic Date and Time applet, use this command:rundll32.exe shell32.dll,Control_RunDLL timedate.cpl,,0
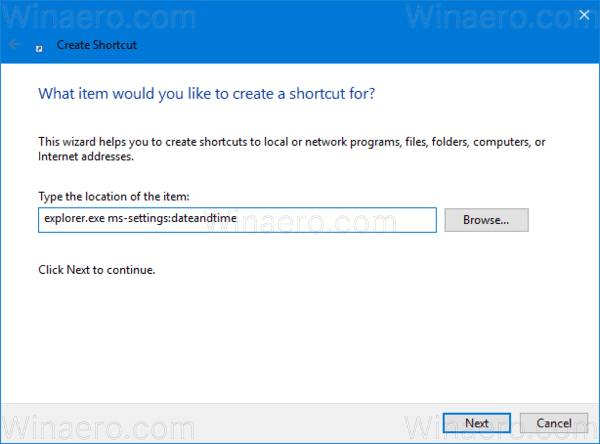
The following command will open the Settings page directly:explorer.exe ms-settings:dateandtime
See the following screenshot:
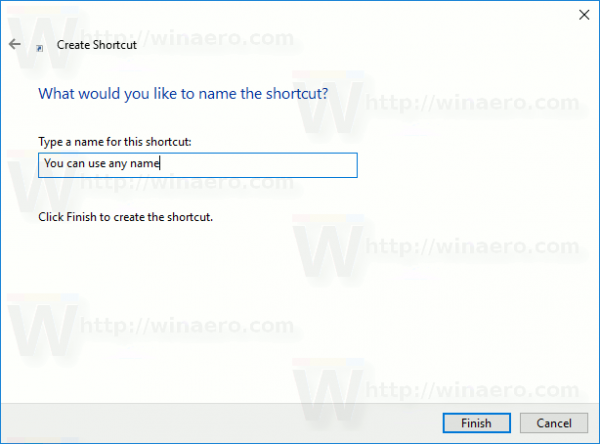
- Name your shortcut as you want. You can use any name.
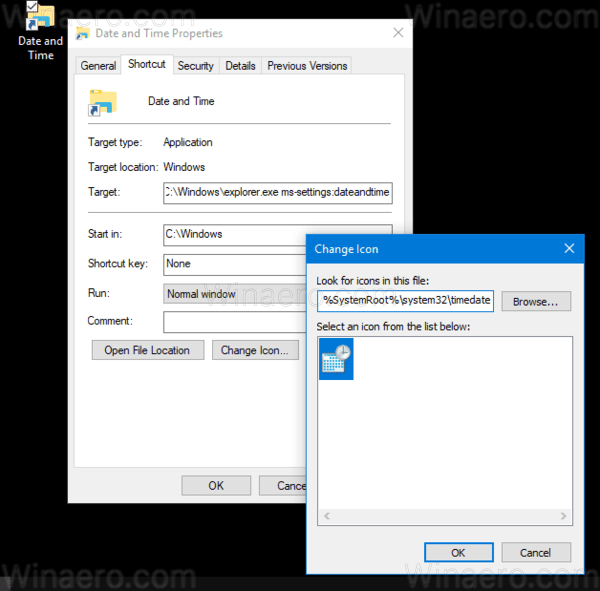
- Right click the shortcut you created and set the desired icon in properties as shown below.Tip: You can find the right icon in the following file:
%SystemRoot%\system32\timedate.cpl
Now, you can move this shortcut to any convenient location, pin it to taskbar or to Start, add it to All apps or add it to Quick Launch (see how to enable Quick Launch). You can also assign a global hotkey to your shortcut e.g. Ctrl+Shift+D.
Support us
Winaero greatly relies on your support. You can help the site keep bringing you interesting and useful content and software by using these options:

thank you so much. It was so helpful