Windows 10 comes with a new Universal (UWP) app called Paint 3D. Despite the name, the app is not a proper continuation of the classic MS Paint. It is a completely different, modern image editor which allows creating and working with 2D and 3D objects and comes with a number of effects and tools which were not available in the classic app.
Advertisеment
What is Paint 3D
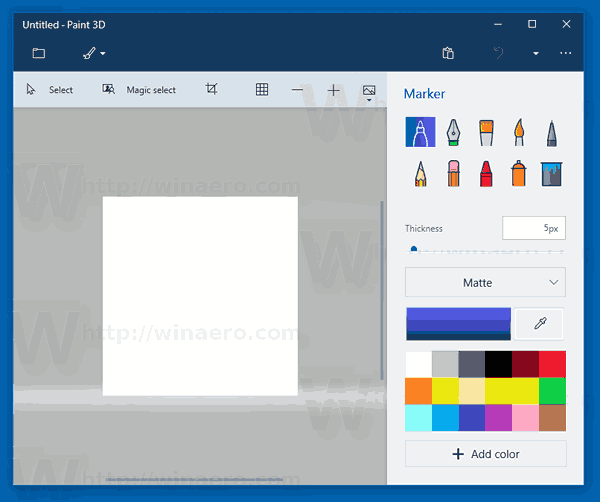
Paint 3D is a new built-in app in Windows 10. Microsoft has included the Paint 3D app in addition to the classic Paint app since Creators Update. It supports pen input too. It has tools like markers, brushes, various art tools to help users create objects. The app has tools to transform 2D drawings into 3D objects.
At some point, Microsoft will get rid of the classic app. Currently, the company is considering moving it to the Store.
In recent releases of Windows 10, Paint 3D got integration with Snipping Tool and Microsoft Paint. Both apps now come with a special button on the toolbar which allows opening Paint 3D from them. The integration between Snipping Tool and Paint 3D is very smooth. The screenshot you've taken with Snipping Tool, will be opened in Paint 3D, so you can edit it directly. Once the image opens in Paint 3D, you can move or delete objects from it with Magic select, annotate it, add 3D objects etc. However, if you have some drawing opened in classic Paint, its Paint 3D button doesn't work as expected. The drawing won't be opened in Paint 3D. The button just opens the Paint 3D app with a blank canvas.
Using Paint 3D, you can create transparent PNG images. e.g. you can make some logo image with a transparent background, as is widely done on the Internet. Let's see how it can be done.
Create transparent PNGs with Paint 3D
Step 1: Set the canvas to transparent. Click on the Canvas toolbar button and enable the Transparent canvas option. 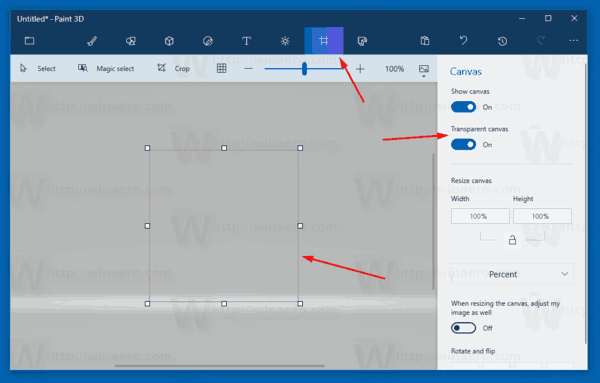
Step 2: Make sure that there is not any unwanted paint on the canvas.
Step 3: Draw the desired objects or paste the logo on the canvas. 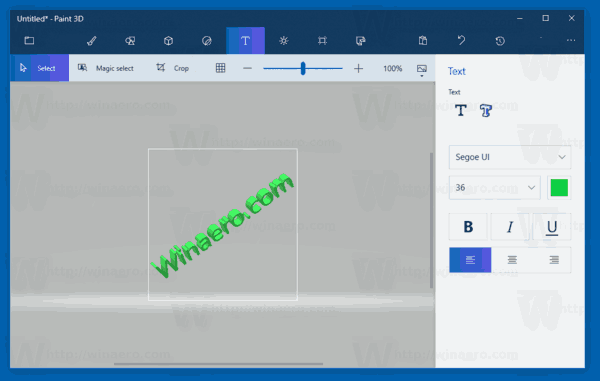
Step 4: Click on the menu button (the left-most button on the toolbar) and select Export file - 2D PNG. 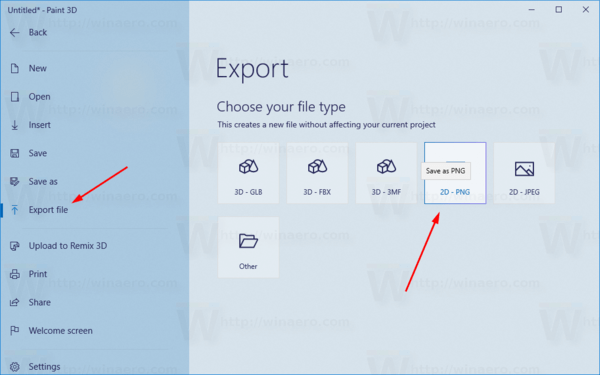
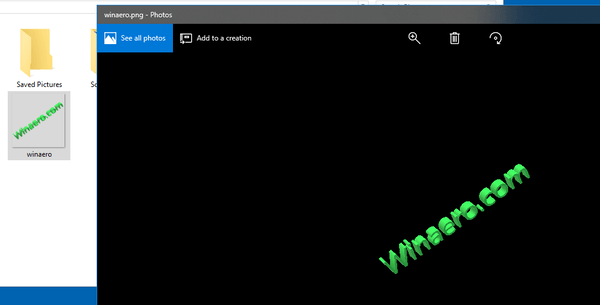
The result will be as follows:
That's it. Thanks to Jen Gentleman for this tip.
Related articles:
- Remove Edit With Paint 3D From Context Menu in Windows 10
- How To Remove and Uninstall Paint 3D in Windows 10
Support us
Winaero greatly relies on your support. You can help the site keep bringing you interesting and useful content and software by using these options:

So once I crop and clip the background of a pic to make transparent (and I’ve mastered it all to this point – the pic looks just like I want it to here), and hit EXPORT to JPEG format in one of my files, it never appears completed – it always looks just like I started with. What am I missing?
JPEG doesn’t support transparent backgrounds.
Well, I didn’t succeed on the first try i.e. the background’s still on the image. But now I can experiment around and hopefully achieve some results. I used Mac’s Instant Alpha wh. I hope Microsoft gets around to developing for Windows. If they can include all the crap apps like Soda Crush King of The Crap, or whatever they’re called, I mean nobody uses them anyways, they can adapt Instant Alpha. Another thing is Microsoft’s applications are too complicated. You should be able to figure something out without a tutorial. That said, Mac destroyed my sanity, aborting images I’d worked on for hours, and sometimes days. For no reason.
Has something changed in recent windows 10 releases? Paint 3d no longer has the option to export.
Saving an image saves in a very blocky low res JPG or PNG despite the 3d model is high res within the application itself.
chur chur
this does not work i have no export option please help…. ADOBE IS BETTER!!!!!!
This may indicate that you have an older app version
If you save the file as a 2D – GIF it works.
Thanks a lot for this information
I don’t have the option to “export”, however I did a “save as” > 2D PNG and it still has a background when I tested it. What am I missing here? Any help would be appreciated!
Thanks alot! I wanted to make background transparent and your tutorial worked! Thank you!
Is there a way to use the fill tool to “erase” an area to transparent? The “eraser” tool works, but is tedious around existing objects.
hey cool