Windows 10 inherited the boot options from Windows 8 and comes with the same graphical environment for various recovery related tasks. Due to this, the Safe mode is hidden by default in favor of the automatic repair engine shipped with the new OS. If you need to start Windows 10 in Safe mode, you might want to create a special Desktop shortcut to reboot the OS to Safe mode directly.
Advertisеment
If Windows 10 fails to boot, it starts the automatic repair mode and tries to analyze and fix startup problems on its own without your help and without asking you what actions it is going to take.
Starting the OS in Safe Mode might be useful when you need to troubleshoot some issue with drivers and apps.
You may already know about the bcdedit console tool which comes bundled with Windows 10. It allows modifying various parameters related to the boot and startup processes. There are a number of bcdedit commands you can use to make the OS start in Safe Mode, including the Networking and Command Prompt options. I have already covered them in detail in the following article:
How to add Safe mode to the Boot menu in Windows 10 and Windows 8
The commands are as follows:
Regular:
bcdedit /set {guid} safeboot minimalSafe Mode with Networking Support
bcdedit /set {guid} safeboot networkSafe Mode with Command Prompt
bcdedit /set {guid} safebootalternateshell yesBy using the {current} value instead of the GUI, you will modify the boot options of the current Windows 10 instance and make it start in desired mode.
Here is the set of VBScript files which you can use to modify the Windows 10 boot options and go to Safe Mode with a couple of clicks.
To create the Safe Mode Desktop shortcut in Windows 10, do the following.
- Download the VBS files in the ZIP archive from here: Download VBS Files.
- Extract them to the folder c:\SafeMode. Actually, you can use any folder you like.
- Ublock the extracted files.
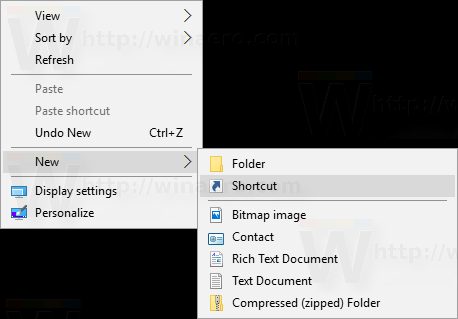
- Right-click on the empty space on your Desktop and select New - Shortcut from the context menu.
- Type the following into the shortcut target box:
wscript.exe c:\SafeMode\SafeMode.vbs.
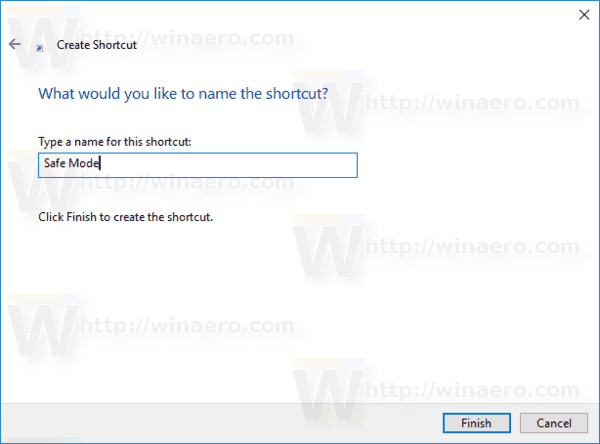
- Name this shortcut as Safe Mode.
- Now, create one more shortcut with the target
wscript.exe c:\SafeMode\SafeModeNetworking.vbs.
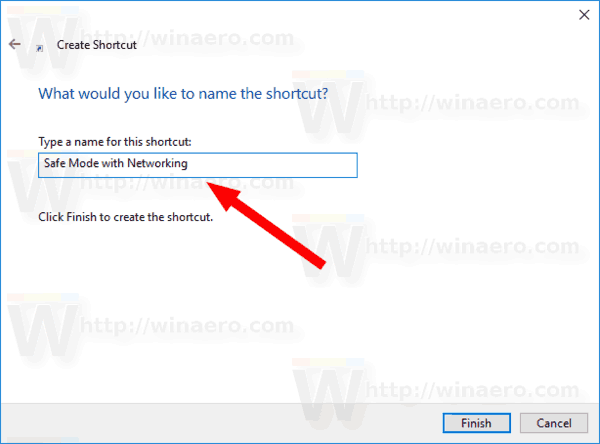
- Name it as Safe Mode with Networking.
- Create a new shortcut with the target
wscript.exe c:\SafeMode\SafeModeCommandPrompt.vbs.
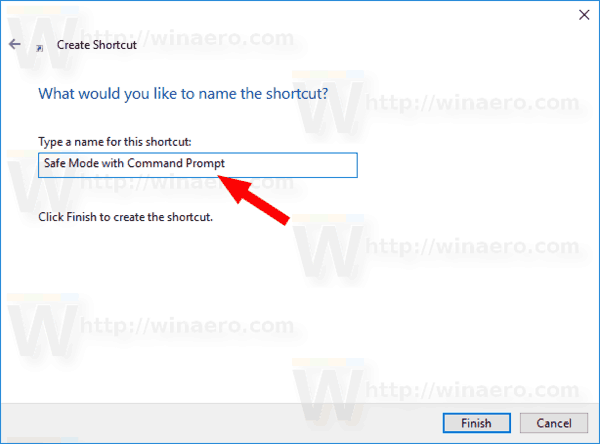
- Name it as Safe Mode with Command Prompt.
- Finally, create the last shortcut with the target
wscript.exe c:\SafeMode\NormalMode.vbs.
- Name it as Normal mode.
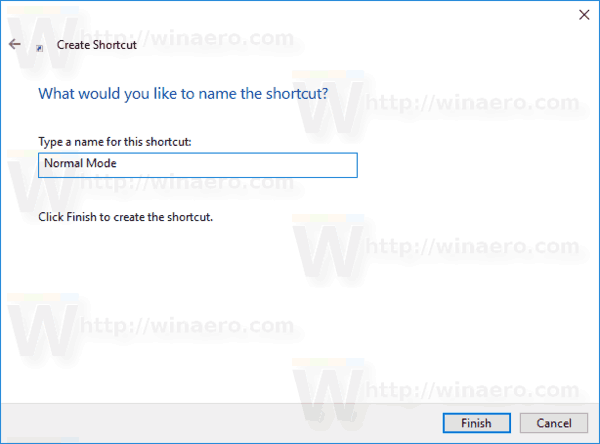
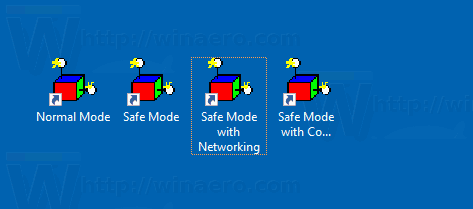
If you want, customize the shortcut icons according to your personal preferences. You will get something like this:
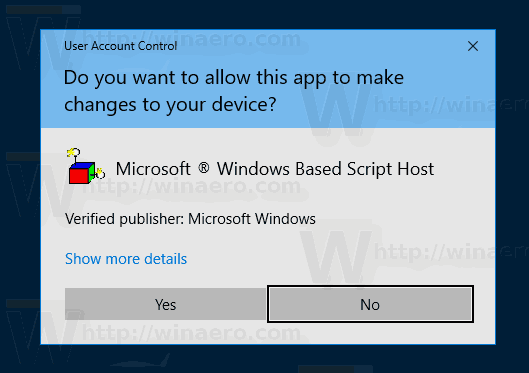
Now, to quickly go to Safe Mode, click on the appropriate shortcut, e.g. "Safe Mode". Confirm the UAC prompt, then Windows 10 will restart to Safe Mode instantly!
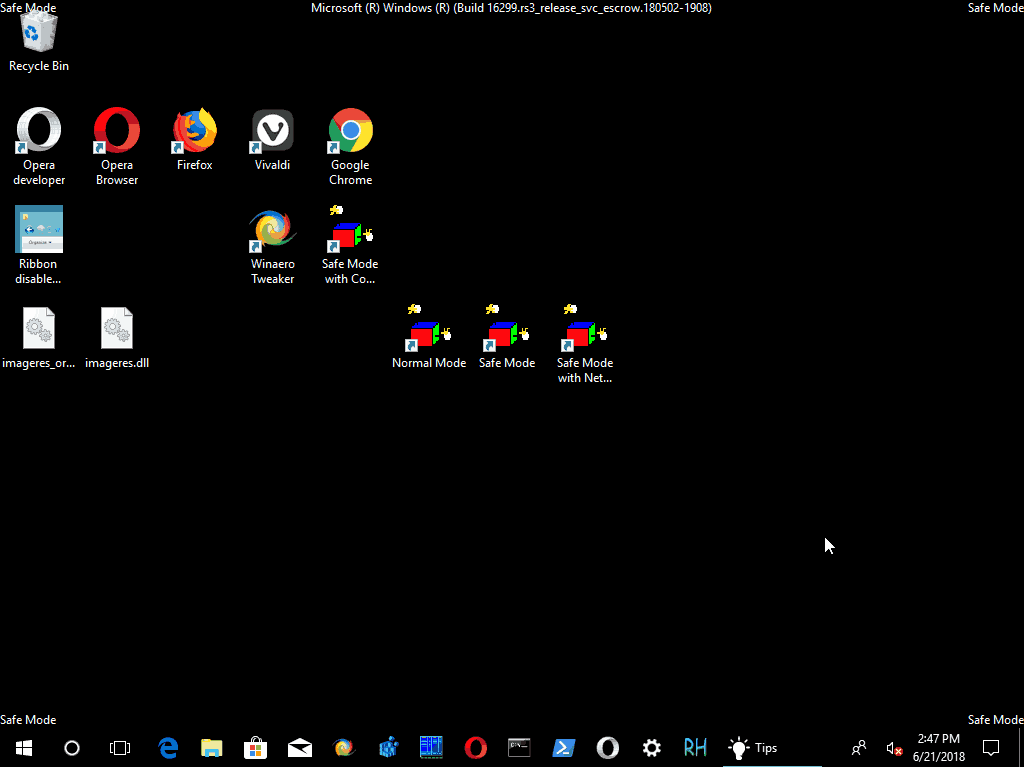
To return the OS to normal operating mode, click on the shortcut "Normal mode" and you are done.
To save your time, you can use Winaero Tweaker. It comes with the following option:
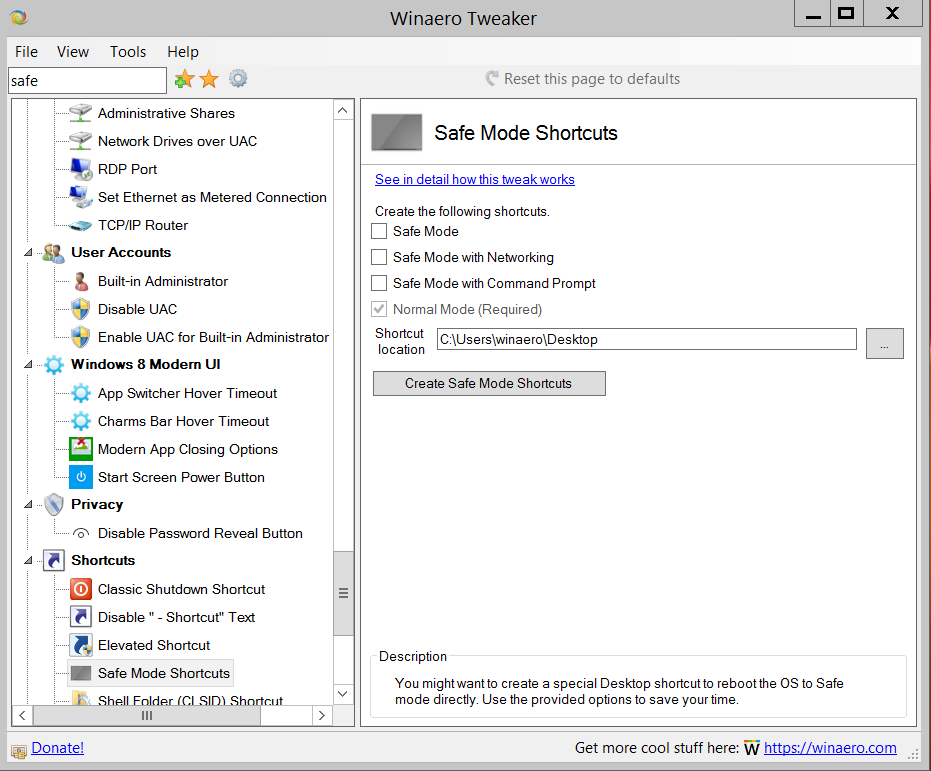
Use it to create the desired shortcuts quickly.
Related articles:
- Start Windows 10 in Safe mode
- How to add Safe mode to the Boot menu in Windows 10 and Windows 8
- Enable Windows Installer in Safe Mode To Remove Apps
- How to start Windows 10 in safe mode and access F8 options when it doesn’t boot normally
- Boot quickly into Safe Mode command prompt in Windows 10
Support us
Winaero greatly relies on your support. You can help the site keep bringing you interesting and useful content and software by using these options:

hello,
what restore tweaks in windows???????
install very cool, but remove?????
tankyou returned.
goodbye.