How to Add Disk Management to Control Panel in Windows 10
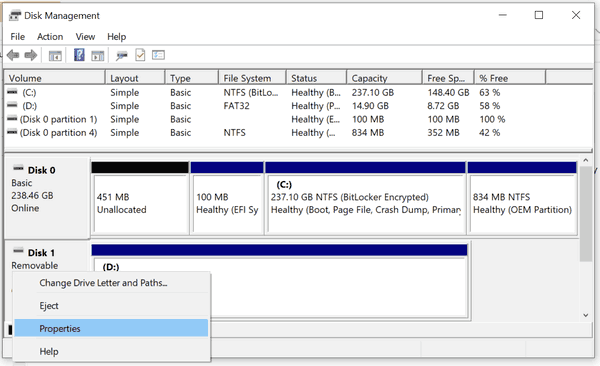
Disk Management is a Microsoft Management Console (MMC) snap-in that allows managing a variety of options related to storage devices connected to your computer. It is already available in the Win + X menu (the right-click context menu of the Start button), and in Administrative tools\Computer Management. In addition to these options, you can also have it in the Control Panel, which is really useful if you prefer the classic tool over the modern Settings app.
Advertisеment
With Disk Management, you can perform a huge number of administrative tasks on connected disk devices. It supports both external and internal drives.

Disk Management allows you:
- To delete a partition.
- To extend a partition into non-allocated space.
- To shrink a partition in order to get some free disk space (e.g. to create one more partition).
- To change a drive letter.
- To create and mount a VHD or VHDX file.
And more. Disk Management is a reliable and useful tool to maintain the storage space of your computer.
In Windows 10, Microsoft is moving everything from the classic Control Panel to the Modern app called "Settings". It has already inherited many options which were exclusively available in the Control Panel. If you prefer using the classic Control panel, you might want to add some extra applets to it to make it more useful.
In Windows, it is easy to add custom items to the Control Panel. Check out the following blog post:
How to add anything you want to Control Panel
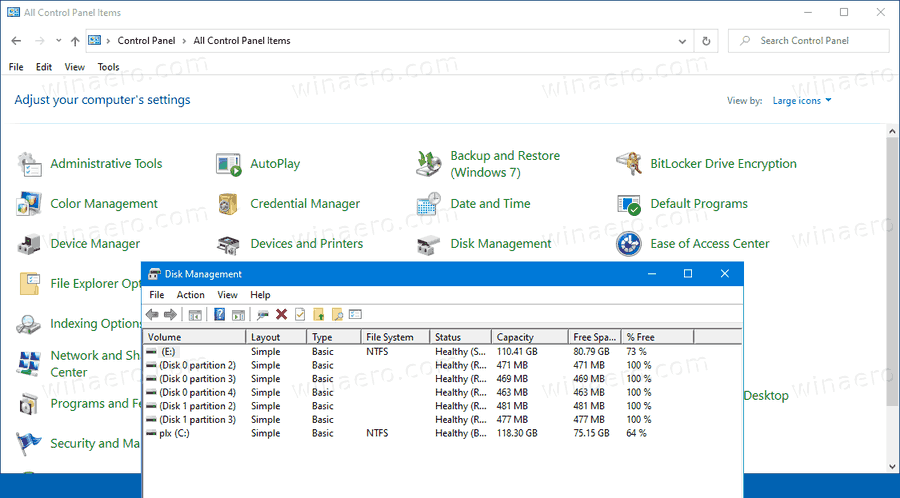
In the following image, you will see dozens of custom items added to the Control Panel which are not normally present.

Here's how to add Disk Management to the classic Control Panel.
To Add Disk Management to Control Panel in Windows 10,
- Download the following Registry files (the ZIP archive): Download Registry Files
- Extract them to any folder you like. You can place them right on the Desktop.
- Close the Control Panel if you have it open.
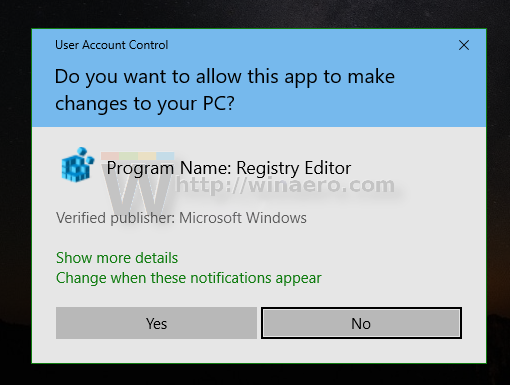
- Double-click the file Add Disk Management To Control Panel.reg and confirm the operation.

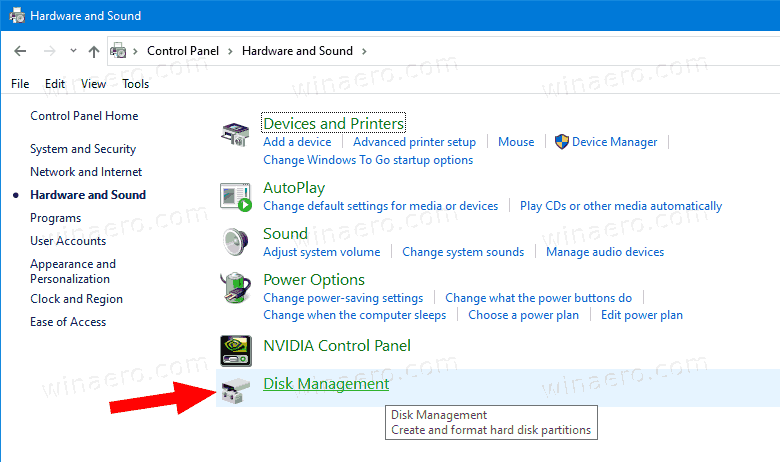
- Now, open the Control Panel and go to Hardware and sound.

You are done. You now have Disk Management in the Control Panel. It is also visible in the 'Large icons' and 'Small icons' view.

Use the included Remove Disk Management From Control Panel.reg file to remove the applet from the Control Panel.
That's it.
Also, see the following useful posts:
- Add Classic User Accounts to Control Panel in Windows 10
- Add All Tasks to Control Panel in Windows 10
- Add Windows Defender to the Control Panel in Windows 10
- Add Personalization To Control Panel In Windows 10
- How to add anything you want to Control Panel
- How to Hide Control Panel Applets in Windows 10
- Show Only Certain Control Panel Applets in Windows 10
- Open Control Panel Applets Directly in Windows 10
Support us
Winaero greatly relies on your support. You can help the site keep bringing you interesting and useful content and software by using these options:
