How to Automatically Mount VHD or VHDX File on Startup in Windows 10
Windows 10 supports virtual drives natively. It is able to recognize and use ISO, VHD and VHDX files. For ISO files, Windows 10 creates a virtual disk drive. For VHD and VHDX files, Windows 10 creates a new drive accessible via the This PC folder in File Explorer. Also, these files can be used in Hyper-V machines. You might be interested in mounting a VHD(X) file automatically on startup. Here's how it can be done.
Advertisеment
What are VHD and VHDX files
The Virtual Hard Disk (VHD) file format allows encapsulation of the hard disk into an individual file for use by the operating system as a virtual disk in all the same ways physical hard disks are used. These virtual disks are capable of hosting native file systems (NTFS, FAT, exFAT, and UDFS) while supporting standard disk and file operations. The maximum size of a VHD file is 2,040 GB.
VHDX is a new version of the VHD format which has a much larger storage capacity than the older VHD format. It also provides data corruption protection during power failures and optimizes structural alignments of dynamic and differencing disks to prevent performance degradation on new, large-sector physical disks. It supports for virtual hard disk storage capacity of up to 64 TB.
Virtual disk types
Windows 10 supports two virtual disk types:
- Fixed—The VHD image file is pre-allocated on the backing store for the maximum size requested.
- Expandable—Also known as "dynamic", "dynamically expandable", and "sparse", the VHD image file uses only as much space on the backing store as needed to store the actual data the virtual disk currently contains. When creating this type of virtual disk, the VHD API does not test for free space on the physical disk based on the maximum size requested, therefore it is possible to successfully create a dynamic virtual disk with a maximum size larger than the available physical disk free space.
There are number of methods you can use to create a VHD file. I've reviewed them all in the following blog post: Create a New VHD or VHDX File in Windows 10.
Note: This method utilizes PowerShell commands which work only when the Hyper-V feature is enabled. You need to activate Hyper-V on your PC to proceed.
To Automatically Mount VHD or VHDX File on Startup in Windows 10,
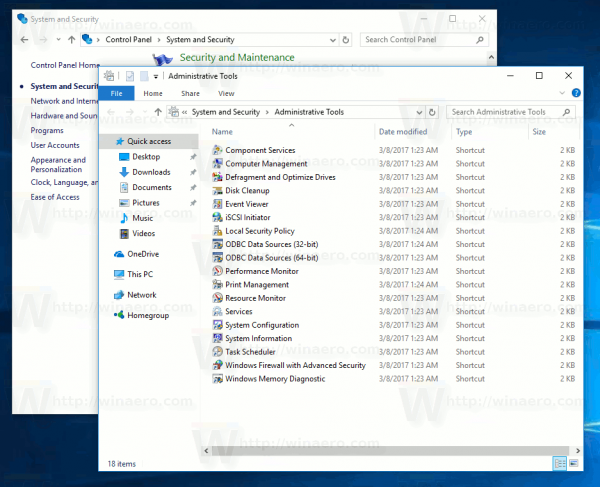
- Open Administrative Tools.
- Click the Task Scheduler icon.
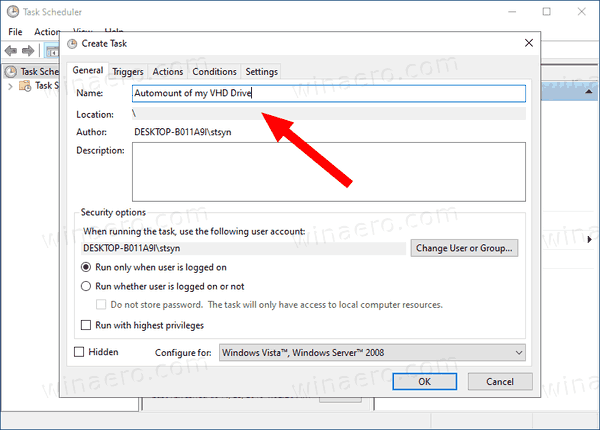
- In the Task Scheduler library, click on the Create Task... link on the right.

- In Create Task dialog, fill in the Name box some meaningful text like "Automount of my VHD Drive".
- Set the options as follows:
- Configure for Windows 10.
- Run whether user is logged on or not
- Run with highest privileges box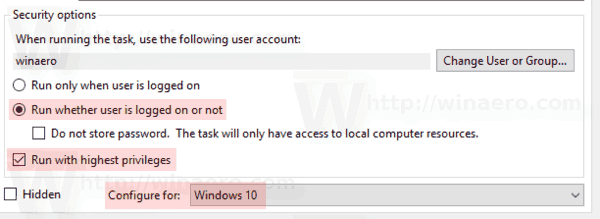
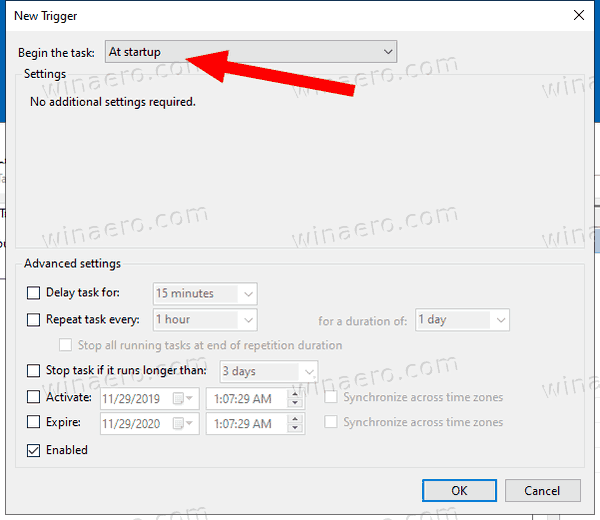
- Switch to the Triggers tab and click on the New... button.
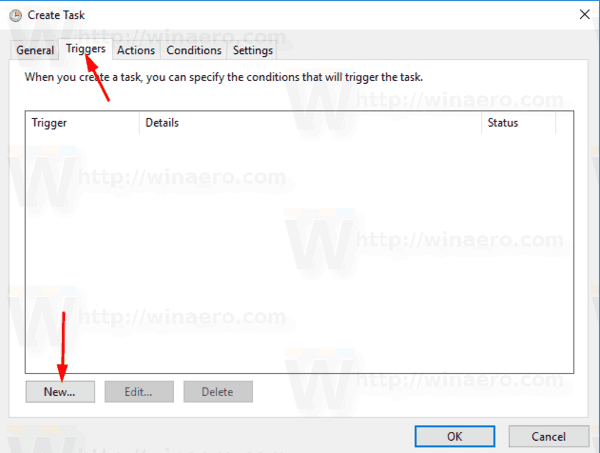
- Set the Begin the task option to At startup.
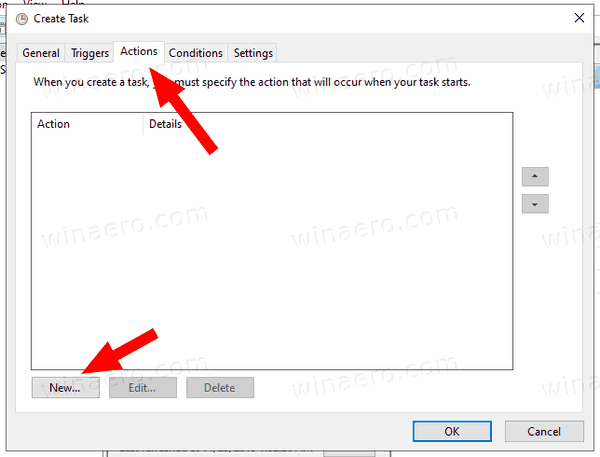
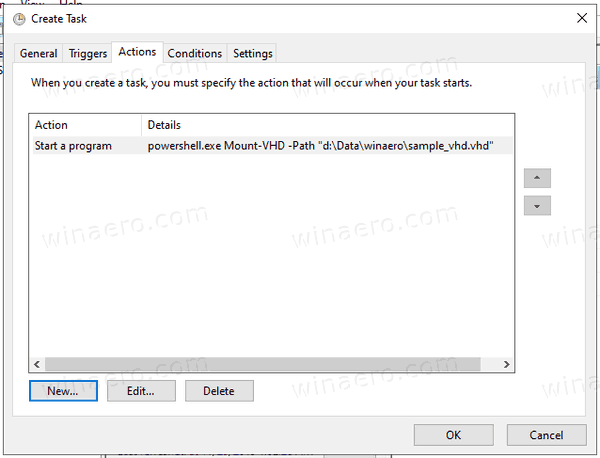
- Select to the Actions tab, and click on the New button.
- In the Program/script text box type
powershell.exe.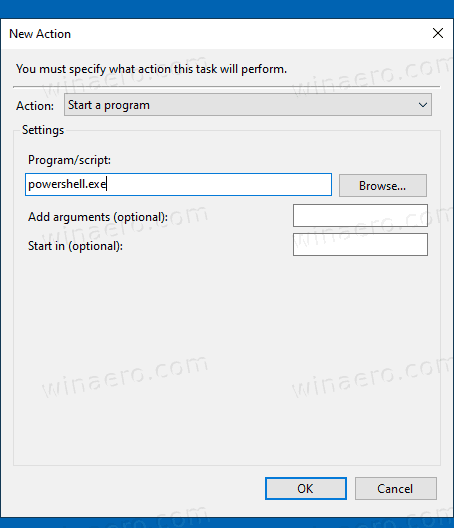
- Type the following in the Add arguments text box:
Mount-VHD -Path "Full\path\to\your\VHD or VHDX\file". Change theFull\path\to\your\VHD or VHDX\fileportion to the actual full path of the VHD/VHDX file you want to have automatically mounted at startup.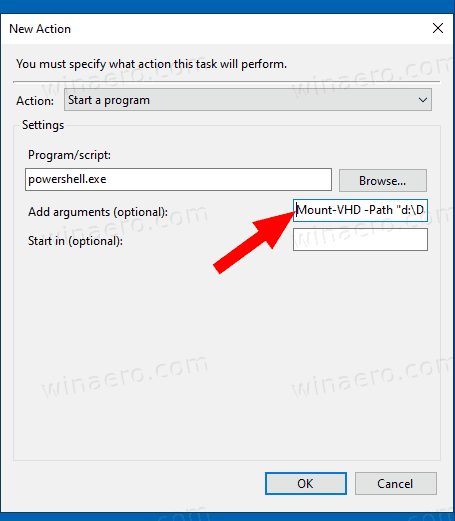
- Switch to the Conditions tab and disable the option Start the task only if the computer is on AC power.
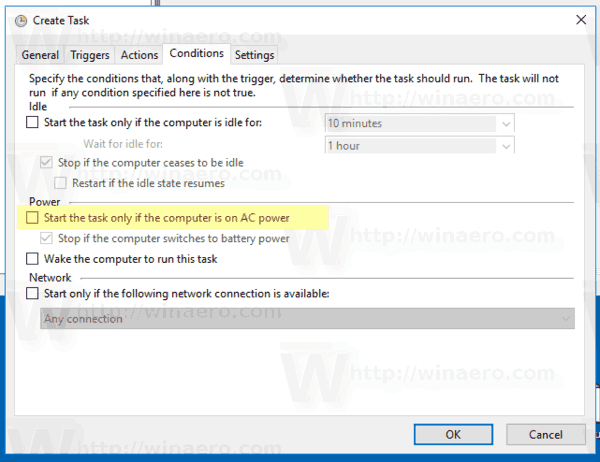
- Click on the OK button to create the task.
- Type your user account password (or other administrative user account credentials).
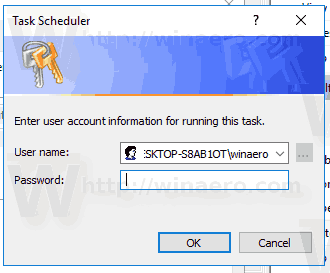
You are done!
Notes:
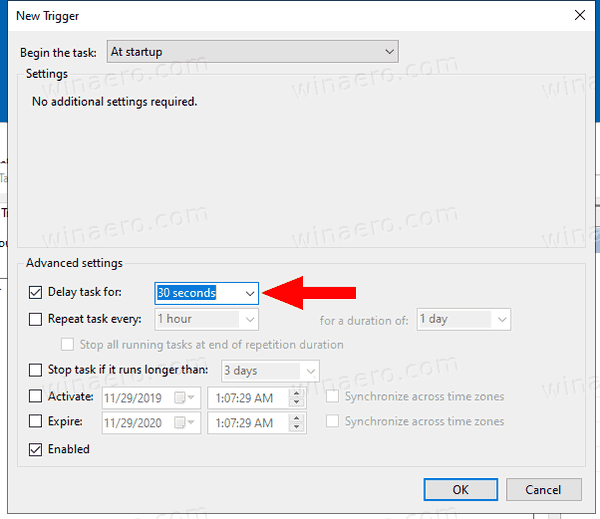
- If your VHD file is encrypted with BitLocker, you may need to add a delay to make a credential prompt appear after you sign in to Windows. Enable the Delay task for option on the New Trigger page, or edit the existing trigger. 30 Seconds should be enough.
- You can disable this task to temporarily stop mounting your VHD/VHDX file at startup. You can re-enable it when needed.
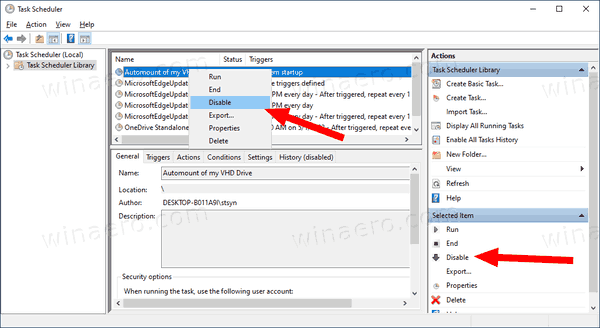
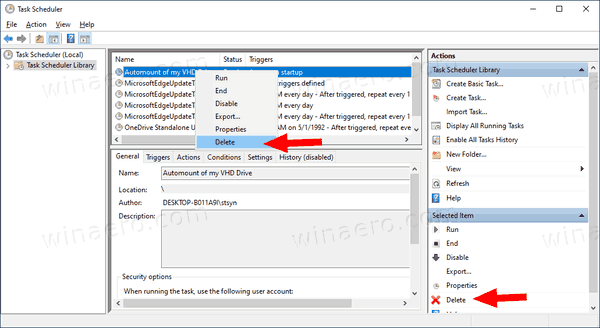
- To permanently disable the VHD file auto-mount, delete your task under Administrative Tasks > Task Scheduler > Task Scheduler Library.
That's it.
Support us
Winaero greatly relies on your support. You can help the site keep bringing you interesting and useful content and software by using these options:

powershell Mount-VHD:
Mount-VHD: the term ‘Mount-VHD’ is not recognized as the name of a cmdlet, function, script file, or operable program. Check the spelling of the name, or if a path was included, verify that the path is correct and try again.
Let me repeat one more time:
Try to read the text before copy-pasting commands.
you should try to be less patronizing when replying to your audience…
Author is absolutly right. It’s stupid – ask question without reading text.
In Windows 10 the powershell command (step 10) is
Mount-DiskImage “C:\path\to\my\drive.vhd”
… and I haven’t got hyper-V enabled, but it (Mount-DiskImage “C:\path\to\my\drive.vhd”) still works
Thanks Alex P, this worked fine also on Windows Server 2019!
For Windows 11 you have to use Mount-DiskImage as discripe from Alex P or install the HyyperV-Services.
Nice one. That just worked!
One note. You only need to install the hyper-v module for windows power shell. You don’t have to install all of the hyper-v components.
It doesnt work . When I open disk management it doesnt show
For those of you trying to follow these instructions in 2022 and having problems, try to set the task to startup at login instead of startup. I don’t know if it’s a Windows 11 thing or the fact that I have a 25G dual NIC, but for whatever reason the task wouldn’t work until I switched it to start at login instead of startup, and like already mention in this article I had to add 30s delay to give the network connection time to come up.