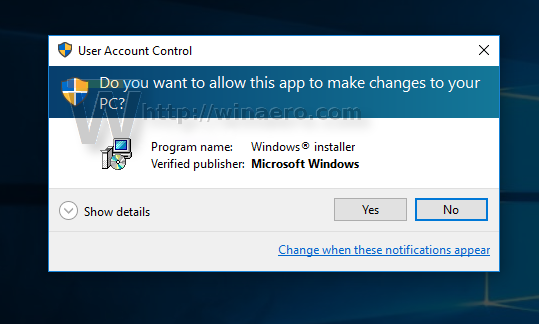
It is useful to have an open to run Windows Installer files (*.msi) as administrator. There are some desktop apps which have issues installing correctly when UAC is enabled. Also, when you install an MSI package in a limited user account, it requires an elevated command prompt and a number of additional actions. To avoid this, you can add a context menu command for MSI files to the File Explorer app which will allow you to run the selected MSI file as administrator. Here is how.
Advertisеment
This can be done with a simple Registry tweak. Follow the instructions below.
- Open Registry Editor.
- Go to the following Registry key:
HKEY_CLASSES_ROOT\Msi.Package\shell
Tip: You can access any desired Registry key with one click.
If you have no such Registry key, then just create it. - Create here a new subkey named "runas". You will get
HKEY_CLASSES_ROOT\Msi.Package\shell\runas
- Under the runas subkey, create a new string value named HasLUAShield. Don't set its value data, leave it empty. This value is only required to add the UAC icon to the context menu item you are creating. You should get it as follows:
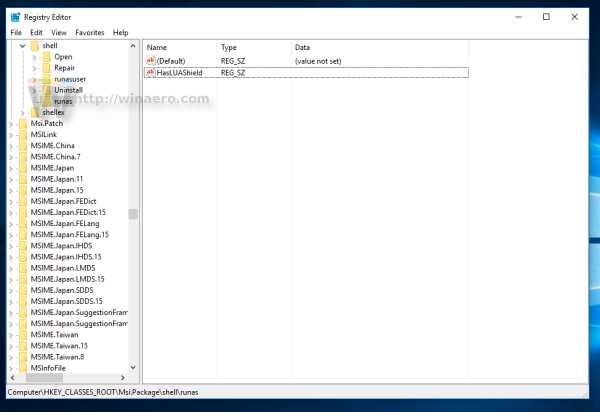
- Under the runas subkey, create a new subkey called "command". You will get the following path:
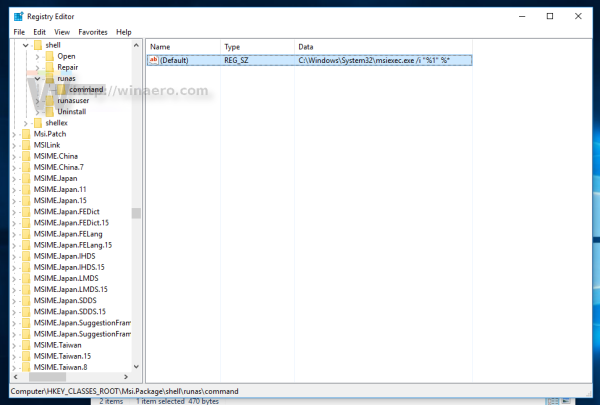
HKEY_CLASSES_ROOT\Msi.Package\shell\runas\command
Set the default parameter of the command subkey to the following text:
C:\Windows\System32\msiexec.exe /i \"%1\" %*
Now right click any *.msi file to test the context menu item: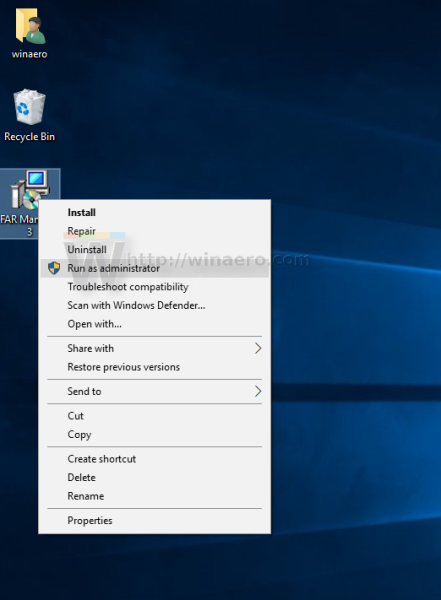
You are done. To undo this change, delete the mentioned "runas" subkey.
The same can be done using Winaero Tweaker. Go to Context Menu -> Run as Administrator: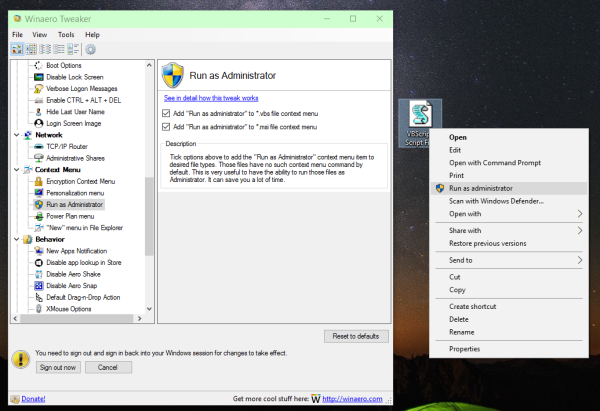 Use this option to avoid Registry editing.
Also, I made ready-to-use Registry files, so you can avoid manual Registry editing. An undo file is also included.
That's it.
Support us
Winaero greatly relies on your support. You can help the site keep bringing you interesting and useful content and software by using these options:
