File History is a very useful feature of Windows 10. It allows you to create a backup of the important data stored in your Documents, Pictures, Music, Videos and Desktop folders. You can specify the drive where you plan to store your backup. It will prevent data loss in case something goes wrong. In this article, we will see how to add File History to the context menu in Windows 10 for faster access.
Advertisеment
Windows 10 comes with a built-in backup system called "File History". It allows the user to create a backup copy of files stored on your PC. There are a number of use cases for this feature. For example, it can help you to transfer your files from an old PC to a new one. Or you can use it to backup your files to an external removable drive. Here is how to add it to the context menu.
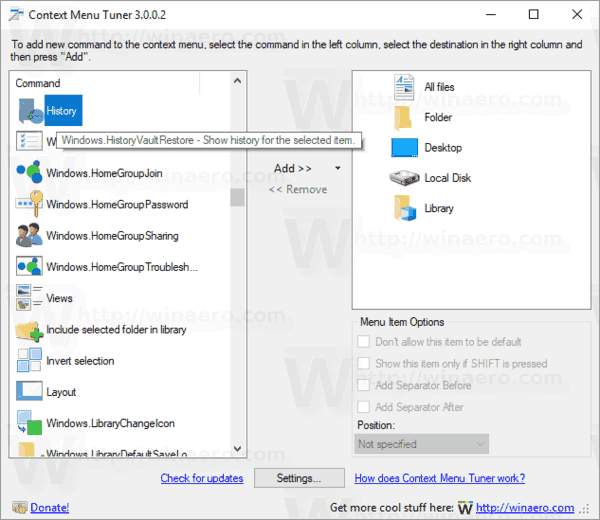
The easiest way to add any Ribbon command to the context menu is to use Winaero's Context Menu Tuner. It has an easy-to-use interface and will allow you to add any command you want to the right-click menu. The command is called "Windows.HistoryVaultRestore". See the following screenshot:
To add History to the context menu in Windows 10, do the following.
- Download Context Menu Tuner.
- Select the History command on the left as shown above.
- Select "Folder" on the right.
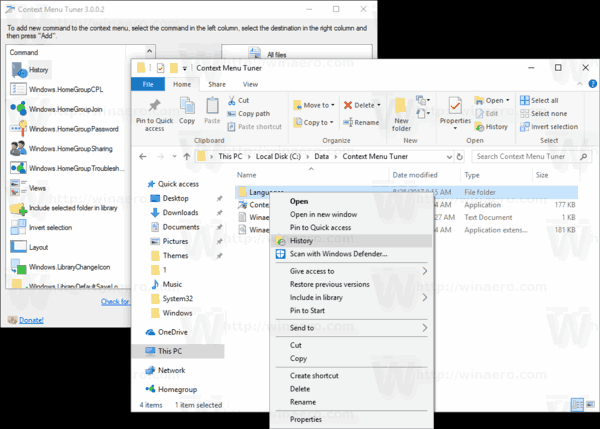
- Double click the History item on the left. It will be added to the folder context menu. See the screenshot:
- Repeat these steps for Drive, All Files and Desktop,
If you prefer doing it manually by editing the Registry yourself, read on.
Add History Context Menu in Windows 10 with a Registry tweak
Here are the contents of the *.reg file that you need to apply.
Windows Registry Editor Version 5.00

[HKEY_CLASSES_ROOT\AllFilesystemObjects\shell\Windows.HistoryVaultRestore]
"CommandStateHandler"="{3756e7f5-e514-4776-a32b-eb24bc1efe7a}"
"Description"="@shell32.dll,-37383"
"Icon"="imageres.dll,-5353"
"ImpliedSelectionModel"=dword:00000001
"MUIVerb"="@shell32.dll,-37382"

[HKEY_CLASSES_ROOT\AllFilesystemObjects\shell\Windows.HistoryVaultRestore\command]
@=hex(2):25,00,53,00,79,00,73,00,74,00,65,00,6d,00,52,00,6f,00,6f,00,74,00,25,\
00,5c,00,53,00,79,00,73,00,74,00,65,00,6d,00,33,00,32,00,5c,00,46,00,69,00,\
6c,00,65,00,48,00,69,00,73,00,74,00,6f,00,72,00,79,00,2e,00,65,00,78,00,65,\
00,20,00,22,00,25,00,31,00,22,00,00,00

[HKEY_CLASSES_ROOT\Directory\Background\shell\Windows.HistoryVaultRestore]
"CommandStateHandler"="{3756e7f5-e514-4776-a32b-eb24bc1efe7a}"
"Description"="@shell32.dll,-37383"
"Icon"="imageres.dll,-5353"
"ImpliedSelectionModel"=dword:00000001
"MUIVerb"="@shell32.dll,-37382"

[HKEY_CLASSES_ROOT\Directory\Background\shell\Windows.HistoryVaultRestore\command]
@=hex(2):25,00,53,00,79,00,73,00,74,00,65,00,6d,00,52,00,6f,00,6f,00,74,00,25,\
00,5c,00,53,00,79,00,73,00,74,00,65,00,6d,00,33,00,32,00,5c,00,46,00,69,00,\
6c,00,65,00,48,00,69,00,73,00,74,00,6f,00,72,00,79,00,2e,00,65,00,78,00,65,\
00,20,00,22,00,25,00,31,00,22,00,00,00
Run Notepad. Copy and paste the text above into a new document.
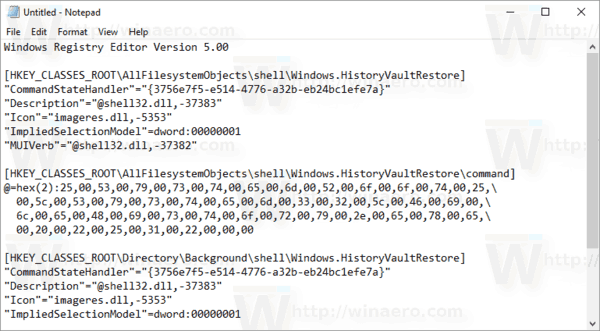
In Notepad, press Ctrl + S or execute the File - Save item in the menu. This will open the Save dialog.
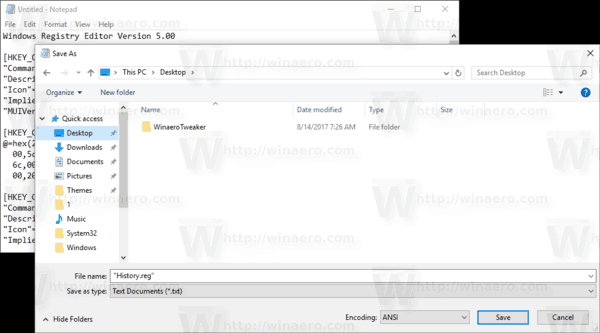
There, type or copy-paste the following name "History.reg" including quotes. Double quotes are important to ensure that the file will get the "*.reg" extension and not *.reg.txt. You can save the file to any desired location, for example, you can put it in your Desktop folder.
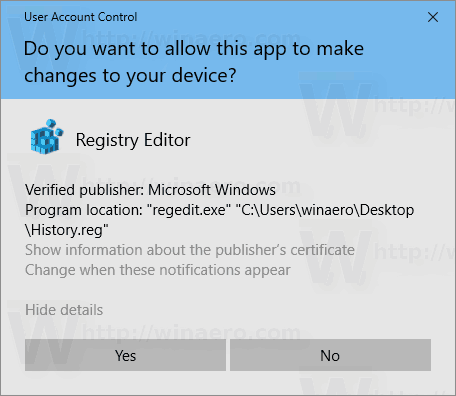
Now, double-click the file History.reg that you created. Confirm the UAC prompt and click Yes to merge it into the Registry.
The command will appear in the context menu instantly.
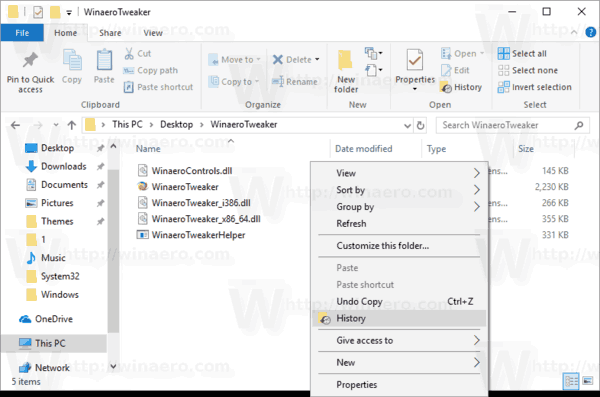
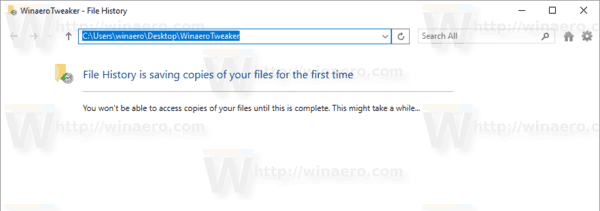
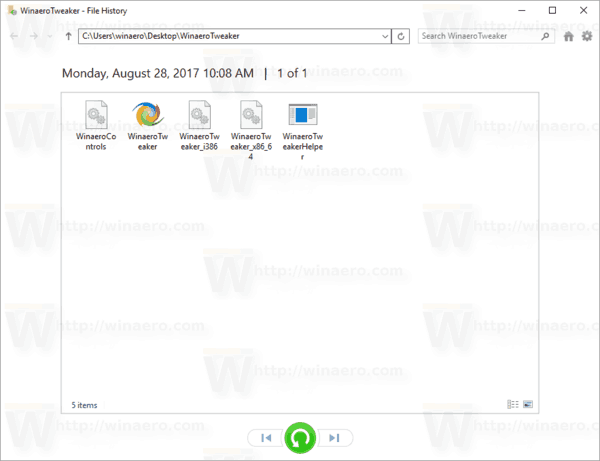
To save your time, I made ready-to-use Registry files. You can download them here:
The undo file is included, so you can avoid manual Registry editing completely.
If you are interested in learning how the tweak works, refer to the following article:
How to add any Ribbon command to the right click menu in Windows 10
It explains the magic behind the trick perfectly.
That's it.
Support us
Winaero greatly relies on your support. You can help the site keep bringing you interesting and useful content and software by using these options:

Microsoft will probably replace file history with some UWFile universal history. Or they will stop supporting normal keyboards and create some universal keyboard that doesn’t work and is more expensive then a mac. Hahaha. It is cool to be able to edit the context menu. I also have one question: where are the ready-to use reg files to add the restart explorer context menu item?
Yep, I’ve added them to the article. You can grab them from here.
The article I am talking about is Add Restart Explorer Context Menu in Windows 10.
Thank you!