Once you have connected to any wireless network in Windows 10, the operating system will remember this network and will try to re-connect to it once it is in range. If you are not happy with this behavior, you can make Windows 10 stop automatically re-connecting to certain wireless networks. Here is how.
Advertisеment
While it is easily possible to make Windows 10 forget a Wi-Fi network, this may not convenient if you plan to connect to it manually in the future. Instead, it is more useful to configure the OS to not auto-reconnect to certain networks. There are a number of ways how it can be done.
To stop Windows 10 From Connecting to a Wi-Fi Network automatically, do the following.
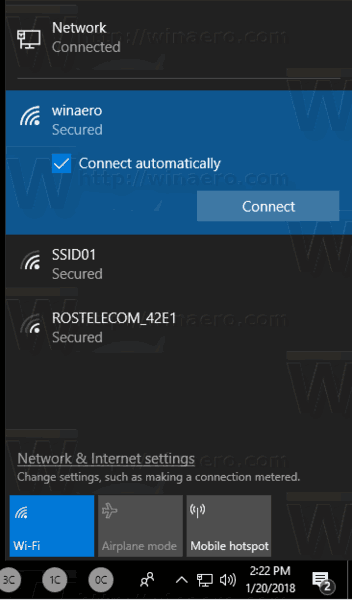
- Click on the network icon in the system tray.
- In the network flyout, click on the network name.
- Uncheck the option Connect automatically.
There are alternative ways to change this option after you've connected to a network. You can use either Settings, the classic adapter properties dialog or the netsh console utility.
Using Settings
- Open Settings.
- Go to Network & intenet - Wi-Fi.
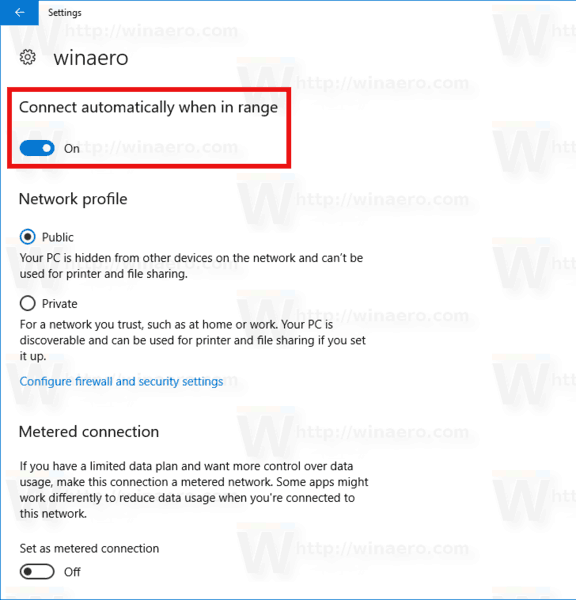
- Click on the network's name.
- On the next page, toggle the switch Connect automatically when in range.
Using adapter properties
- Open the Control Panel.
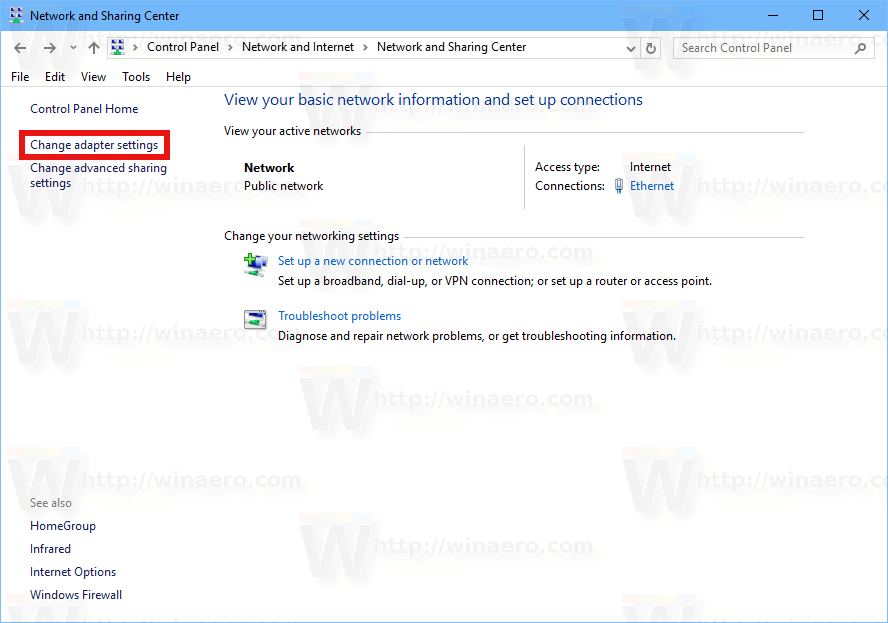
- Go to Control Panel\Network and Internet\Network and Sharing Center.
- On the right, click on the Change adapter settings link.
- Double-click your Wi-Fi connection to open its properties.
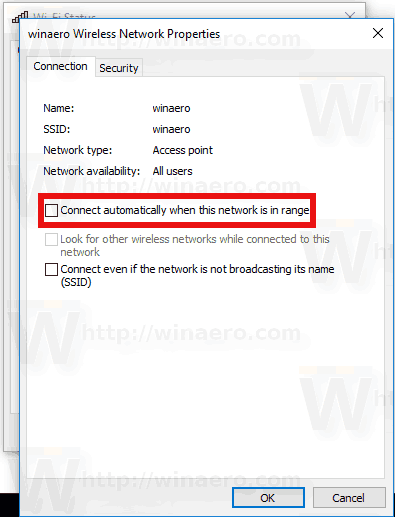
- Click on the Wireless Properties button.
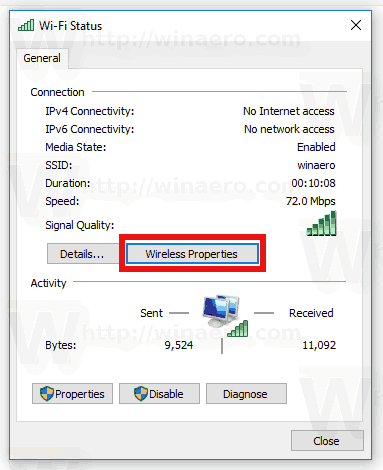
- In the next dialog, disable the option Connect automatically when this network is in range.
You are done.
Using the Netsh console tool
- Open an elevated command prompt.
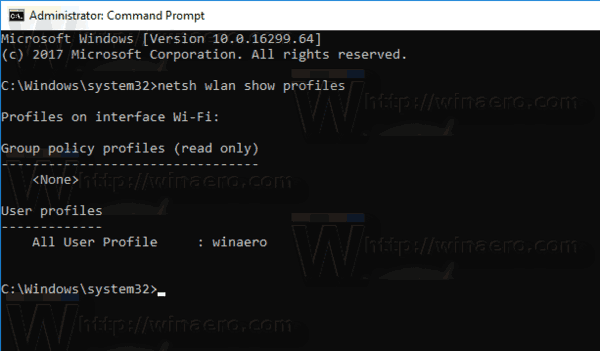
- Type the following command to see all the wireless network profiles:
netsh wlan show profiles
. For example:
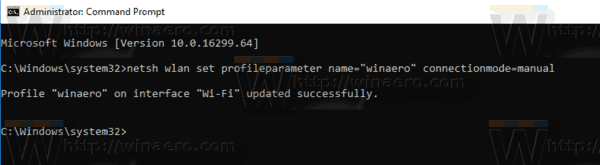
- To set prevent Windows 10 from connecting to the desired wireless network, execute the following command:
netsh wlan set profileparameter name="profile name" connectionmode=manual
Substitute the "profile name" with the actual value. In my case, it is "winaero".
- To restore the default behavior, you can use the next command:
netsh wlan set profileparameter name="profile name" connectionmode=auto
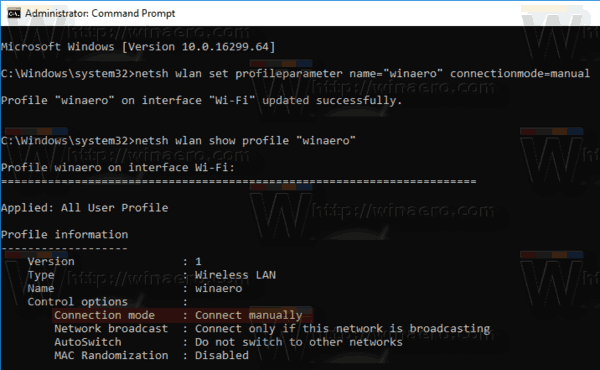
- To see the current status of the option, execute the command:
netsh wlan show profile "profile name"
See the line "Connection mode" as shown below:
That's it!
Support us
Winaero greatly relies on your support. You can help the site keep bringing you interesting and useful content and software by using these options:
