If you use the System Restore function in Windows 10 to revert your operating system to the last known stable point when it was working correctly, you might be interested in creating a new restore point with PowerShell. This can be useful with various automation scenarios. Also, you can create a special shortcut to execute the PowerShell command and make a new restore point with one click.
Advertisеment
This can be especially useful in Windows 10 because System Restore has been scaled back to create restore points far less frequently, even as low as once a week. Before you begin, make sure you have System Restore enabled.
To create a restore point in Windows 10 with PowerShell, you need to do the following:
- Open PowerShell as Administrator.
- Type or copy-paste the following command:
Checkpoint-Computer -Description "RestorePoint1" -RestorePointType "MODIFY_SETTINGS"
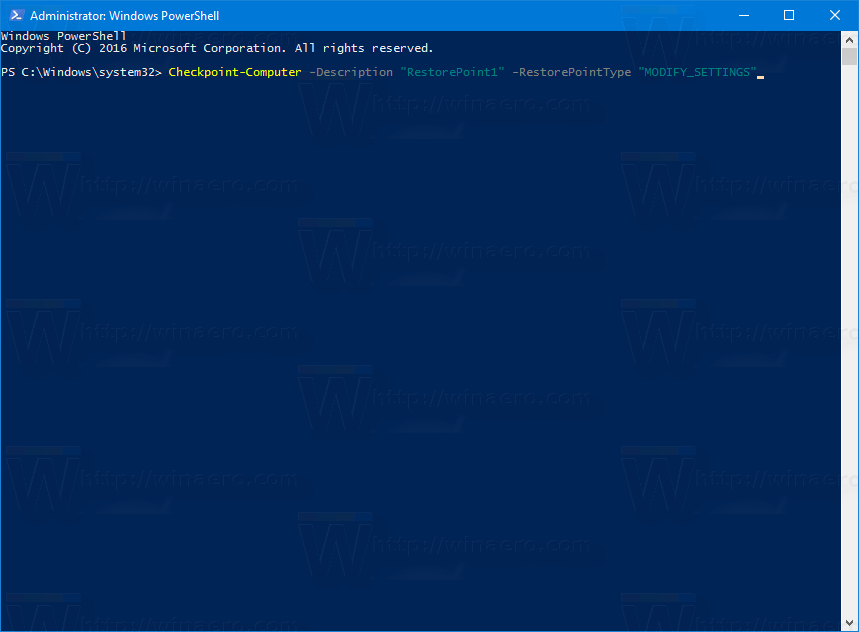
Once you press the Enter key, a special cmdlet Checkpoint-Computer will create a new restore point. Let's see what the command line arguments that are used in it do:
Description - specifies a name for your restore point.
RestorePointType - Specifies the type of restore point.
The acceptable values for the RestorePointType parameter are:
APPLICATION_INSTALL
APPLICATION_UNINSTALL
DEVICE_DRIVER_INSTALL
MODIFY_SETTINGS
CANCELLED_OPERATION
The default value is APPLICATION_INSTALL.
Please keep in mind, that in Windows 10, Checkpoint-Computer cannot create more than one restore point every day. If you try to create a new restore point before the 24-hour period has elapsed, Windows PowerShell generates the following error:
"A new system restore point cannot be created because one has already been created within the past 24 hours. Please try again later."
If you need to create a shortcut for this operation, you can do the following.
Right click on the Desktop and select the command "New -> Shortcut" from the context menu.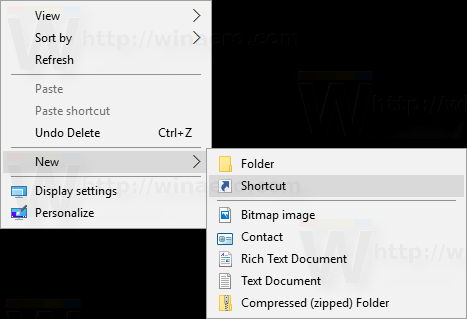
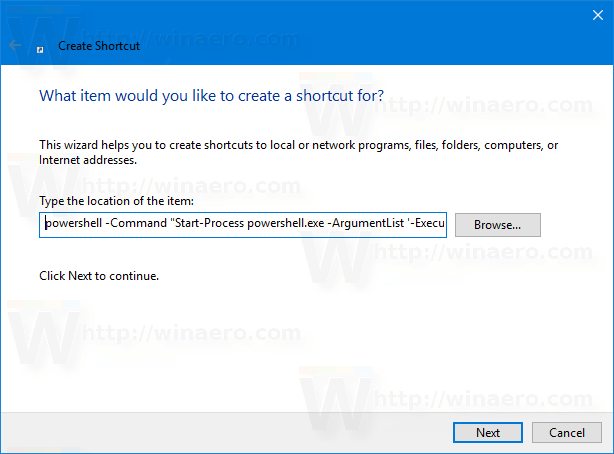
In the shortcut target, type or copy-paste the following text:
powershell -Command "Start-Process powershell.exe -ArgumentList '-ExecutionPolicy Bypass -NoExit -Command \`"Checkpoint-Computer -Description \"RestorePoint1\" -RestorePointType \"MODIFY_SETTINGS\"\`"' -Verb RunAs"
Specify the desired name for your shortcut and set the icon of your choice and you are done.
Additionally, see these articles:
- Start a Process Elevated from PowerShell
- How to create a Restore point in Windows 10
- Create a restore point in Windows 10 with one click
That's it.
Support us
Winaero greatly relies on your support. You can help the site keep bringing you interesting and useful content and software by using these options:

thanks very useful
It’s possible to alter the time interval of 24 h:
create DWORD SystemRestorePointCreationFrequency in
HKEY_LOCAL_MACHINE\SOFTWARE\Microsoft\Windows NT\CurrentVersion\SystemRestore
and specify the minimum time interval in minutes.
Thanks for sharing!
The shortcut link does not work for me, perhaps because of the backtick quotes. Here is a working link (without backtick quotes):
PowerShell -NoProfile -ExecutionPolicy Bypass -Command “& {Start-Process PowerShell -ArgumentList ‘-NoProfile -ExecutionPolicy Bypass -NoExit -Command “Checkpoint-Computer -Description “RestorePoint1” -RestorePointType “MODIFY_SETTINGS”; ” ‘ ” -Verb RunAs}”
Only 260 characters of the supplied target text you had input will display when you subsequently right-click the shortcut on the desktop and choose “Properties”. This is due to a Windows limitation. Make sure you don’t copy just this truncated(!) target text to use as paste input when creating any new matching shortcut.