Storage Spaces helps protect your data from drive failures and extend storage over time as you add drives to your PC. You can use Storage Spaces to group two or more drives together in a storage pool and then use capacity from that pool to create virtual drives called storage spaces. Here is how to rename an existing storage pool.
Advertisеment
Storage spaces typically store two copies of your data so if one of your drives fails, you still have an intact copy of your data. Also, if you run low on capacity, you can add more drives to the storage pool.
You can create the following storage spaces in Windows 10:
- Simple spaces are designed for increased performance, but don't protect your files from drive failure. They're best for temporary data (such as video rendering files), image editor scratch files, and intermediary compiler object files. Simple spaces require at least two drives to be useful.
- Mirror spaces are designed for increased performance and protect your files from drive failure by keeping multiple copies. Two-way mirror spaces make two copies of your files and can tolerate one drive failure, while three-way mirror spaces can tolerate two drive failures. Mirror spaces are good for storing a broad range of data, from a general-purpose file share to a VHD library. When a mirror space is formatted with the Resilient File System (ReFS), Windows will automatically maintain your data integrity, which makes your files even more resilient to drive failure. Two-way mirror spaces require at least two drives, and three-way mirror spaces require at least five.
- Parity spaces are designed for storage efficiency and protect your files from drive failure by keeping multiple copies. Parity spaces are best for archival data and streaming media, like music and videos. This storage layout requires at least three drives to protect you from a single drive failure and at least seven drives to protect you from two drive failures.
You can add new drives to any existing Storage space. The drives can be internal or external hard drive, or solid state drives. You can use a variety of types of drives with Storage Spaces, including USB, SATA, and SAS drives.
To rename a Storage Pool in Storage Spaces in Windows 10, do the following.
- Connect your new drive to the computer.
- Open the Settings app.

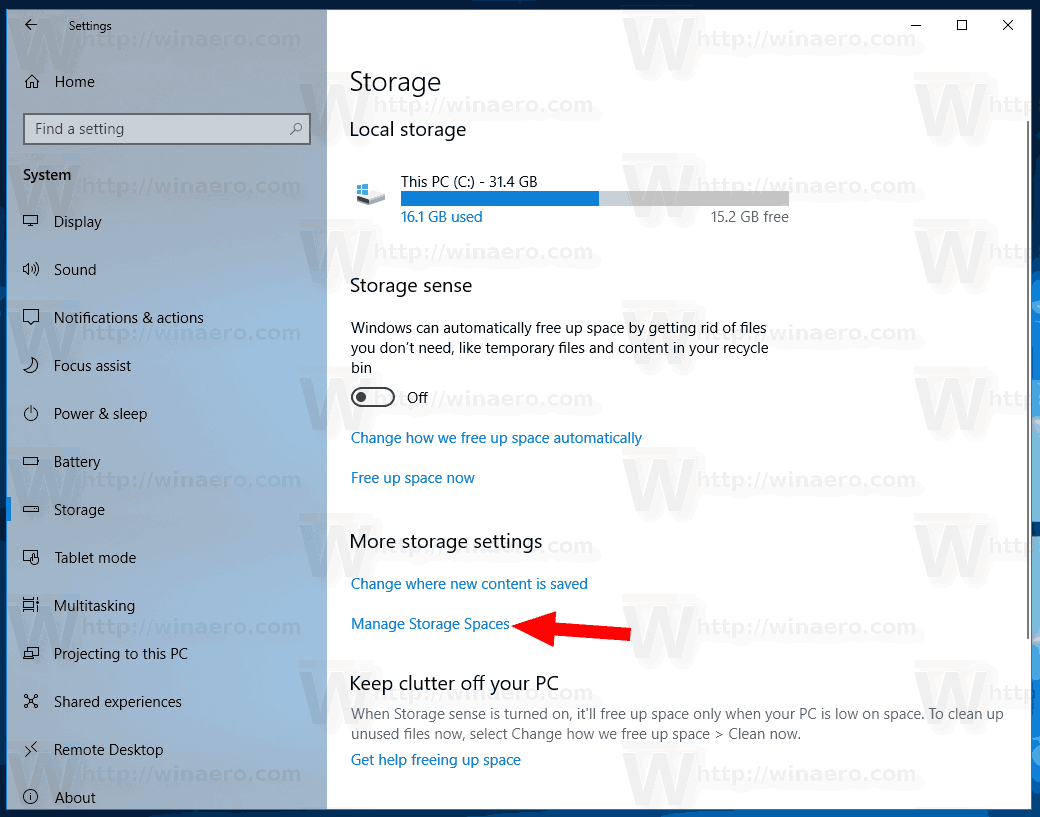
- Go to System -> Storage.
- On the right, click on the link Manage Storage Spaces.
- In the next dialog, click on the button Change settings and confirm the UAC prompt.
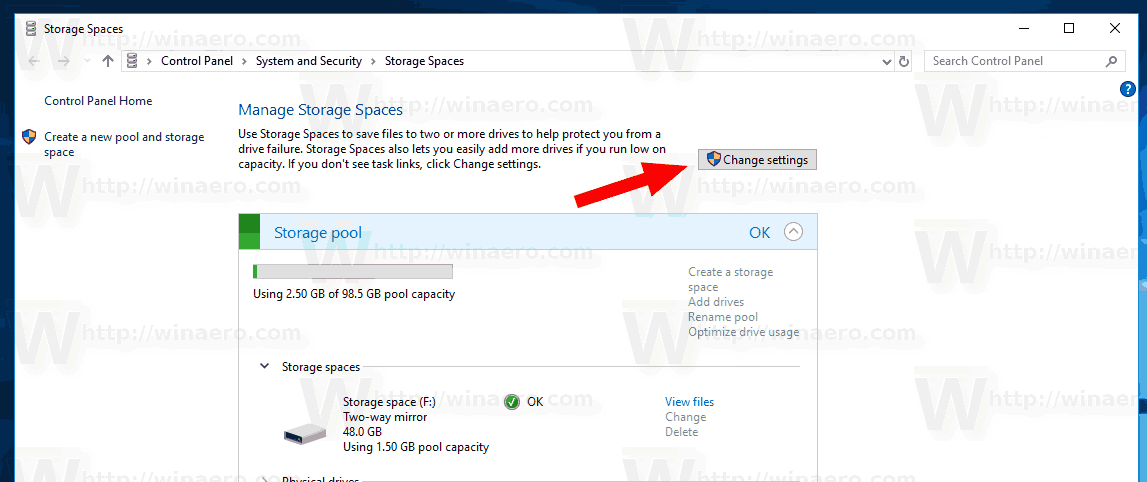
- Click on the link Rename pool for the pool you want to rename.
- On the next page, type a new name for your pool and you are done.

Alternatively, you can use PowerShell to rename a pool.
Rename a Storage Pool with PowerShell
- Open PowerShell as Administrator. Tip: You can add "Open PowerShell As Administrator" context menu.
- Type or copy-paste the following command:
Get-StoragePool.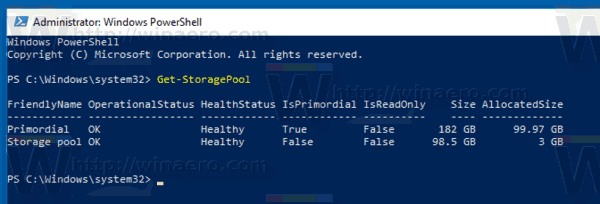
- Note the FriendlyName value for the Storage Space you want to remove.
- Now, execute the following command:
Set-StoragePool -FriendlyName "Current name" -NewFriendlyName "New name you want to set". Replace the appropriate portions with the actual values.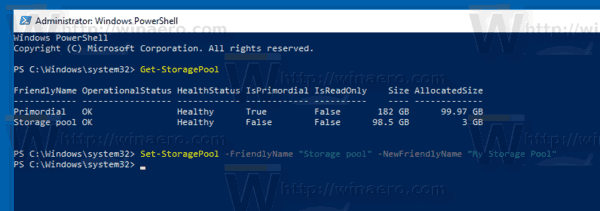
That's it.
Related articles:
- Add Drive to Storage Pool of Storage Spaces in Windows 10
- Optimize Drive Usage in Storage Pool in Windows 10
- Create Storage Spaces Shortcut in Windows 10
- Create New Pool in Storage Spaces in Windows 10
- Create Storage Space for Storage Pool in Windows 10
- Delete Storage Space from Storage Pool in Windows 10
Support us
Winaero greatly relies on your support. You can help the site keep bringing you interesting and useful content and software by using these options:
