Modern Windows versions have a useful feature called Startup Repair. During its startup, Windows 10 runs automatic repair which tries to fix boot related issues if it fails to boot a certain number of times. However, if you want to run Startup Repair manually to check your PC for issues at boot, here is how it can be done.
While sometimes Startup Repair can give you issues like a boot loop, it is a useful feature for the average user. It does not require special skills and does everything on its own. If you need to start it manually, follow these steps.
- Reboot your Windows 10 PC into the Advanced Startup options. You can do this quickly by following this tutorial: Boot Windows 10 into Advanced Startup Options quickly.
- After it restarts, you will see the following screen:

Click "Troubleshoot" on this screen. - In Troubleshoot, click Advanced Options:

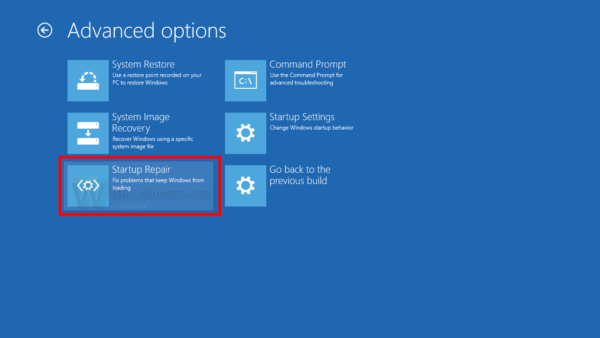
- In Advanced Options you will find the Startup repair item:


That's it. Once you click the Startup repair item, your computer will restart: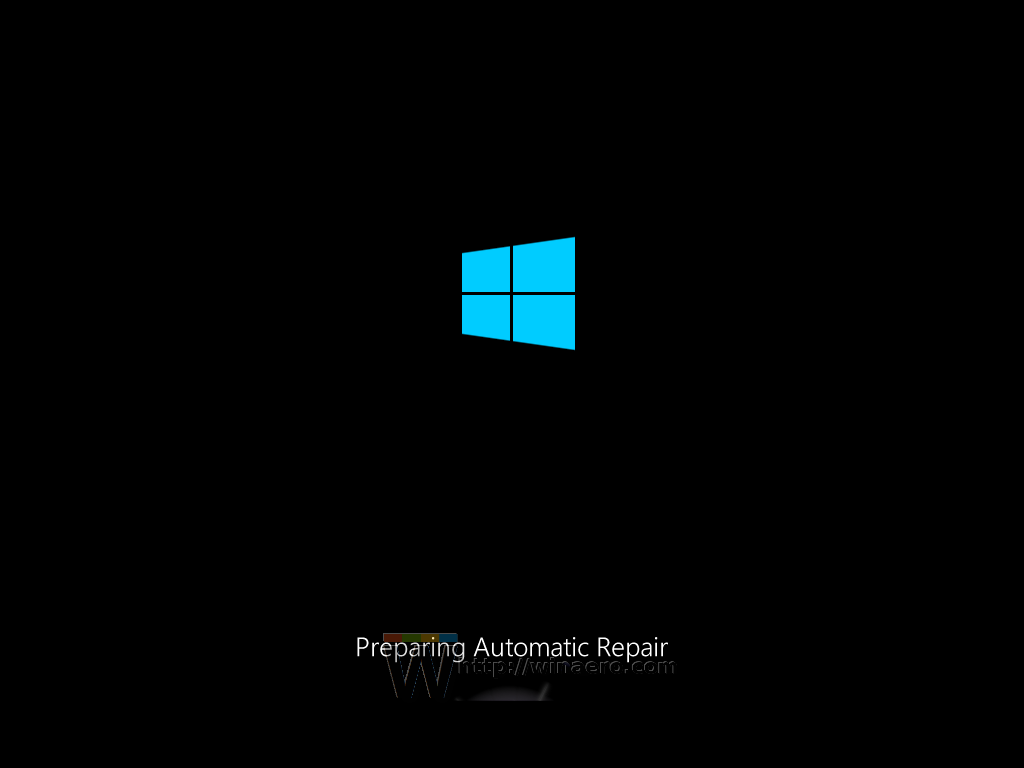 You will be prompted to sign in with your account. After that, Windows 10 will diagnose your PC and fix any issues it finds.
Support us
Winaero greatly relies on your support. You can help the site keep bringing you interesting and useful content and software by using these options:
