In Windows 10, you can reset the Start menu layout. If you changed the organization of Tiles in your Start menu, here is a way to reset its layout to the defaults.
Advertisеment
The main idea behind this trick is to create a new account in Windows 10 and put its Start menu layout files into your primary user account. This will reset your Start menu layout in Windows 10.
Step 1. Add a new local account
You need to create a new local account. Do it as follows.
- Open Settings.
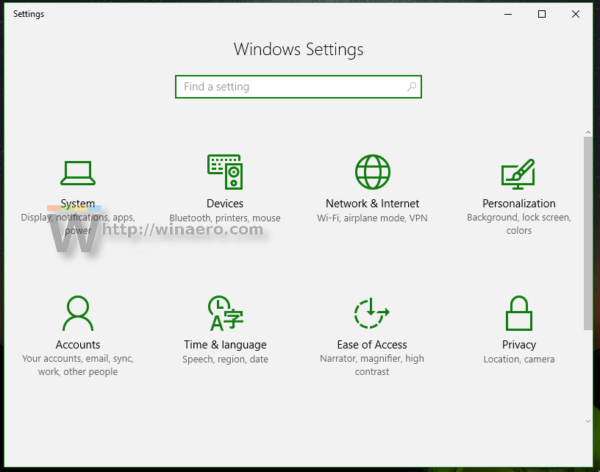
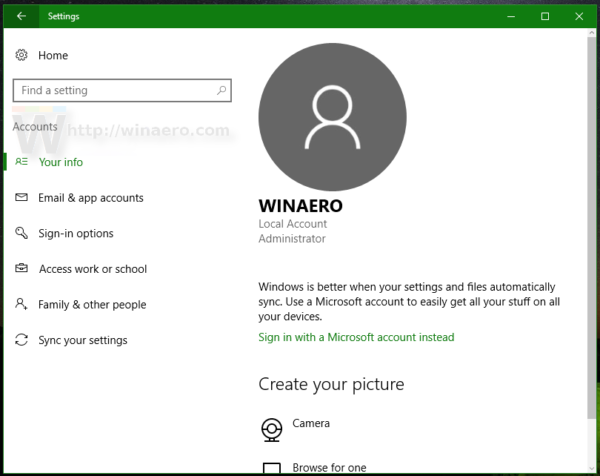
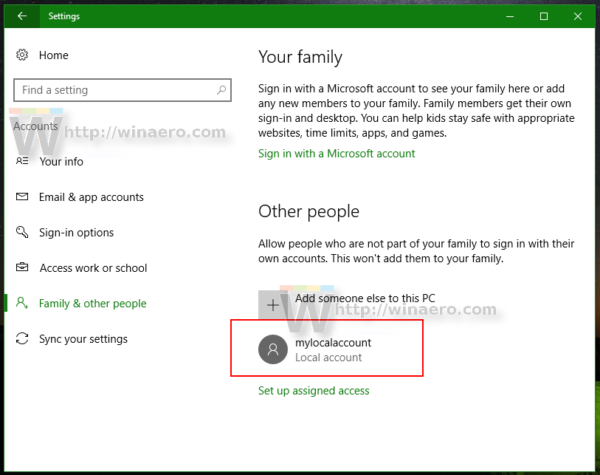
- Go to Accounts -> Family & other people:
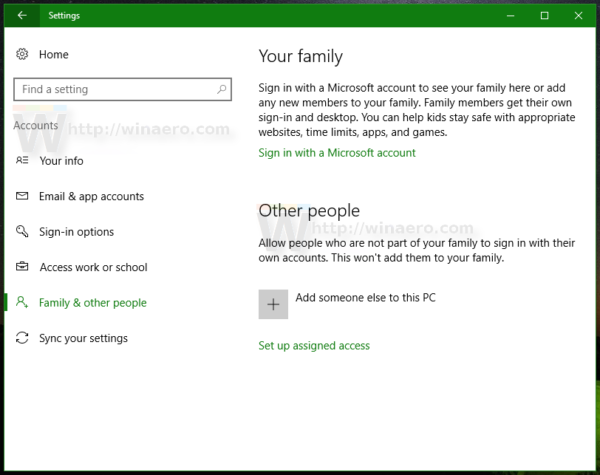
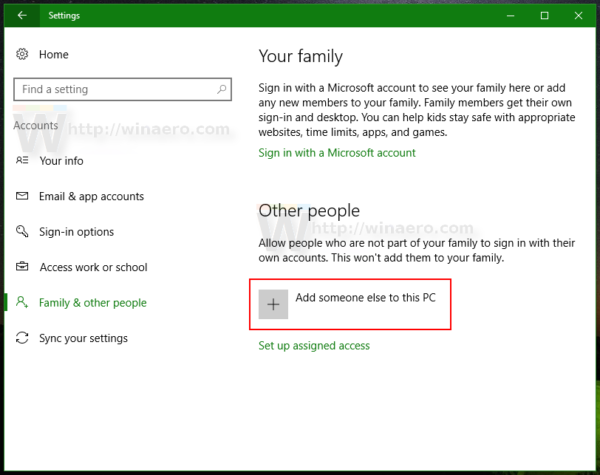
- Click "Add someone else to this PC:
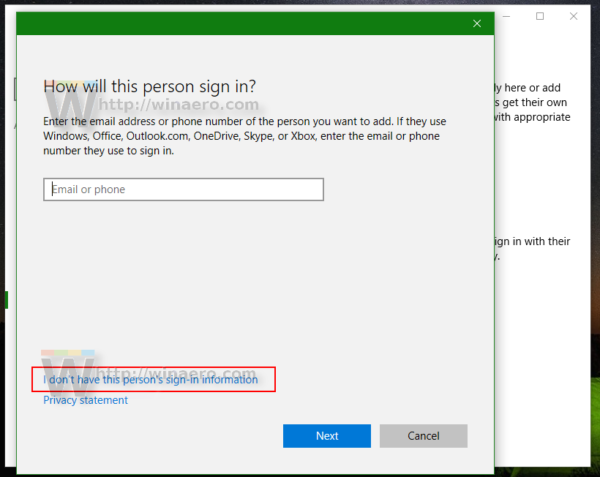
- In the next dialog, click "I don't have this person's sign-in information":
- The following dialog will appear.
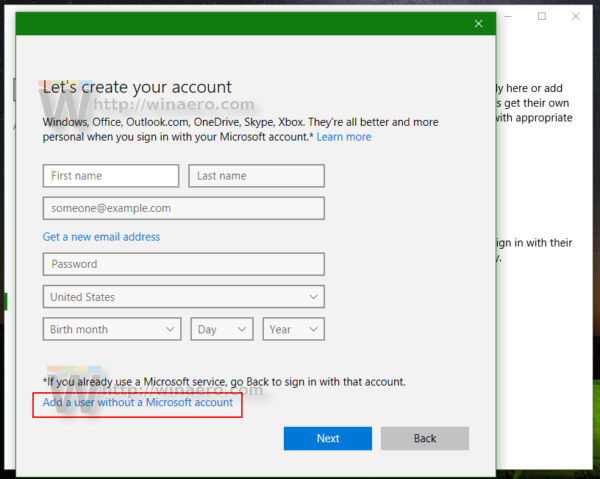
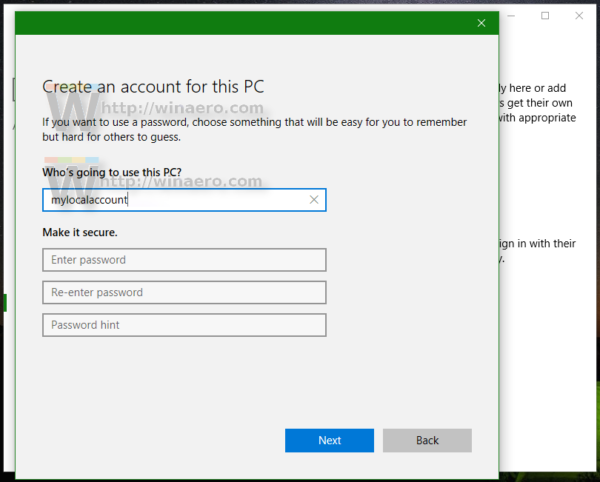
Here you need to click "Add a user without a Microsoft account" as shown above. - The page named "Create an account for this PC" will appear on the screen. Enter details for the new local account and then press the button "Next" to create it:
Step 2. Sign in with the new local account you created
Do the following.
- Sign out from your Windows 10 user account and sign in with the new local account you just created.
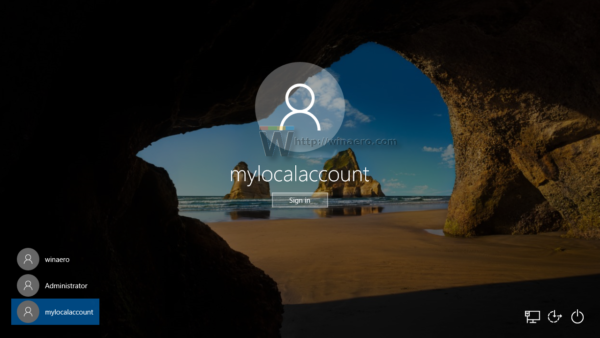
- Don't do anything in this new account. Sign out from this account immediately after you see the desktop:
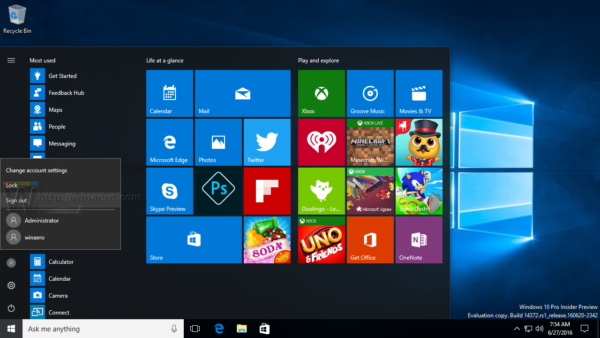
Step 3. Reset the Start menu layout in Windows 10
Finally, you will be able to reset the Start menu layout in Windows 10. Do the following.
- Enable the built-in Administrator account in Windows 10.
- Sign out from your Windows 10 user account and sign in with the Administrator account you just enabled.
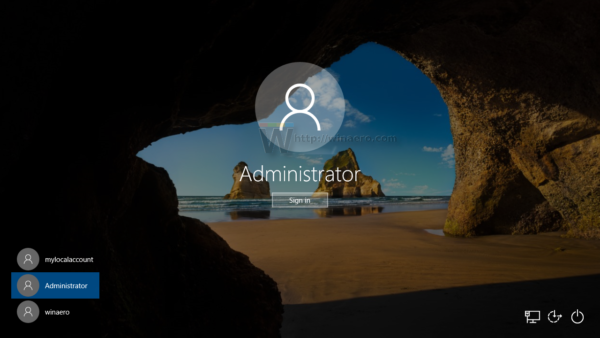
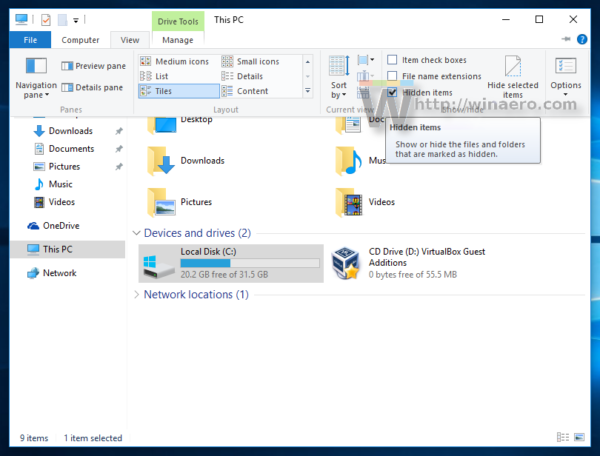
- When you are signed in as Administrator, make File Explorer show hidden files and folders as described in the article How to hide and unhide files quickly in Windows 10.
- Go to the following folder:
C:\Users\<user name>\AppData\Local\TileDataLayer
Replace the <user name> portion with the name of the user whose Start Menu layout you need to reset. In my case, the username is "winaero":
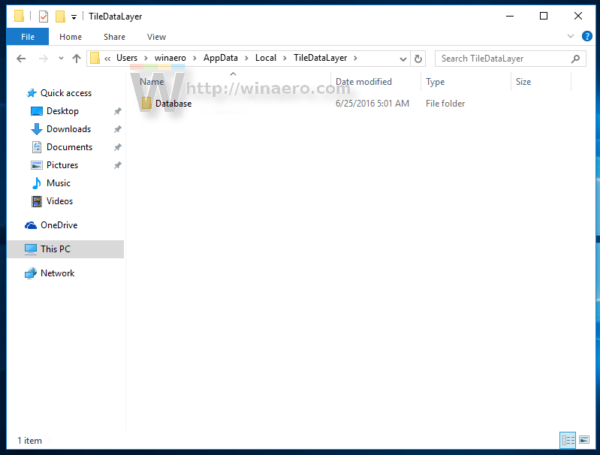 Here, delete the Database folder:
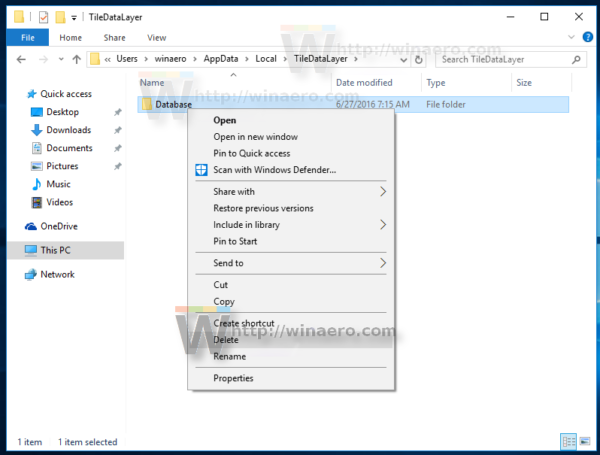
- Now, go to the following folder:
C:\Users\<user name>\AppData\Local\TileDataLayer
Replace the <user name> portion with the name of the local account which you created before. In my case, the username is "mylocalaccount":
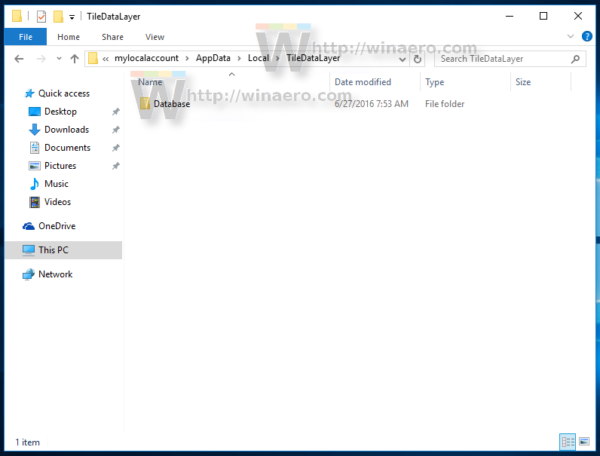
- Copy the Database folder to the appropriate folder related to your user account. In my case, I need to copy the folder C:\Users\mylocalaccount\AppData\Local\TileDataLayer to C:\Users\winaero\AppData\Local\TileDataLayer.
- Now, sign out from the Administrator account.
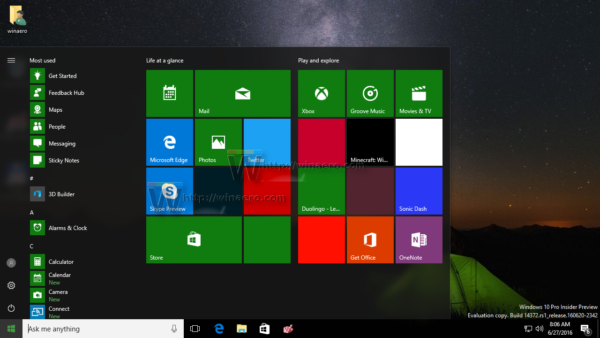
- Sign in with your regular account. You will see that the Start menu layout was changed from your customized one to defaults.
- Disable the built-in Administrator account.
- Now you can delete the local account you created above.
That's it.
The information below is related to pre-release builds of Windows 10. It is outdated and can be useful only for those who still use those builds for testing purposes. It is not applicable to Windows 10 build 10240 and above. See
How to find the Windows 10 build number you are running
The Start screen in Windows 10 keeps almost all data related to pinned apps and tiles in the following file:
%LocalAppData%\Microsoft\Windows\appsFolder.itemdata-ms
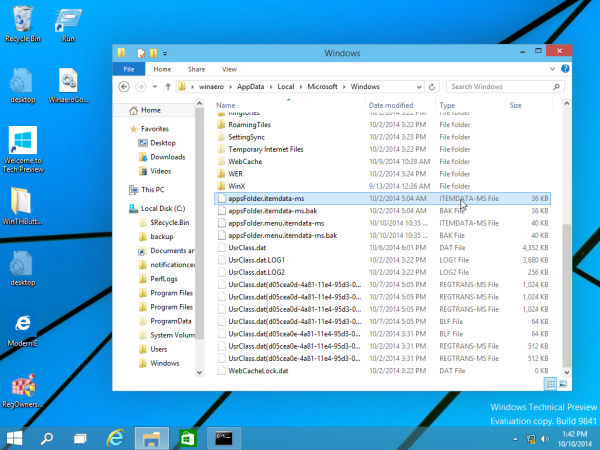
To locate the appsFolder.itemdata-ms file, you may also use the following trick:
- Press Win + R keys together on your keyboard. The "Run" dialog will be displayed on the screen.
- Type the following:
shell:Local AppData
Tip: You can get the full list of shell commands from here: The full list of shell commands.
To reset the Start screen layout in Windows 10, you need to perform the following simple steps.
- Exit Explorer.
- Delete the appsFolder.itemdata-ms file.
- Run Explorer again.
Let's see how it can be done.
Exit Explorer
Before you leave the Explorer shell, open an elevated command prompt and type:
cd /d %LocalAppData%\Microsoft\Windows\
Do not close this window, leave it open, you will need it a bit later.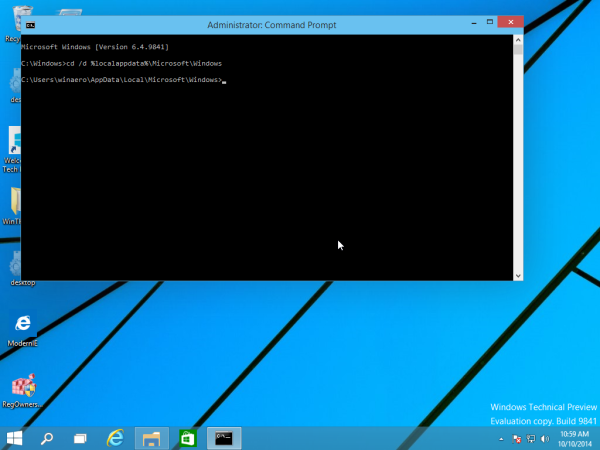
To exit the Explorer shell, use the secret "Exit Explorer" context (right-click) menu item on the Taskbar or Start Menu, which is described in the following article: "How to properly restart the Explorer shell in Windows".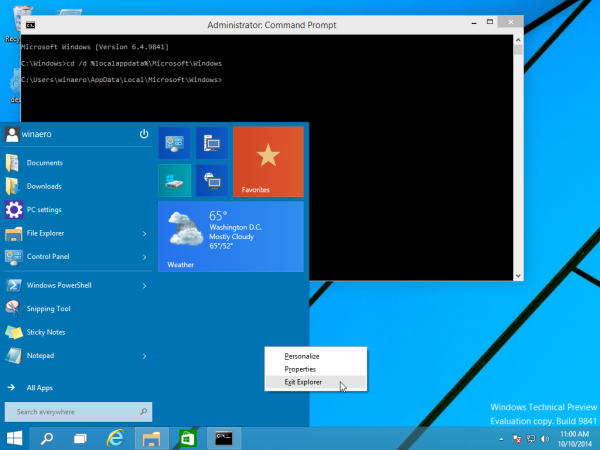
Your Desktop wallpaper and the taskbar will disappear when you exit Explorer: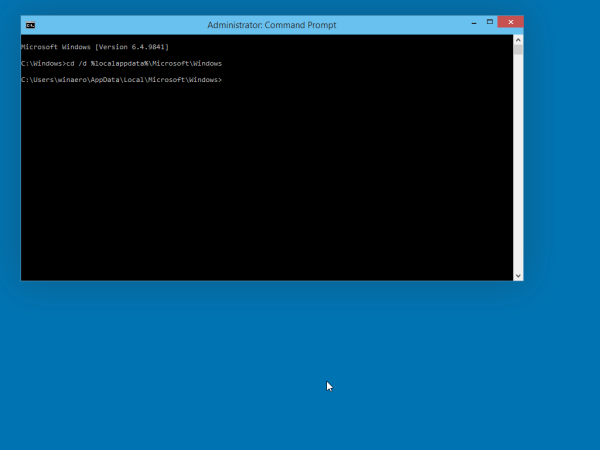
Delete the appsFolder.itemdata-ms file
Now type the following at the command prompt (you may need to switch to command prompt using Alt+Tab):
del appsfolder.itemdata-ms
del appsfolder.itemdata-ms.bak
This will remove appsFolder.itemdata-ms and appsfolder.itemdata-ms.bak files from your hard drive. Note that these commands do not produce any message, they are completely silent. Now you can close the elevated command prompt window.
Run Explorer again
Press Ctrl + Shift + Esc shortcut keys together on your keyboard. It will open the Task Manager. Choose File -> Run new task and type explorer in the 'Create new task' dialog. Click OK or press Enter: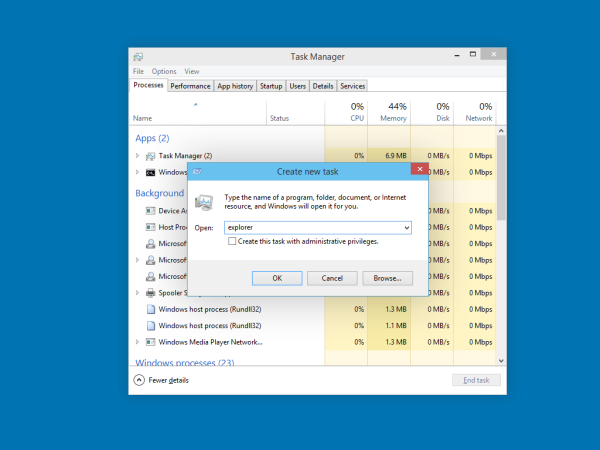
That's it. The Taskbar will reappear. If you switch to the Start screen now, you will see that its layout has been reset. Actually, Windows 8 also allows you to do this trick.
Support us
Winaero greatly relies on your support. You can help the site keep bringing you interesting and useful content and software by using these options:

i’m not shure but it looks like this won’t work anymore in Windows 10 (build 10056) cannot find “appsFolder.itemdata-ms”
and StartScreen (Expand) are really buggy… :(