The Libraries feature was introduced in Windows 7 as part of the updated Explorer application. It allows you to consolidate multiple folders under a single Library so that content across various locations can be aggregated in a single folder-like view. By default, Libraries are disabled in Windows 10 but you can enable them. Windows 10 shows folders inside a library in the order in which you added those folders. You might be interested in reorganizing them and change their display order. Here is how.
To enable Libraries in Windows 10 File Explorer, see the following article: Enable Libraries in File Explorer navigation pane in Windows 10. Also, check out how to move Libraries above This PC in Windows 10.
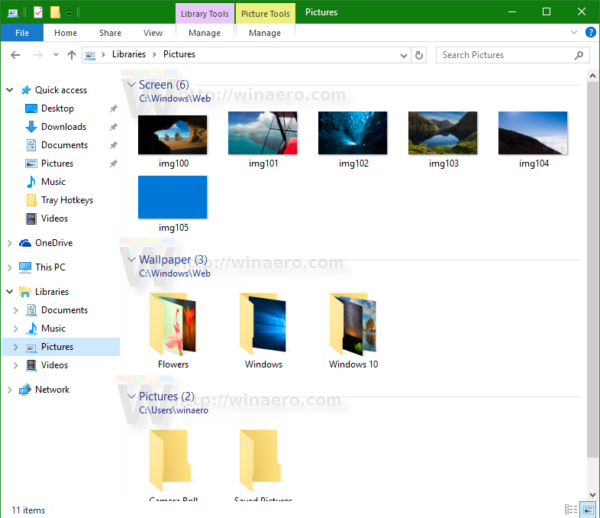
- Open File Explorer and click the Libraries item in the Navigation Pane on the left. This will open Libraries. You can open them directly as well with a special shell command. Press Win + R shortcut keys together on the keyboard and type the following in the Run box:
shell:Libraries
Tip: see the list of shell commands in Windows 10.
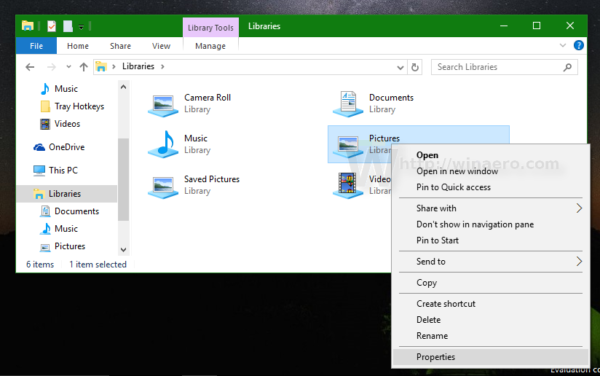
- Select a library, right click it and choose "Properties" from the context menu.
- You will see the folders listed in the order in which they are included in the current library.
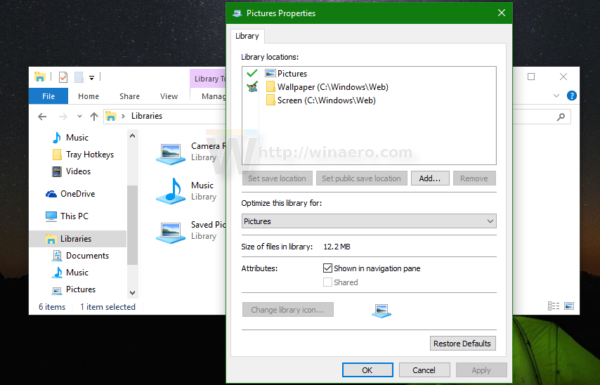
- Now, you can simply re-order them by drag and drop! Drag the folders up or down to set the desired order and you are done.
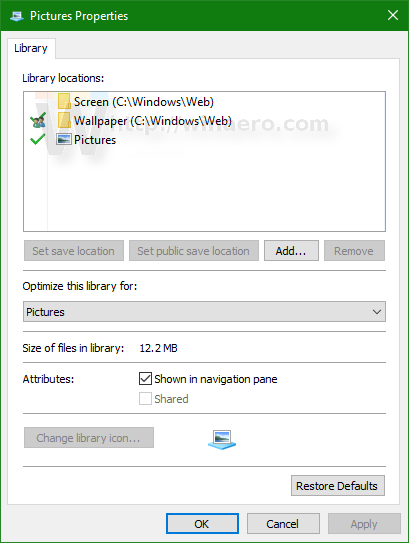
Before: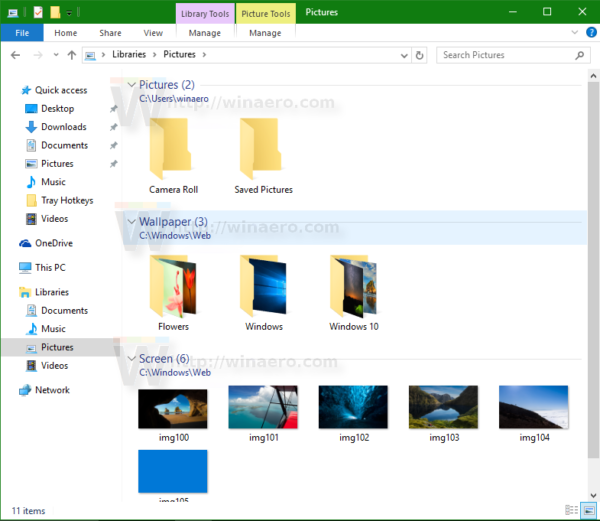 After:
 That's it. This trick works in Windows 7 and Windows 8.
Support us
Winaero greatly relies on your support. You can help the site keep bringing you interesting and useful content and software by using these options:

This no longer seems to work in the latest version of Windows 10. I have them listed in the the order B, A, C (for example), but Windows orders them A, B, C.
I did not post the original problem but am having the same difficulty