Whenever you install a new desktop theme (themepack) in Windows 10, Windows 8 and Windows 7, it gets installed only for your user account. Other users on your PC will not have access to the installed theme. They will need to install it again when they are signed in to their personal account. This is not intuitive and also wastes disk space. Here's a trick to install any theme for all users in Windows 10, Windows 8 and Windows 7.
Advertisеment
To show you how you can install a theme for all users, you must first download a themepack. You are welcome to download any themepack you like from our huge collection of themes HERE.

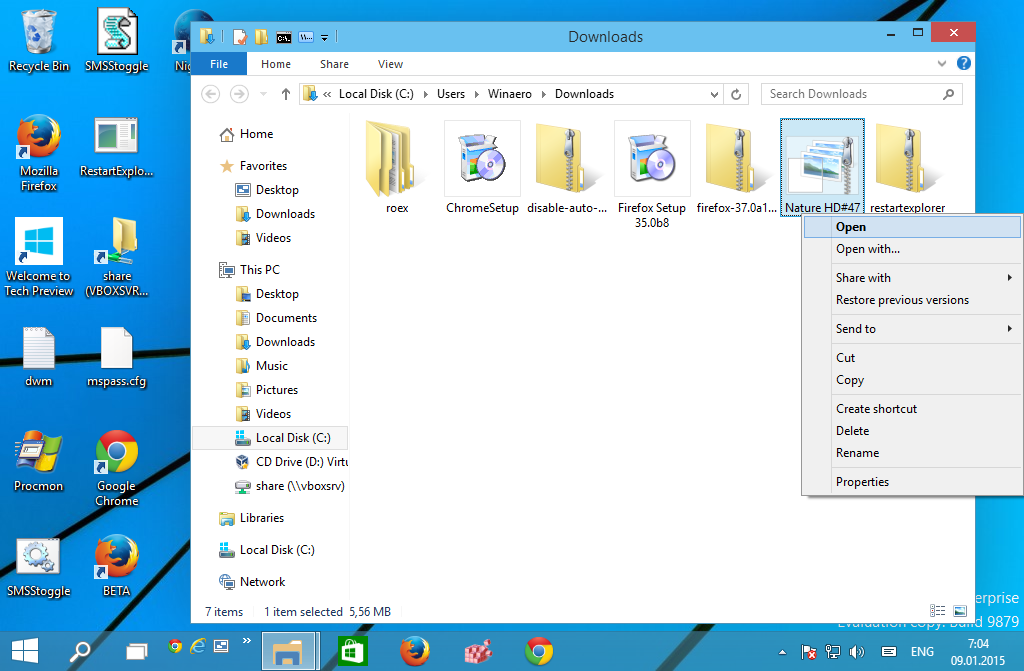
- Double click the *.deskthemepack or *.themepack file you have downloaded. The theme will be installed and applied for your user account. I am using the following theme: Nature HD#47 theme. It can be installed in Windows 10.
- All installed themes go to the following folder:
%localappdata%\Microsoft\Windows\Themes
To open it, press Win + R shortcut keys together on the keyboard and type/copy-paste the above text in the Run box.
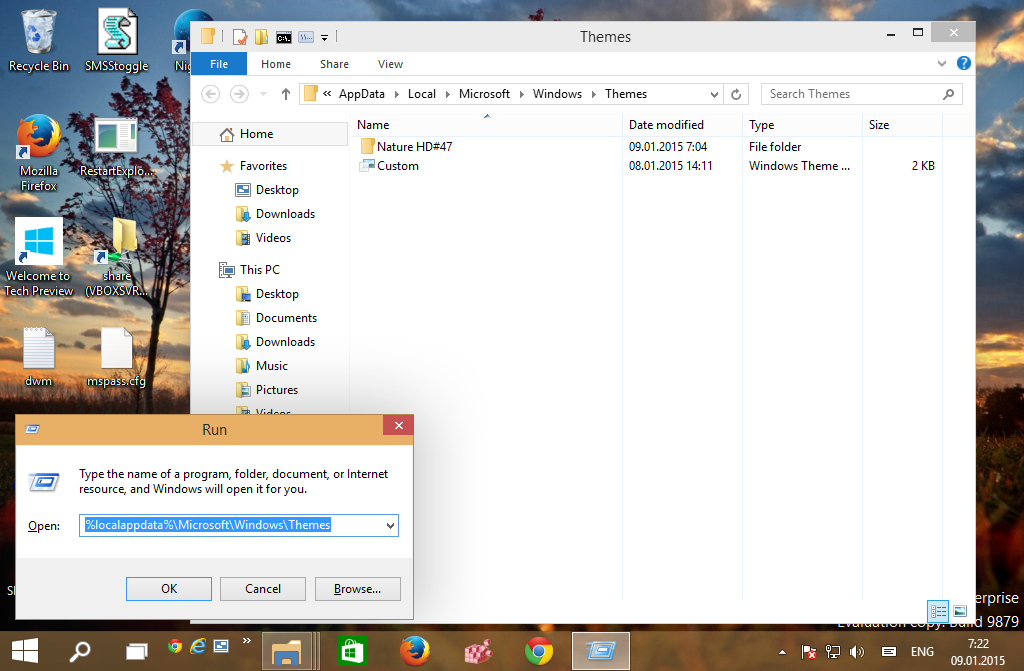
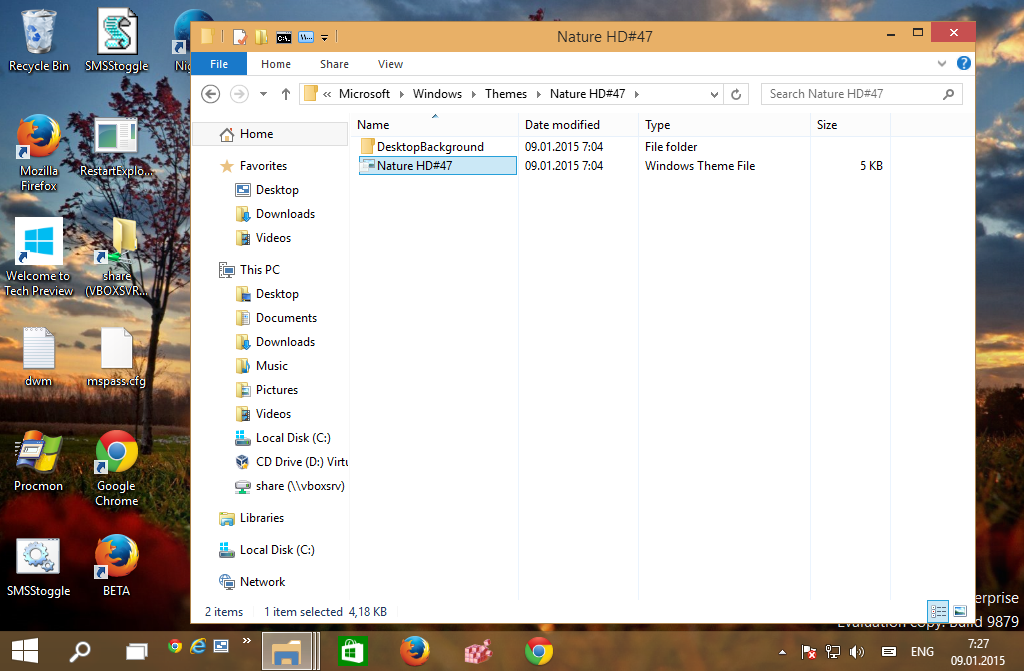
Tip: See the list of environment variables and Win key shortcuts for reference. - Find your theme folder and open it. There you will find a *.theme file:
- Run Notepad and drag the *.theme file into Notepad's window to open it.
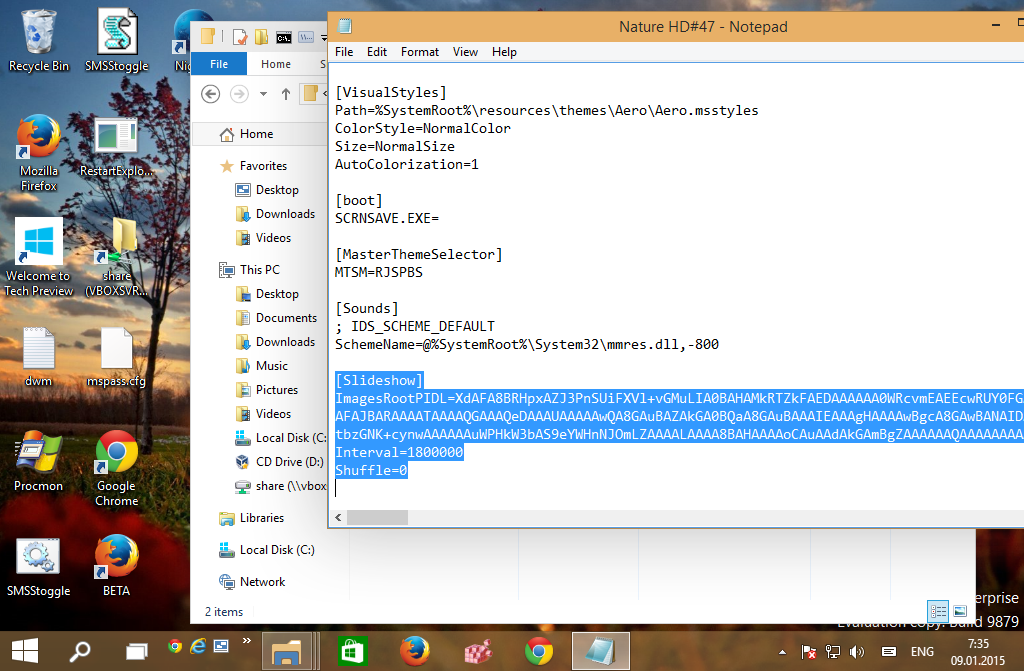
- Go to the end of the file and find the [Slideshow] section. Carefully delete all the values under the [Slideshow] section (not the section header itself) and also keep the following parameters:
Shuffle
Interval
Before:
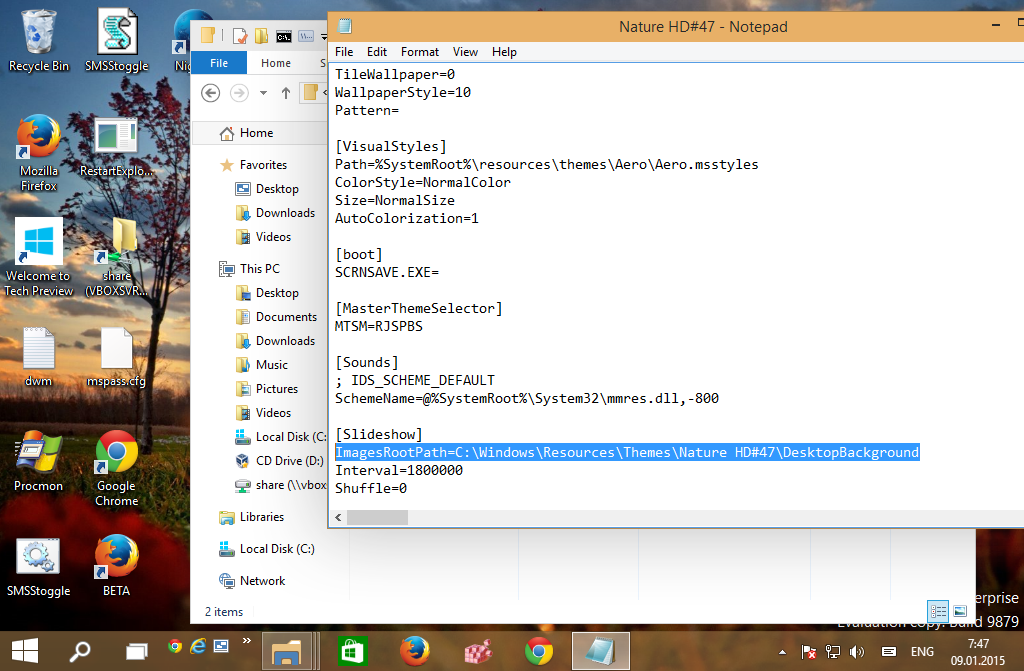
After:
- Add the following line to the Slideshow section:
ImagesRootPath=C:\Windows\Resources\Themes\THEMENAME\DesktopBackground
where THEMENAME must be substituted properly.
For my example above, it must beImagesRootPath=C:\Windows\Resources\Themes\Nature HD#47\DesktopBackground
- Edit the Wallpaper parameter in the [Control Panel\Desktop] section, replace its path from %localappdata%\Microsoft\Windows\Themes\THEMENAME\DesktopBackground\IMAGEFILE.jpg with C:\Windows\Resources\Themes\THEMENAME\DesktopBackground\IMAGEFILE.jpg.
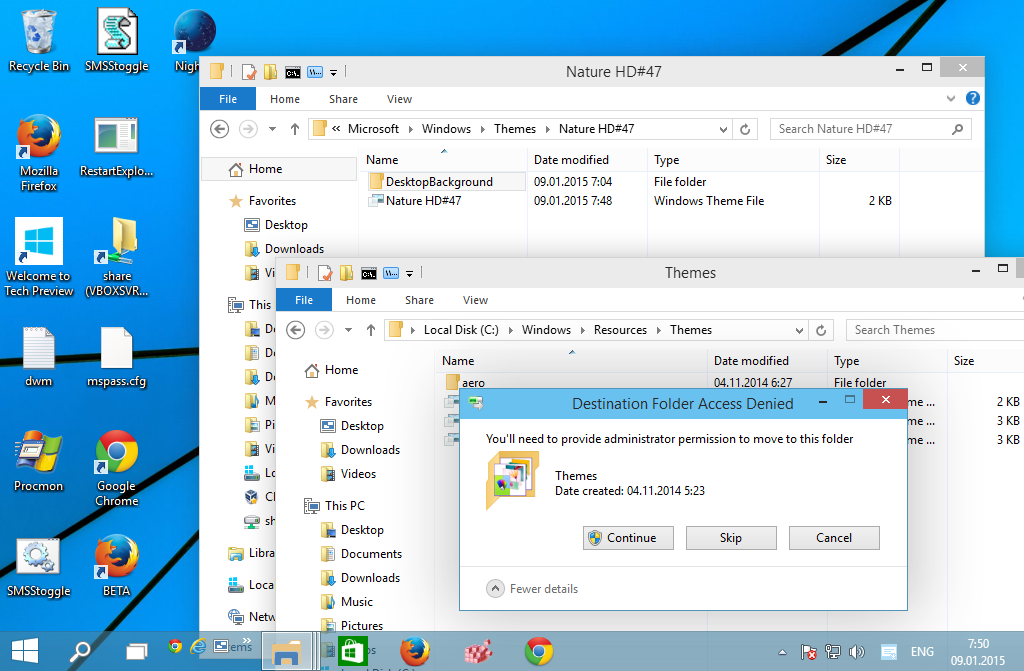
- Now cut the THEMENAME\DesktopBackground folder from %localappdata%\Microsoft\Windows\Themes\THEMENAME\DesktopBackground and paste the folder into C:\Windows\Resources\Themes\Nature HD#47\DesktopBackground. Confirm the UAC request when prompted:
- Finally, move the *.theme file from the %localappdata%\Microsoft\Windows\Themes\THEMENAME\ to C:\Windows\Resources\Themes.
You will get the following files and folders: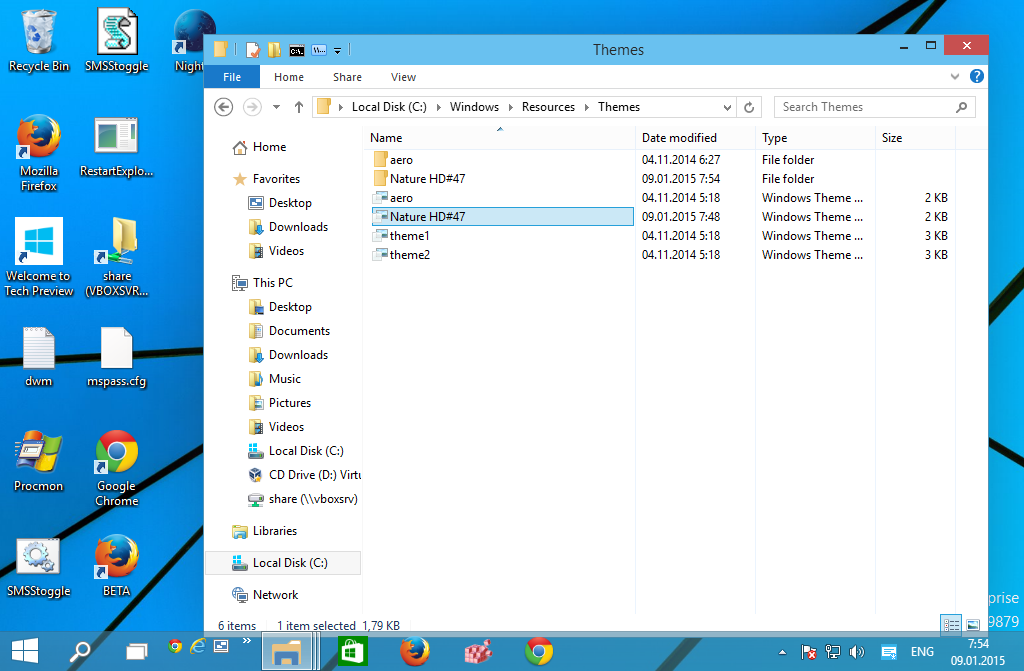
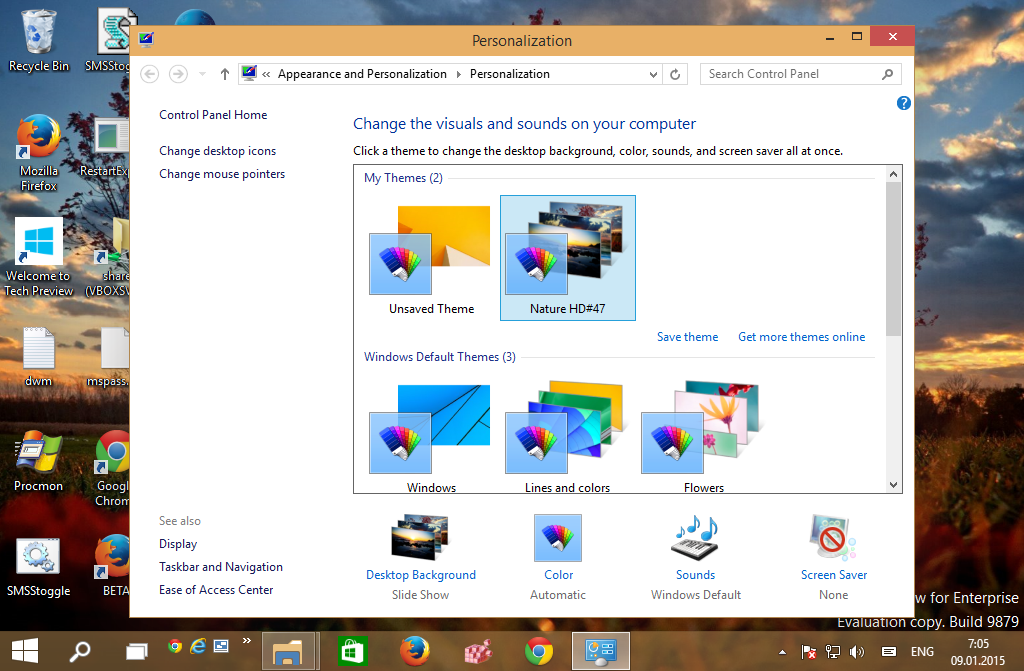
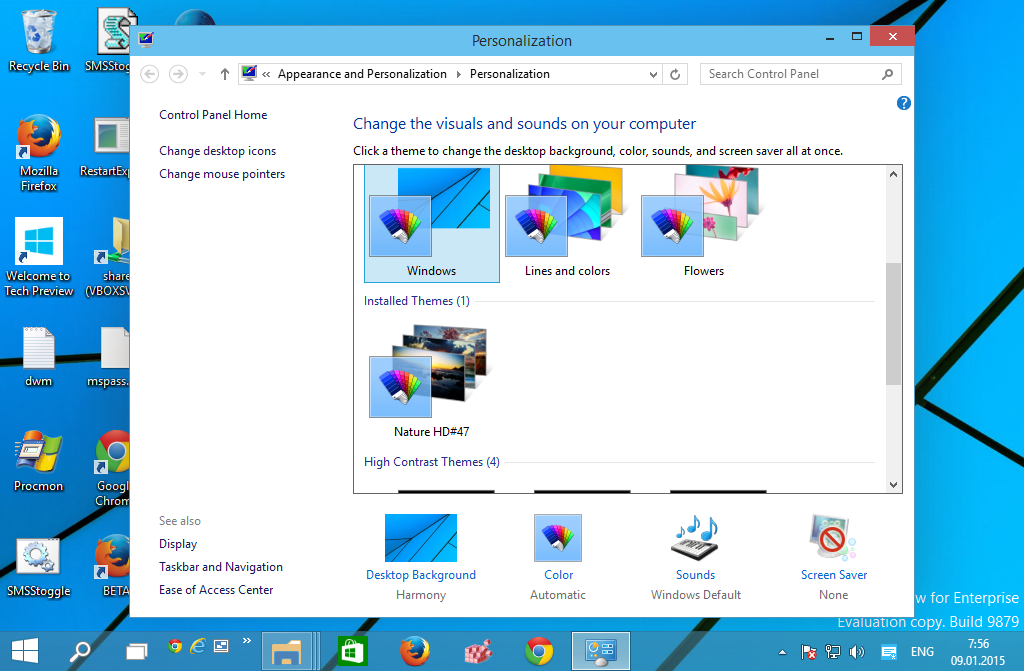
- Open Personalization Control Panel. Your theme will appear under "Installed themes" and will be accessible by all user accounts on that PC:
That's it. You are done.
Support us
Winaero greatly relies on your support. You can help the site keep bringing you interesting and useful content and software by using these options:

This works, thank you Sergey!
I had already installed more than 50 themes so instead of doing this manually I wrote a small C# script to carry out this process automatically for all themes.
I will be happy to post the script for the benefit of other readers of your site but I don’t think it is possible to add attachments in comments.