Starting with Windows 11 Build 26120.1912 (Dev), Microsoft has added support for 6 GHz Wi-Fi to the mobile hotpost feature of Windows 11. It provides your connected devices with much better data transfer rate and more reliable network coverage.
Advertisеment
Wi-Fi 6E is not just a new band. It comes with an increased transfer capacity, making devices co-exist without interfering with each other. For that, it supports much wider spectrum than all the existing consumer solutions these days. For example, Wi-Fi connections to phones may reach 1–2 Gbps.
Windows already supports Wi-Fi 6 devices as long as they have drivers. But it was not implemented in the inbox Mobile Hotspot feautre.
Mobile Hotspot is an option in Windows 11 that allows starting your own wireless network without using a dedicated router. Instead, Windows will create a software access point to which other laptops, smartphones and any other devices can connect and then use shared resources of your computer. Obviously, to enjoy it, you must have the hardware that supports Wi-Fi 6E.
In Windows 11 Build 26120.1912, the 6 GHz option is available to select users by default, but you can easily enable it with help of ViVeTool. Note: If you see the 6 GHz out of the box, than you should skip the enablement option of this tutorial.
Enable 6 GHz Mobile Hotspot in Windows 11
To enable the 6 GHz software access point, you need to make the option visible in the Settings app, restart the device, and then enable that option. Follow the steps below.
Step 1. Make the 6 GHz option visible
- Download the ViVeTool app from GitHub.
- Create the ViVeTool folder in the root of the
C:drive to get the C:\ViVeTool path, and unzip the files from the downloaded Zip archive to there. - Right-click the Start button with the Windows logo in the taskbar, and select Terminal (Admin).
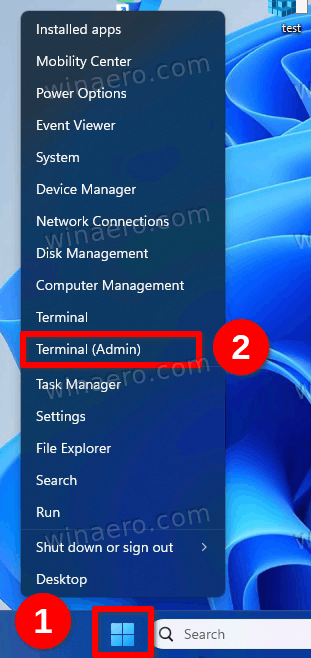
Image credits: winaero.com - In the PowerShell or Command Prompt tab of Terminal (both a suitable), type the command
c:\vivetool\vivetool /enable /id:40466470,48433719and press Enter. - Make sure the app shows the "Successfully set feature configuration" message, and then restart your computer to apply the changes.
That's it. Now, it is the right time to enable your updated Wi-Fi 6 network.
Step 6. Enable the 6 GHz Mobile Hotspot
- Press Win + I to open the Settings app, or use any other method.
- On the left, click on Network & Internet.
- Click the Mobile Hotspot option on the opposite side of the app to enable it.
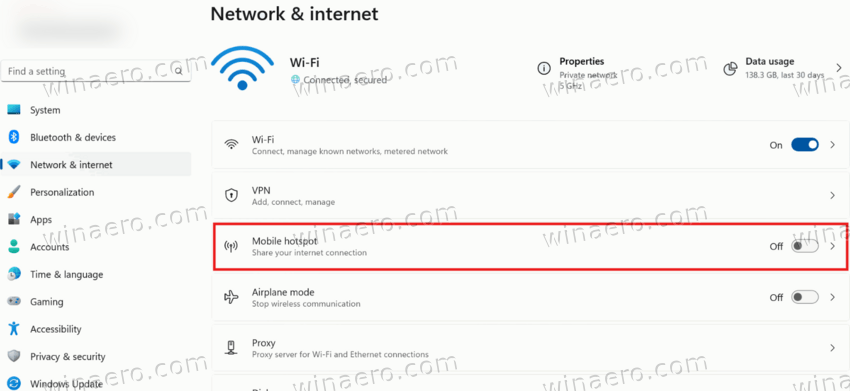
Image credits: winaero.com - Click the Mobile Hotspot option one more time. On the next page, click the drop-down option next to the title "Share my internet connection from", and select "Ethernet" as the connection source.
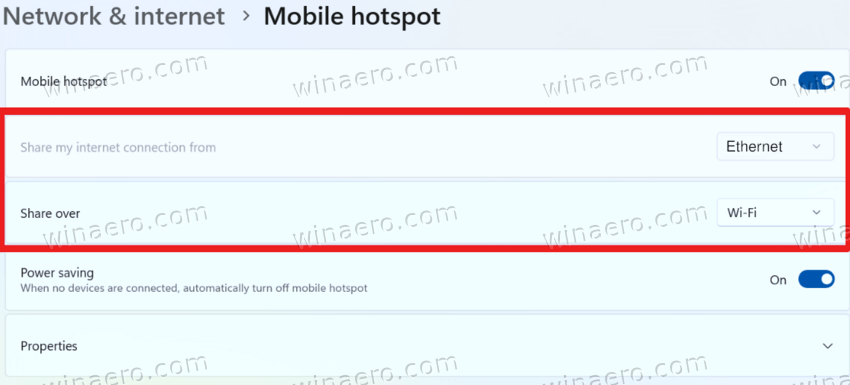
Image credits: winaero.com - Choose Wi-Fi in the "Share Over" option.
- Now, click on Network Properties and then on the Edit button.
- In the next window, specify the network name and password.
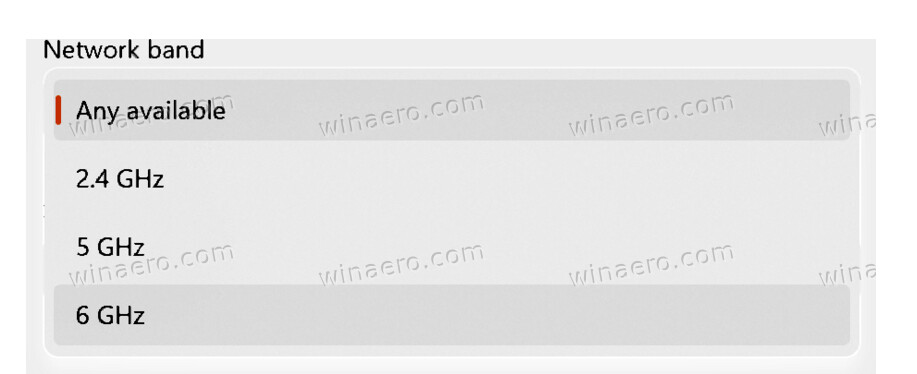
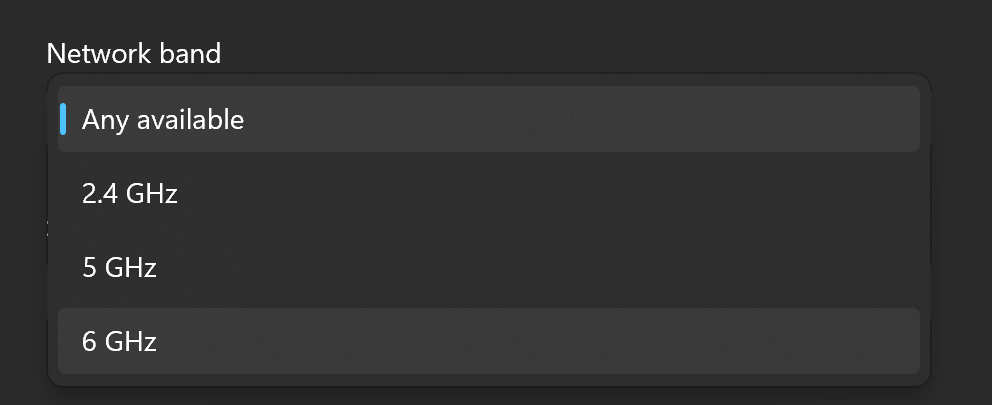
Image credits: winaero.com - Finally, select 6 GHz for the Network Band option.
That's it. Special thanks go to @phantomofearth for sharing the ViVeTool trick.
Support us
Winaero greatly relies on your support. You can help the site keep bringing you interesting and useful content and software by using these options:
