You can quickly disable a network adapter in Windows 11 using one of the following methods reviewed in this post. The easiest one is the Settings app, but you can also use the device manager, Command Prompt, PowerShell, and the classic Network Connections folder.
Advertisеment
A network adapter is a hardware unit of your computer that allows establishing a link between tow or more computers on the Internet and in the local area network. In terms of Windows, it is known as a network connection.
There is a variety of methods you can use to disable a network adapter in Windows 11. The Settings app is the easiest method, so let's start with it.
Disable a Network Adapter in Windows 11
- Click on Start and then on the Settings icon, or press Win + I.
- In Settings, navigate to Network & internet.
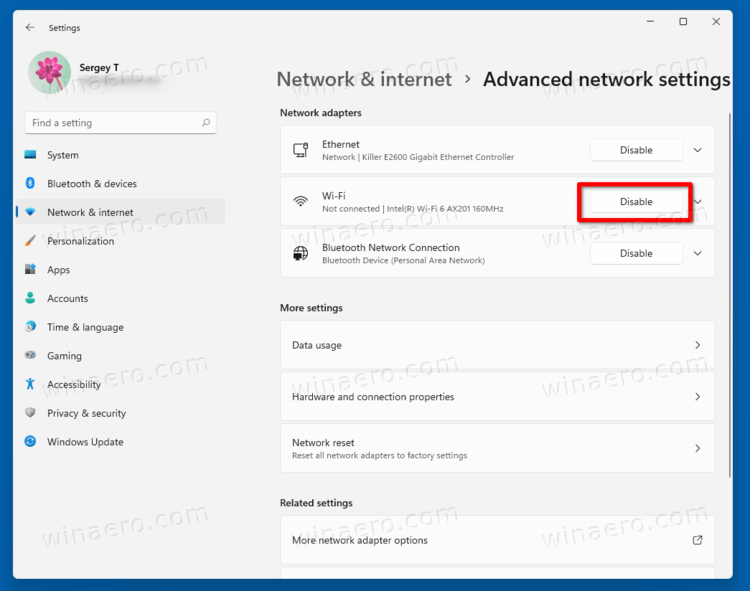
- Click on Advanced network settings item on the right.

- In the list of the available Network adapters, click on the Disable button for the adapter you want to disable.
Done! You just disabled the selected network device disabled, and all its connections will go offline.
To later re-enable it, open Settings > Network & internet > Advanced network settings again and click on Enable next to the disabled adapter name.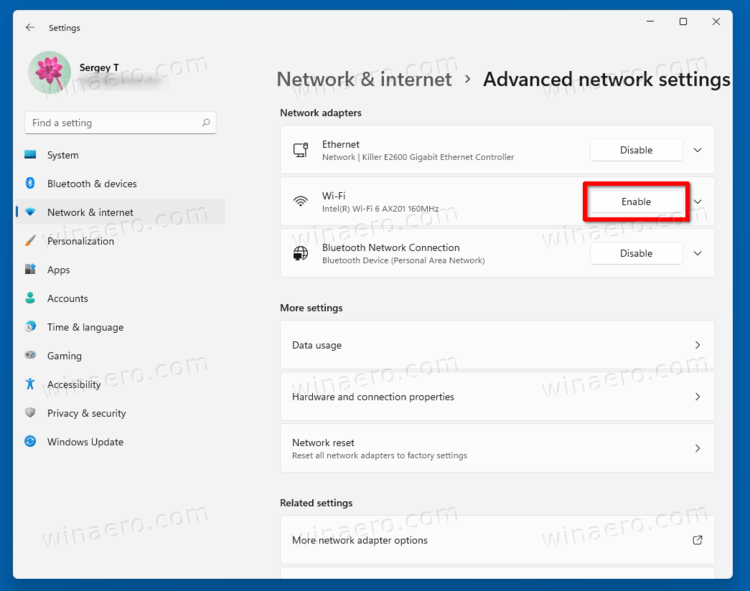
Now, let's review other methods, which are now classic of network adapter management on Windows.
Using the Network Connections folder
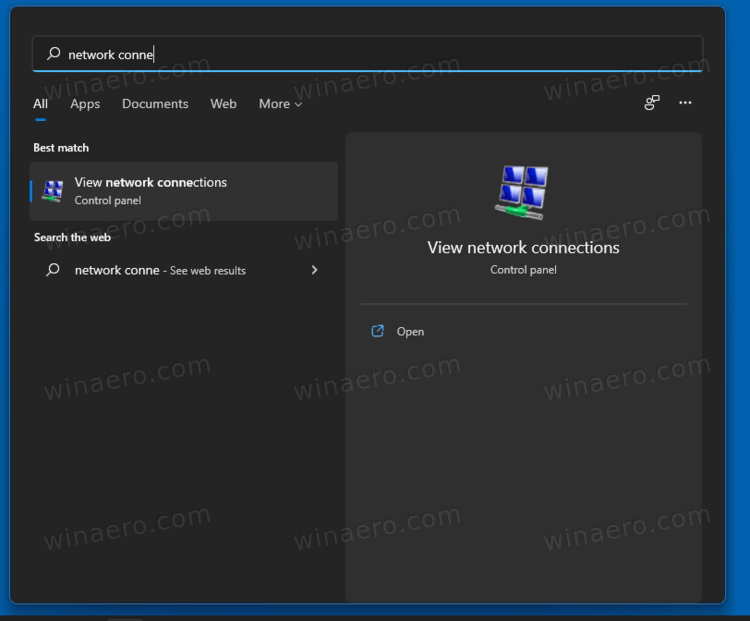
- Open Windows Search (Press Win + S) and type network connections in the search box.
- Click on the View network connections item.
- In the Network Connection folder, right-click on the network adapter you want to disable, and select Disable from the context menu.
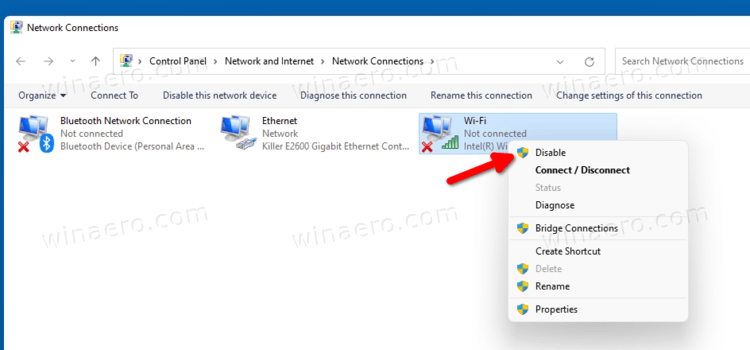
- This will turn off the selected network connection. Its icon turns gray.
That's how you turn off a network adapter using the classic Network Connections applet.
Also, it is easy to get the disabled connection re-enabled. Right-click it and select Enable from the menu.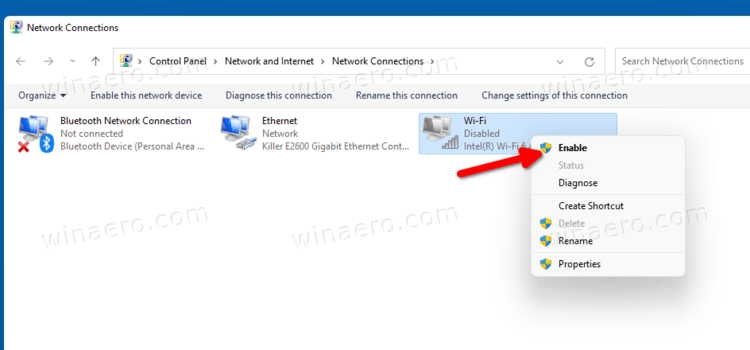
Now, here is how to do the same from the command prompt.
Using Command Prompt
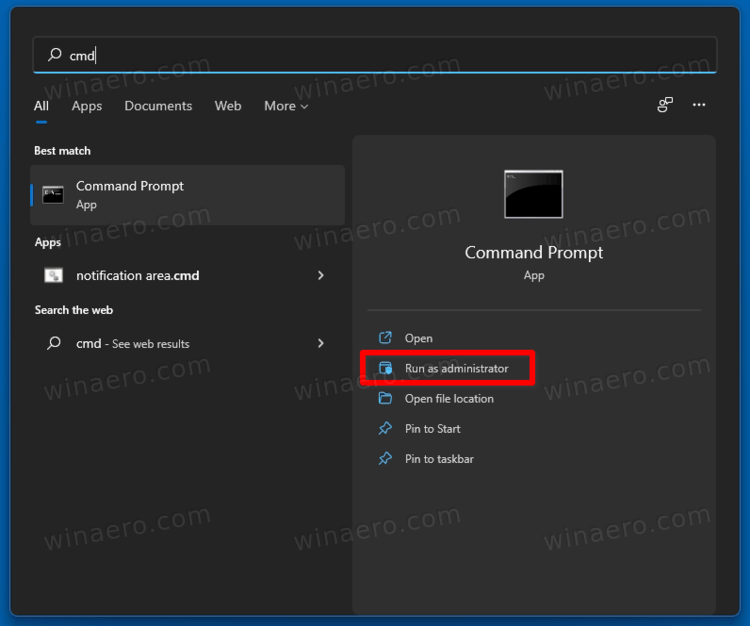
- Press the Win key to open Start.
- Type
cmdand find Command Prompt in the search results. - Select Run as Administrator.
- Enter the following and hit the Enter key:
netsh interface show interface. Note the "Interface name" value for the connection you want to disable.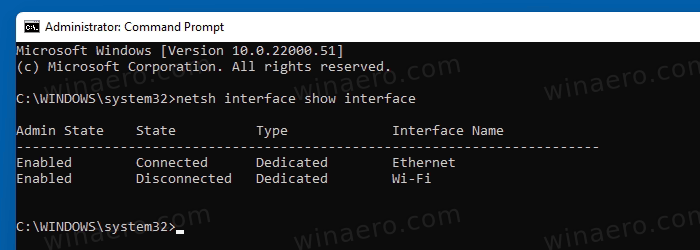
- To disable a network adapter, issue the command:
netsh interface set interface "Interface Name" disable. Substitute the"Interface Name"portion with the appropriate value.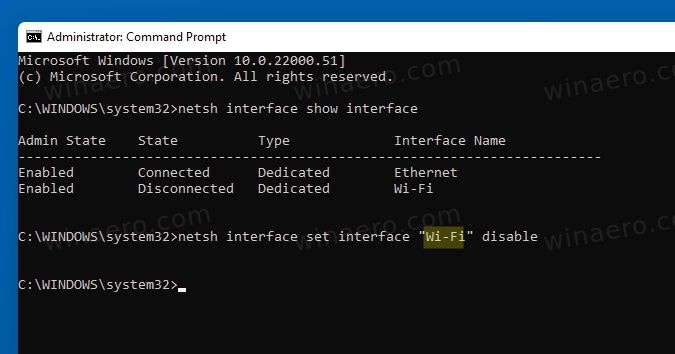
- Also, here is the undo command that re-enables the network adapter,
netsh interface set interface "Interface Name" enable.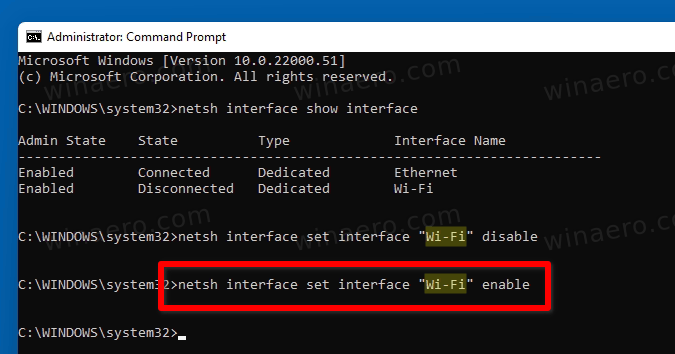
Done!
Using the Device Manager tool
- Press Win + X to open the Win+X Quick links menu.
- Select Device Manager.
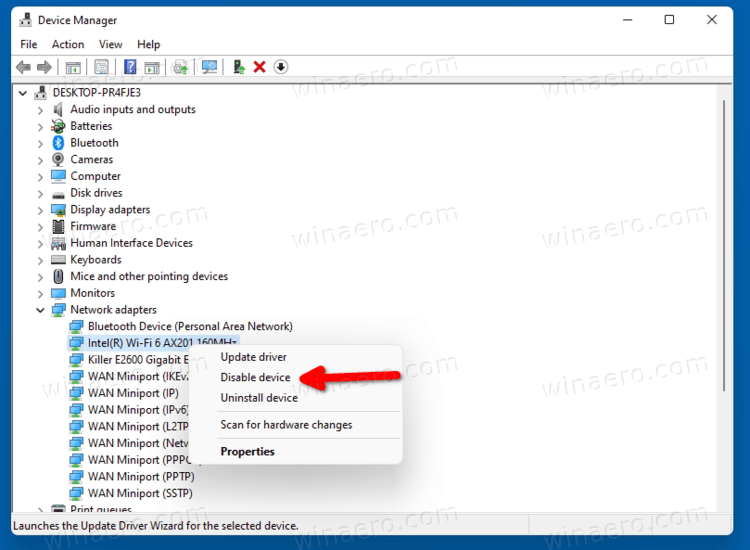
- Expand open the Network adapters section.

- Now, find the network adapter you want to disable.
- Right-click it and select Disable device.
That's all about disabling network adapters with the Device Manager.
Finally, you can disable or enable a network connection in PowerShell. Follow the below steps.
Disable a network connection in PowerShell
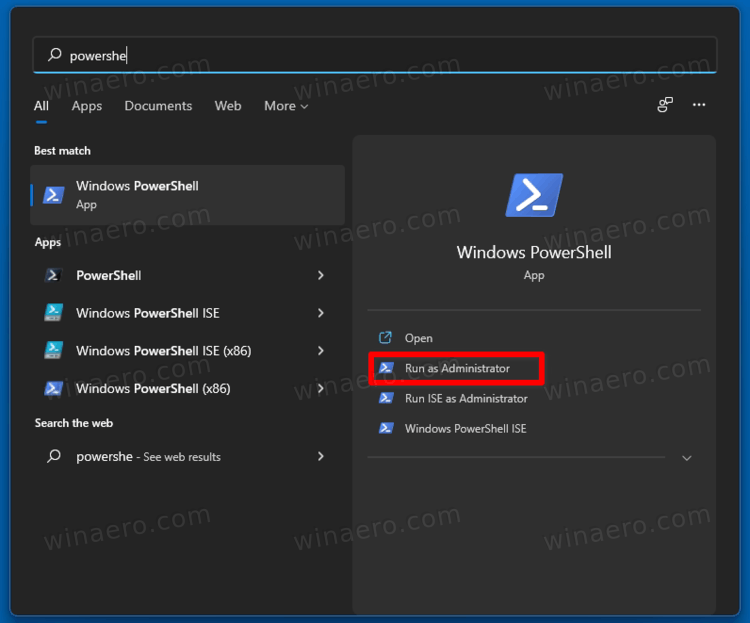
- Press Win + S to open the Windows Search box.
- Type PowerShell.
- For the PowerShell item, select Run as administrator.
- Now, type the following command in the PowerShell console:
Get-NetAdapter | format-list. Note the name of the device you want to disable.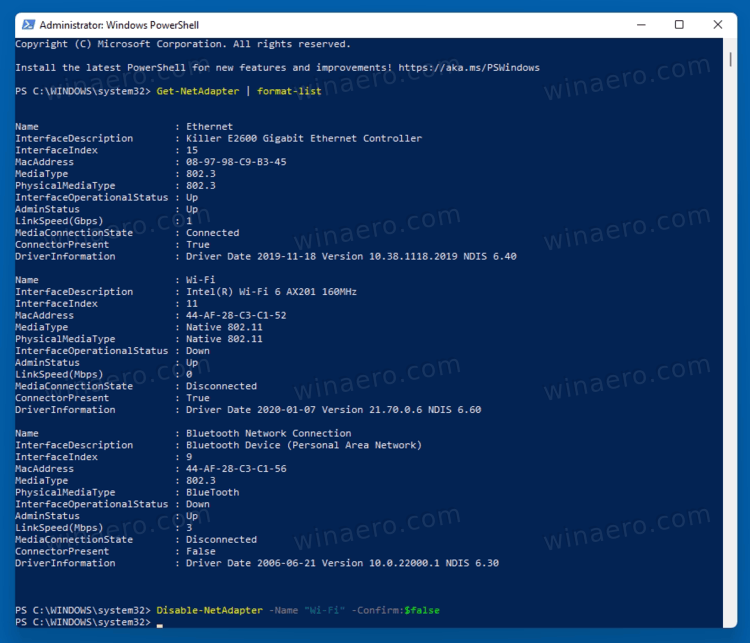
- Type
Disable-NetAdapter -Name "network adapter name" -Confirm:$falseto disable it. Substitute "network adapter name" in the command above with the actual network adapter name.
- The opposite command is
Enable-NetAdapter -Name "network adapter name" -Confirm:$false. Use it to enable the disabled network card.
That's it!
Support us
Winaero greatly relies on your support. You can help the site keep bringing you interesting and useful content and software by using these options:
