You can delete memory dump files on Windows 10 which the OS creates when its runs into a system error with a BSoD (blue screen of death). These files are useful for troubleshooting, e.g. to find a driver that causes the system failure. After you done with troubleshooting, they just take the drive space for nothing. If you have a limited storage size, you definitely want to delete them.
Advertisеment
Here are some details on memory mini dumps.
What are Memory Dump Files
Memory dumps are snapshots of computer's RAM taken at the moment of crash with a BSOD system error. Windows creates such files automatically. The memory snapshot includes plenty of information useful for troubleshooting. This includes loaded, running apps, system events, and much more.
Windows stores its memory dump files under its C:\Windows folder. IT Pros, devs, and system administrators can use them to diagnose OS faults. So, they are can be useful to advanced users, while causal Windows users may have no use for them, as troubleshooting often requires deep knowledge and special skills.
Minidump files
A Minidump file is smaller snapshot which doesn't include the full memory contents. However, it still includes some useful details for troubleshooting. From such a file, you can extract the Stop message (BSOD error code), its parameters, a list of loaded drivers, the processor context in which it was stopped and some details of the related process along with the call stack. By default, Windows 10 creates minidumps each time it crashes.
Again, memory dumps are very useful for troubleshooting. If your Windows 10 keeps crashing, they will help to find the reason. However, after you resolved the issue, it is a good idea to remove them and free up some drive space.
This post will show you how to remove the memory dumps for system errors.
Delete Memory Dump Files on Windows 10
- Open the Settings app by pressing the Win + I shortcut keys.
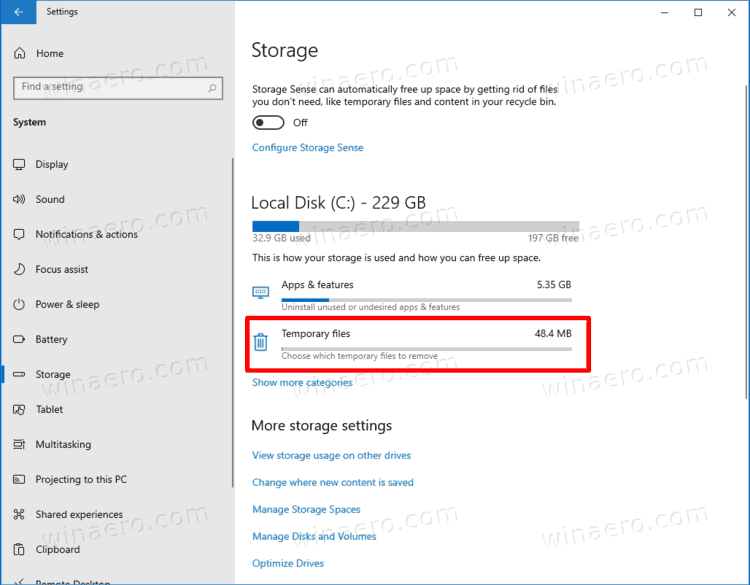
- Navigate to System > Storage.
- On the right, click on Temporary files.
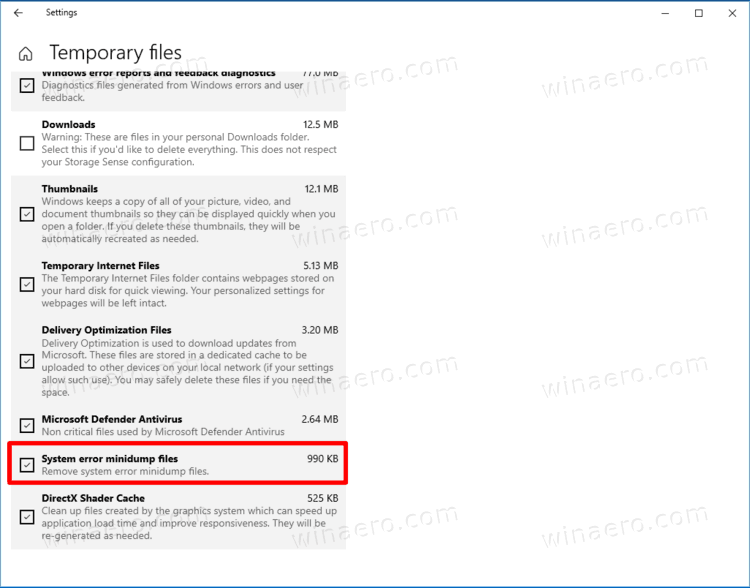
- On the next page, check the System error memory dump files option, and click the Remove button.
That's how you can erase memory dumps from your system drive.
Alternatively, you can use the Disk Cleanup tool. It even supports presets and can be started with all items checked. While Microsoft considers its outdated and recommends using the Settings app, it remains available in the OS and can be used for our task.
Remove System Error Memory Dumps with Disk Cleanup
- Press the Win + R shortcut keys to open the Run dialog, and type
cleanmgr.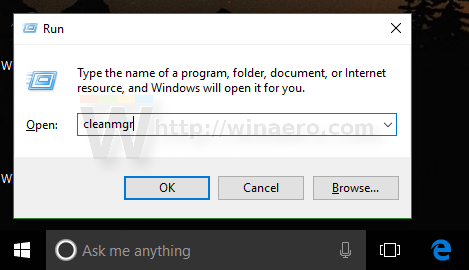
- Select your system drive, usually it is
C:.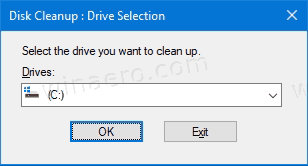
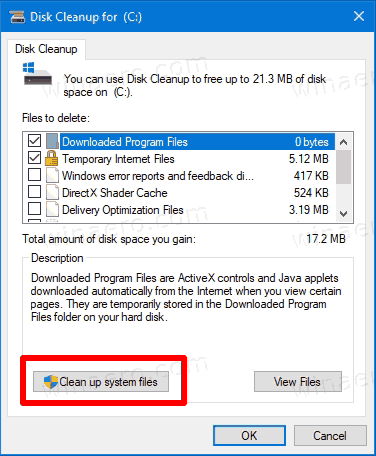
- In the window that appears, click on the Clean up system files button.
- On the next page, check the System error memory dump files and System error minidump files entries.
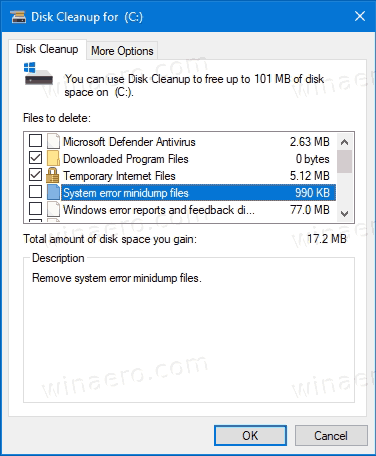
- Click OK to remove memory dump files.
You are done. Windows will remove the dump files from the drive.
By using any of the above methods, you can clean up other temporary files and Windows update components that often take up significant disk space. Depending on how you use Windows 10, you can free up from 10GB to 30GB, which is important if you have a small SSD.
Support us
Winaero greatly relies on your support. You can help the site keep bringing you interesting and useful content and software by using these options:

Hello my name is Holly Raulston. Thank you for your help and building the winaero.com. It is straight forward and to the point. Again thank you.